Update – this post contains outdated language. We no longer use the term “mummy” and instead use “mummified human individuals” to refer to Ancient Egyptian people whose bodies were preserved for the afterlife. To read more about this decision, follow this link.
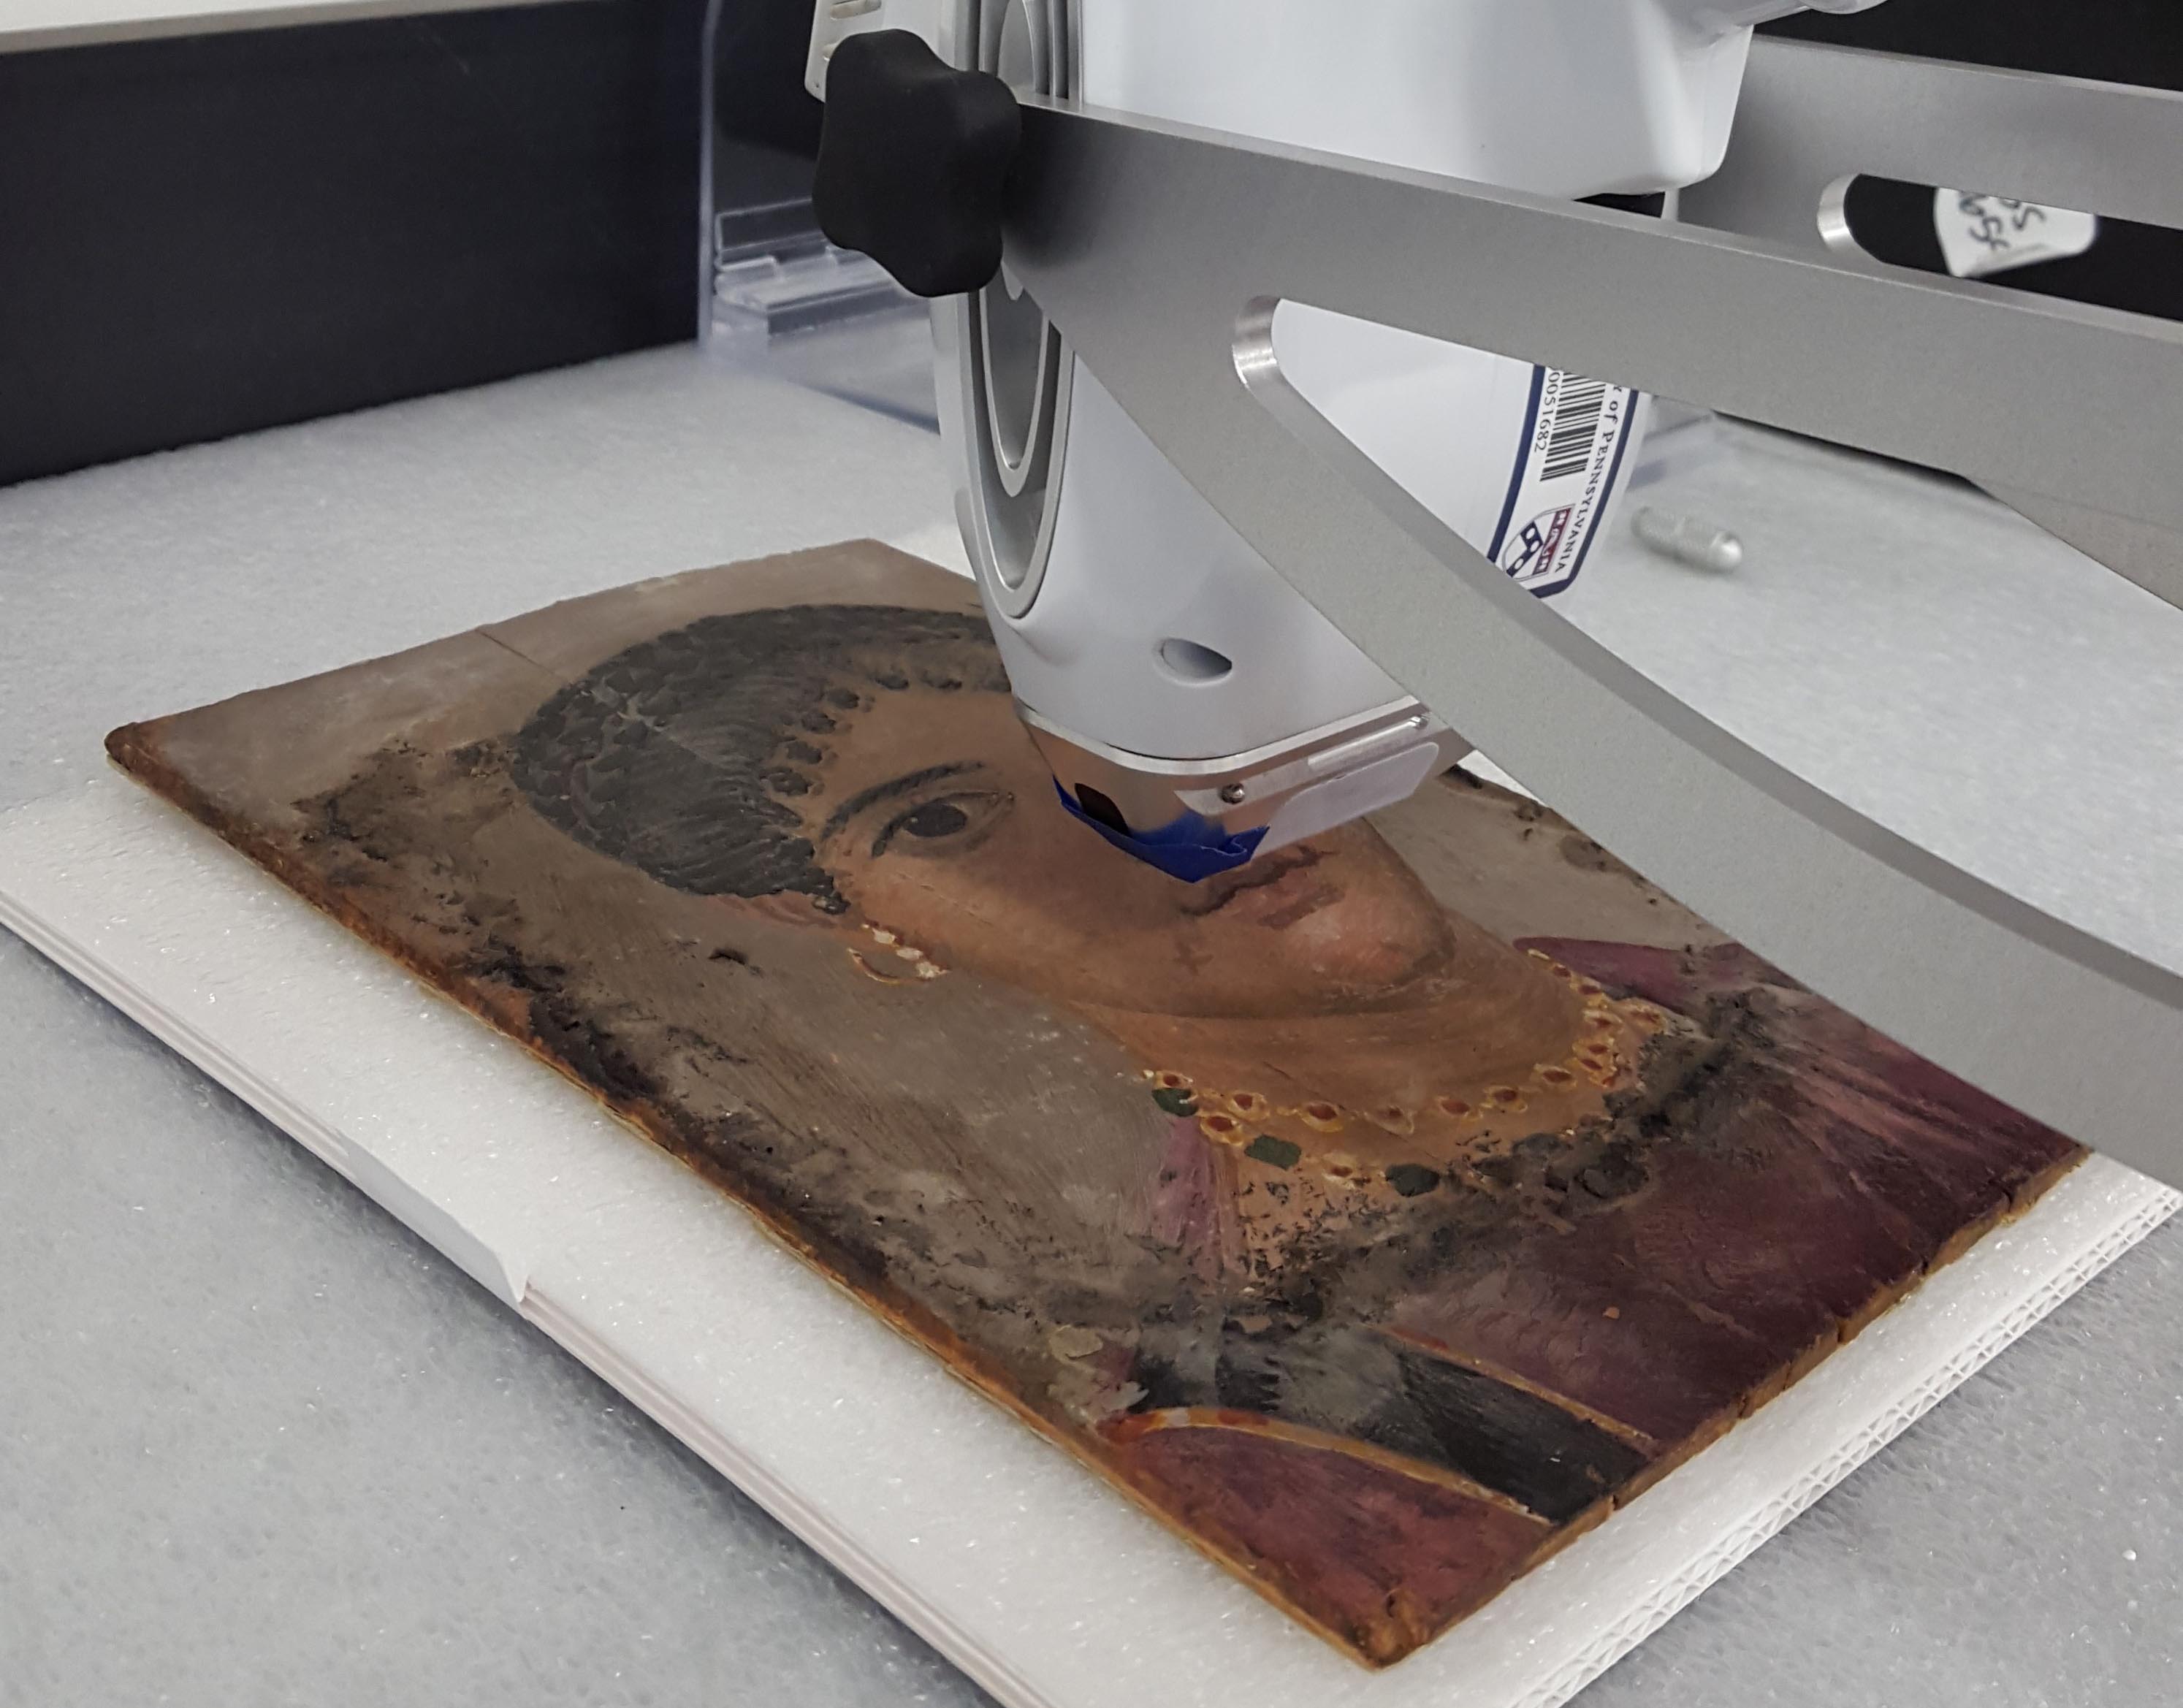
Hi! This is Eve Mayberger with more information about the Ancient Panel Painting: Examination, Analysis, and Research (APPEAR) project. During the past few months, I have been investigating the three Fayum mummy portraits in the Penn Museum with digital photography, multispectral imaging (MSI), portable x-ray fluorescence (pXRF), and x-ray radiography. Recently, I completed reflectance transformation imaging (RTI) on the portraits with the help of Aislinn Smalling (Leventis Foundation Fellow) and Archer Smith (archaeology post-baccalaureate student). I was grateful to have help because RTI data capture is much easier with multiple people.

APPEAR Project, Capturing RTI data for E16214 with Aislinn Smalling and Archer Smith
RTI is a type of computational photography that uses digital computation instead of optical processes to create new data. The principles of RTI are that the object and camera are placed in fixed positions. The light source (we used a triggered flash) is moved around the object at different angles. To ensure that the flash is at a set distance from the object, we tied a string to the light. Black spheres are included in each photo and the exact light position is determined from the highlight on the reflective spheres. Normally there are between 36-60 images collected to create one RTI data set.

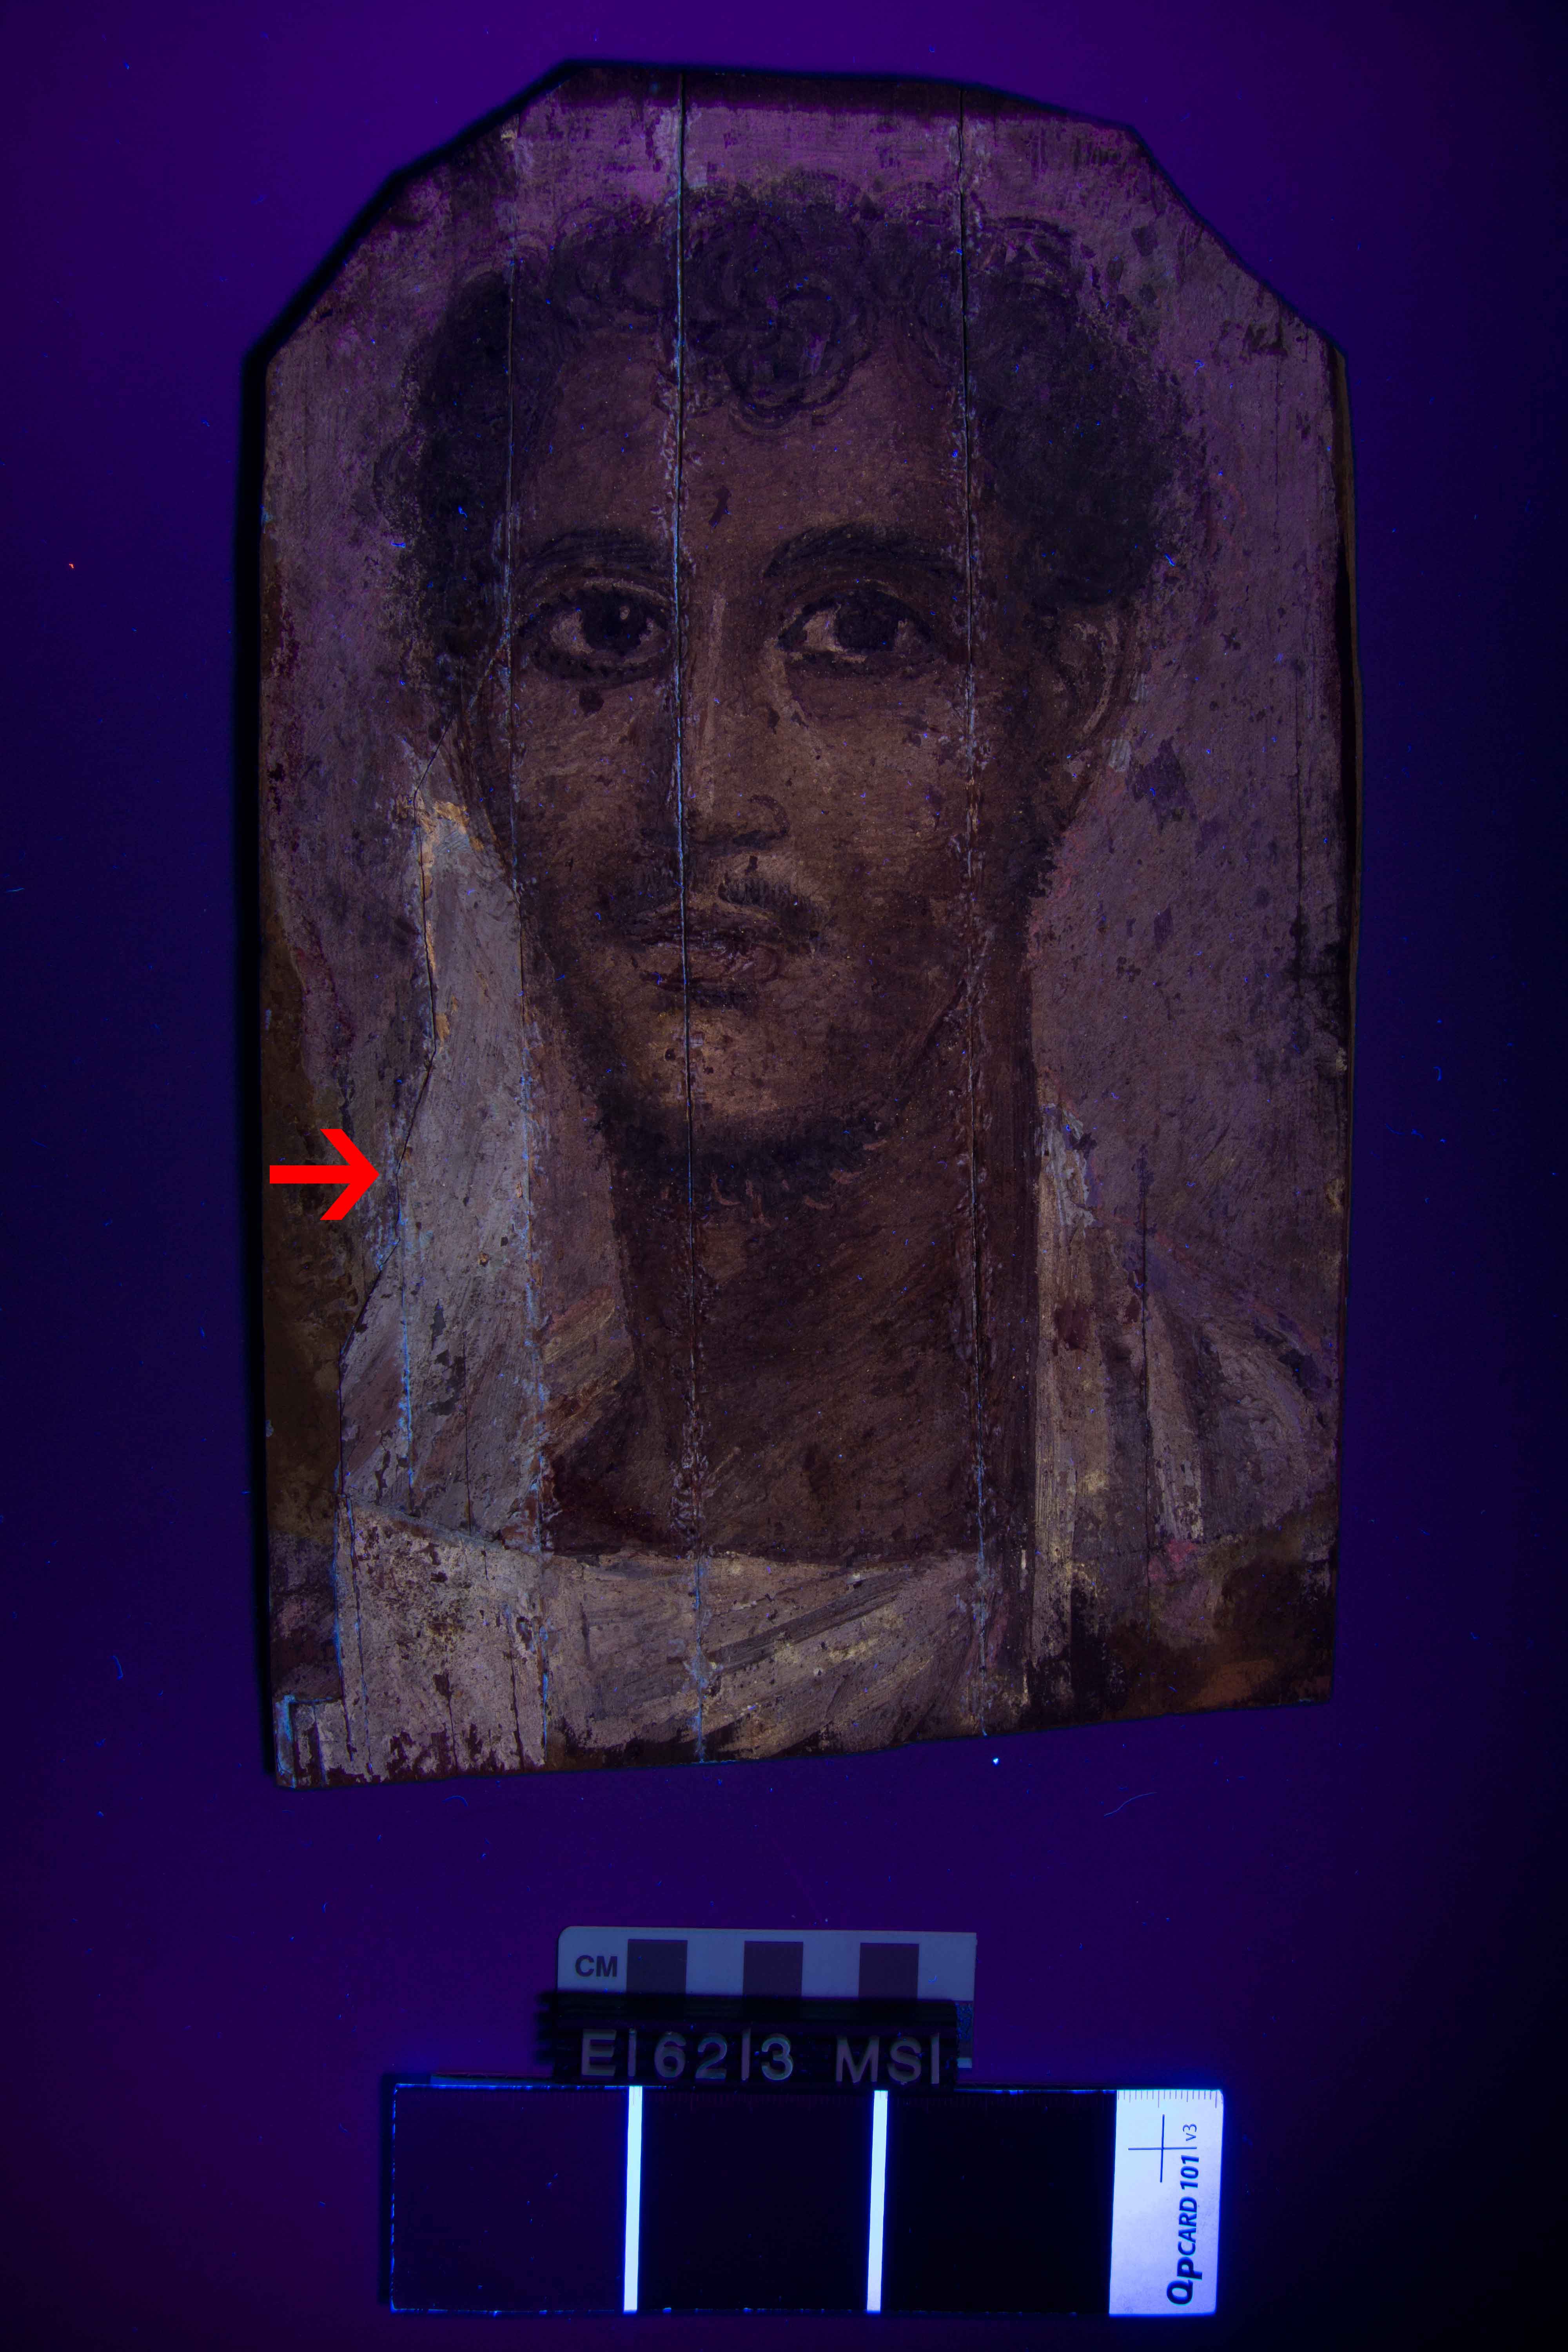
APPEAR Project, Four (4) out of the forty-eight (48) photos taken for the RTI data set for E16213
The real power of this technique is the interactive RTI Viewer tool which allows the subject to be re-lighted from any direction. Different rending modes can be helpful to bring out certain surface details such as incised designs or impressions. It is important to remember that this technique is only “pseudo 3D” and while it can be very informative on surface characteristics, it is not scalable or measurable.

APPEAR Project, Screenshot of RTI Viewer for E16213
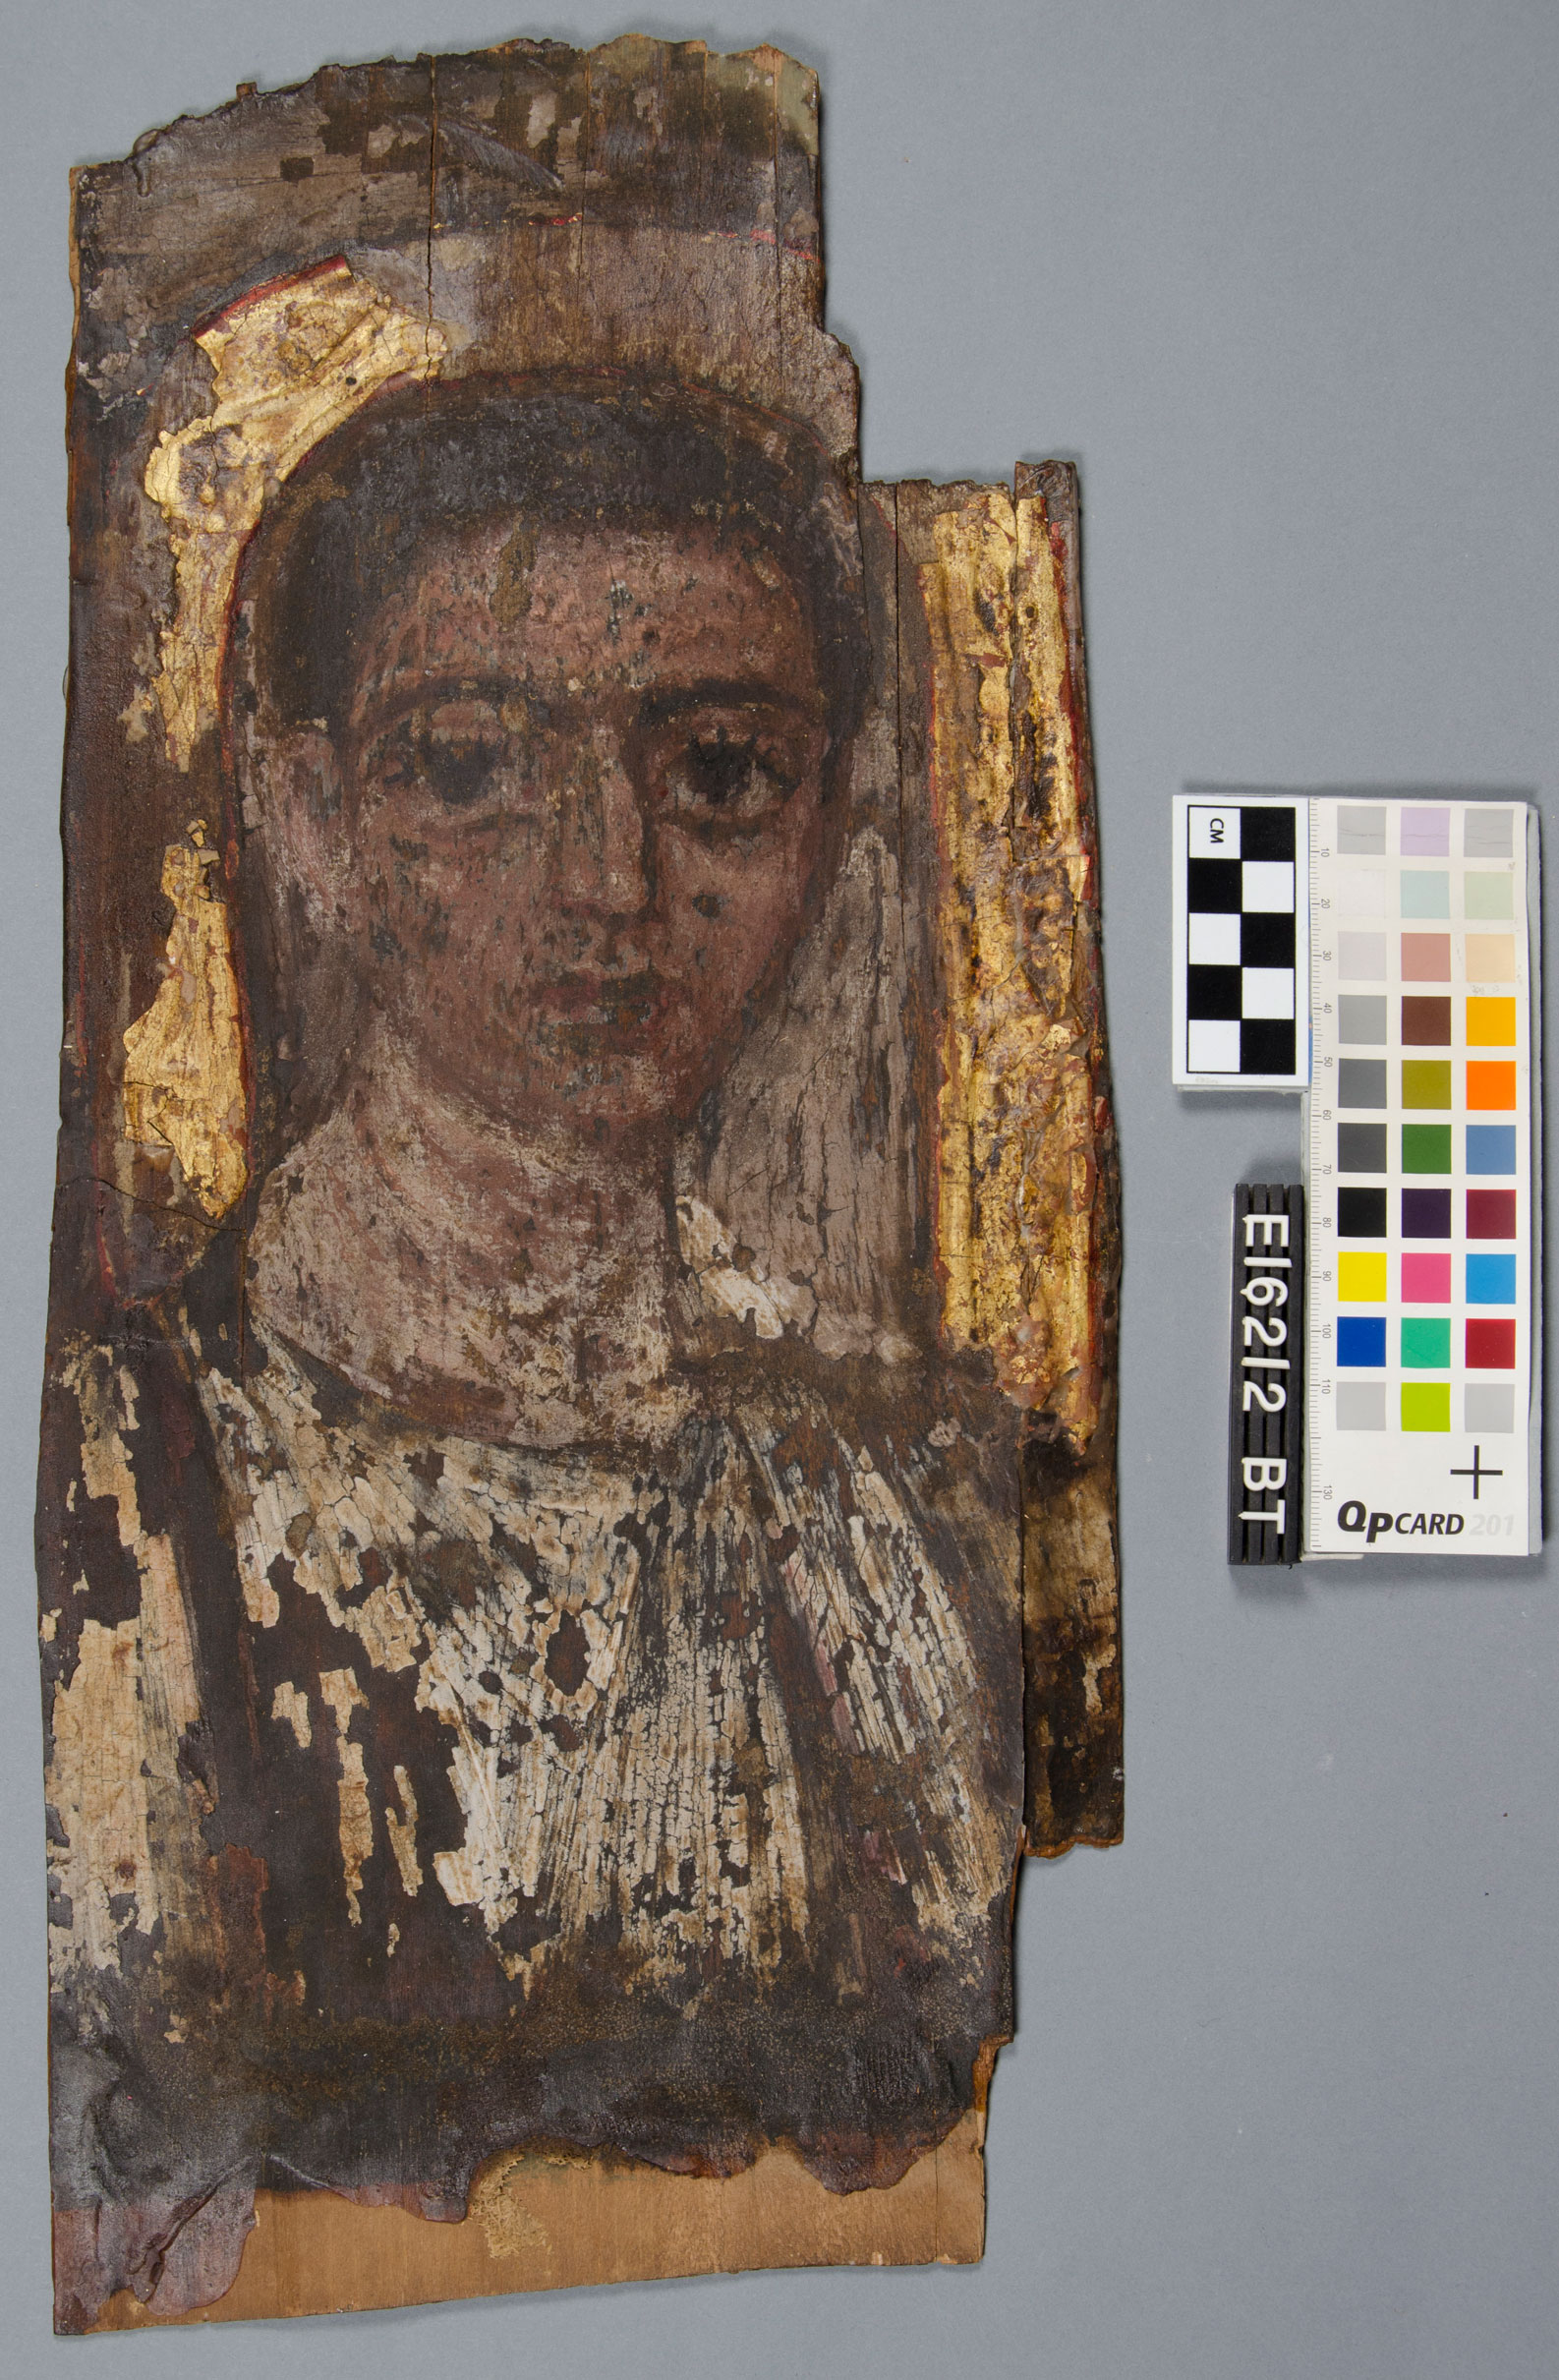
The results for E16213 were particularly interesting because we were looking to see if the “curls” visible under MSI were visible with RTI. While RTI showed the working techniques characteristic of encaustic painting, no incised lines corresponding with the curls were detected. Perhaps the curls visible with MSI relate to a pigment that had faded to the point where it is no longer visible under normal light. One possibility is that it could be madder but more research is needed to confirm this hypothesis.

APPEAR Project, Comparison of the curl region with MSI VIVL and RTI for E16213
In a few weeks, I will be presenting my research on the Penn Museum mummy portraits at the interim APPEAR meeting at the British Museum. Be sure to visit the blog in the upcoming weeks to read more about the APPEAR project and my experience in London!
Eve Mayberger, Curriculum Intern