Last week, I wrote about x-raying the fragments of a painted wooden coffin, as part of the conservation treatment. The radiographs helped us see what is under the painted surface. We then turned to the painted surface itself. Through cleaning, we revealed how beautiful and well-preserved the decoration is. I described the cleaning process (and linked to a short video showing the process!) in a previous post.

E12617A-C coffin fragments before (left) and after (right) cleaning
While it was impossible to see the full range of colors on the boards before cleaning, after cleaning we could see that there were several different colors used to decorate the surface, including two different yellows, red, green, black, and paint that appears black but where it is abraded/damaged looks blue. After much experience working on ancient Egyptian painted wooden artifacts, I knew enough to suspect that some of the paint that appears black is actually Egyptian blue.

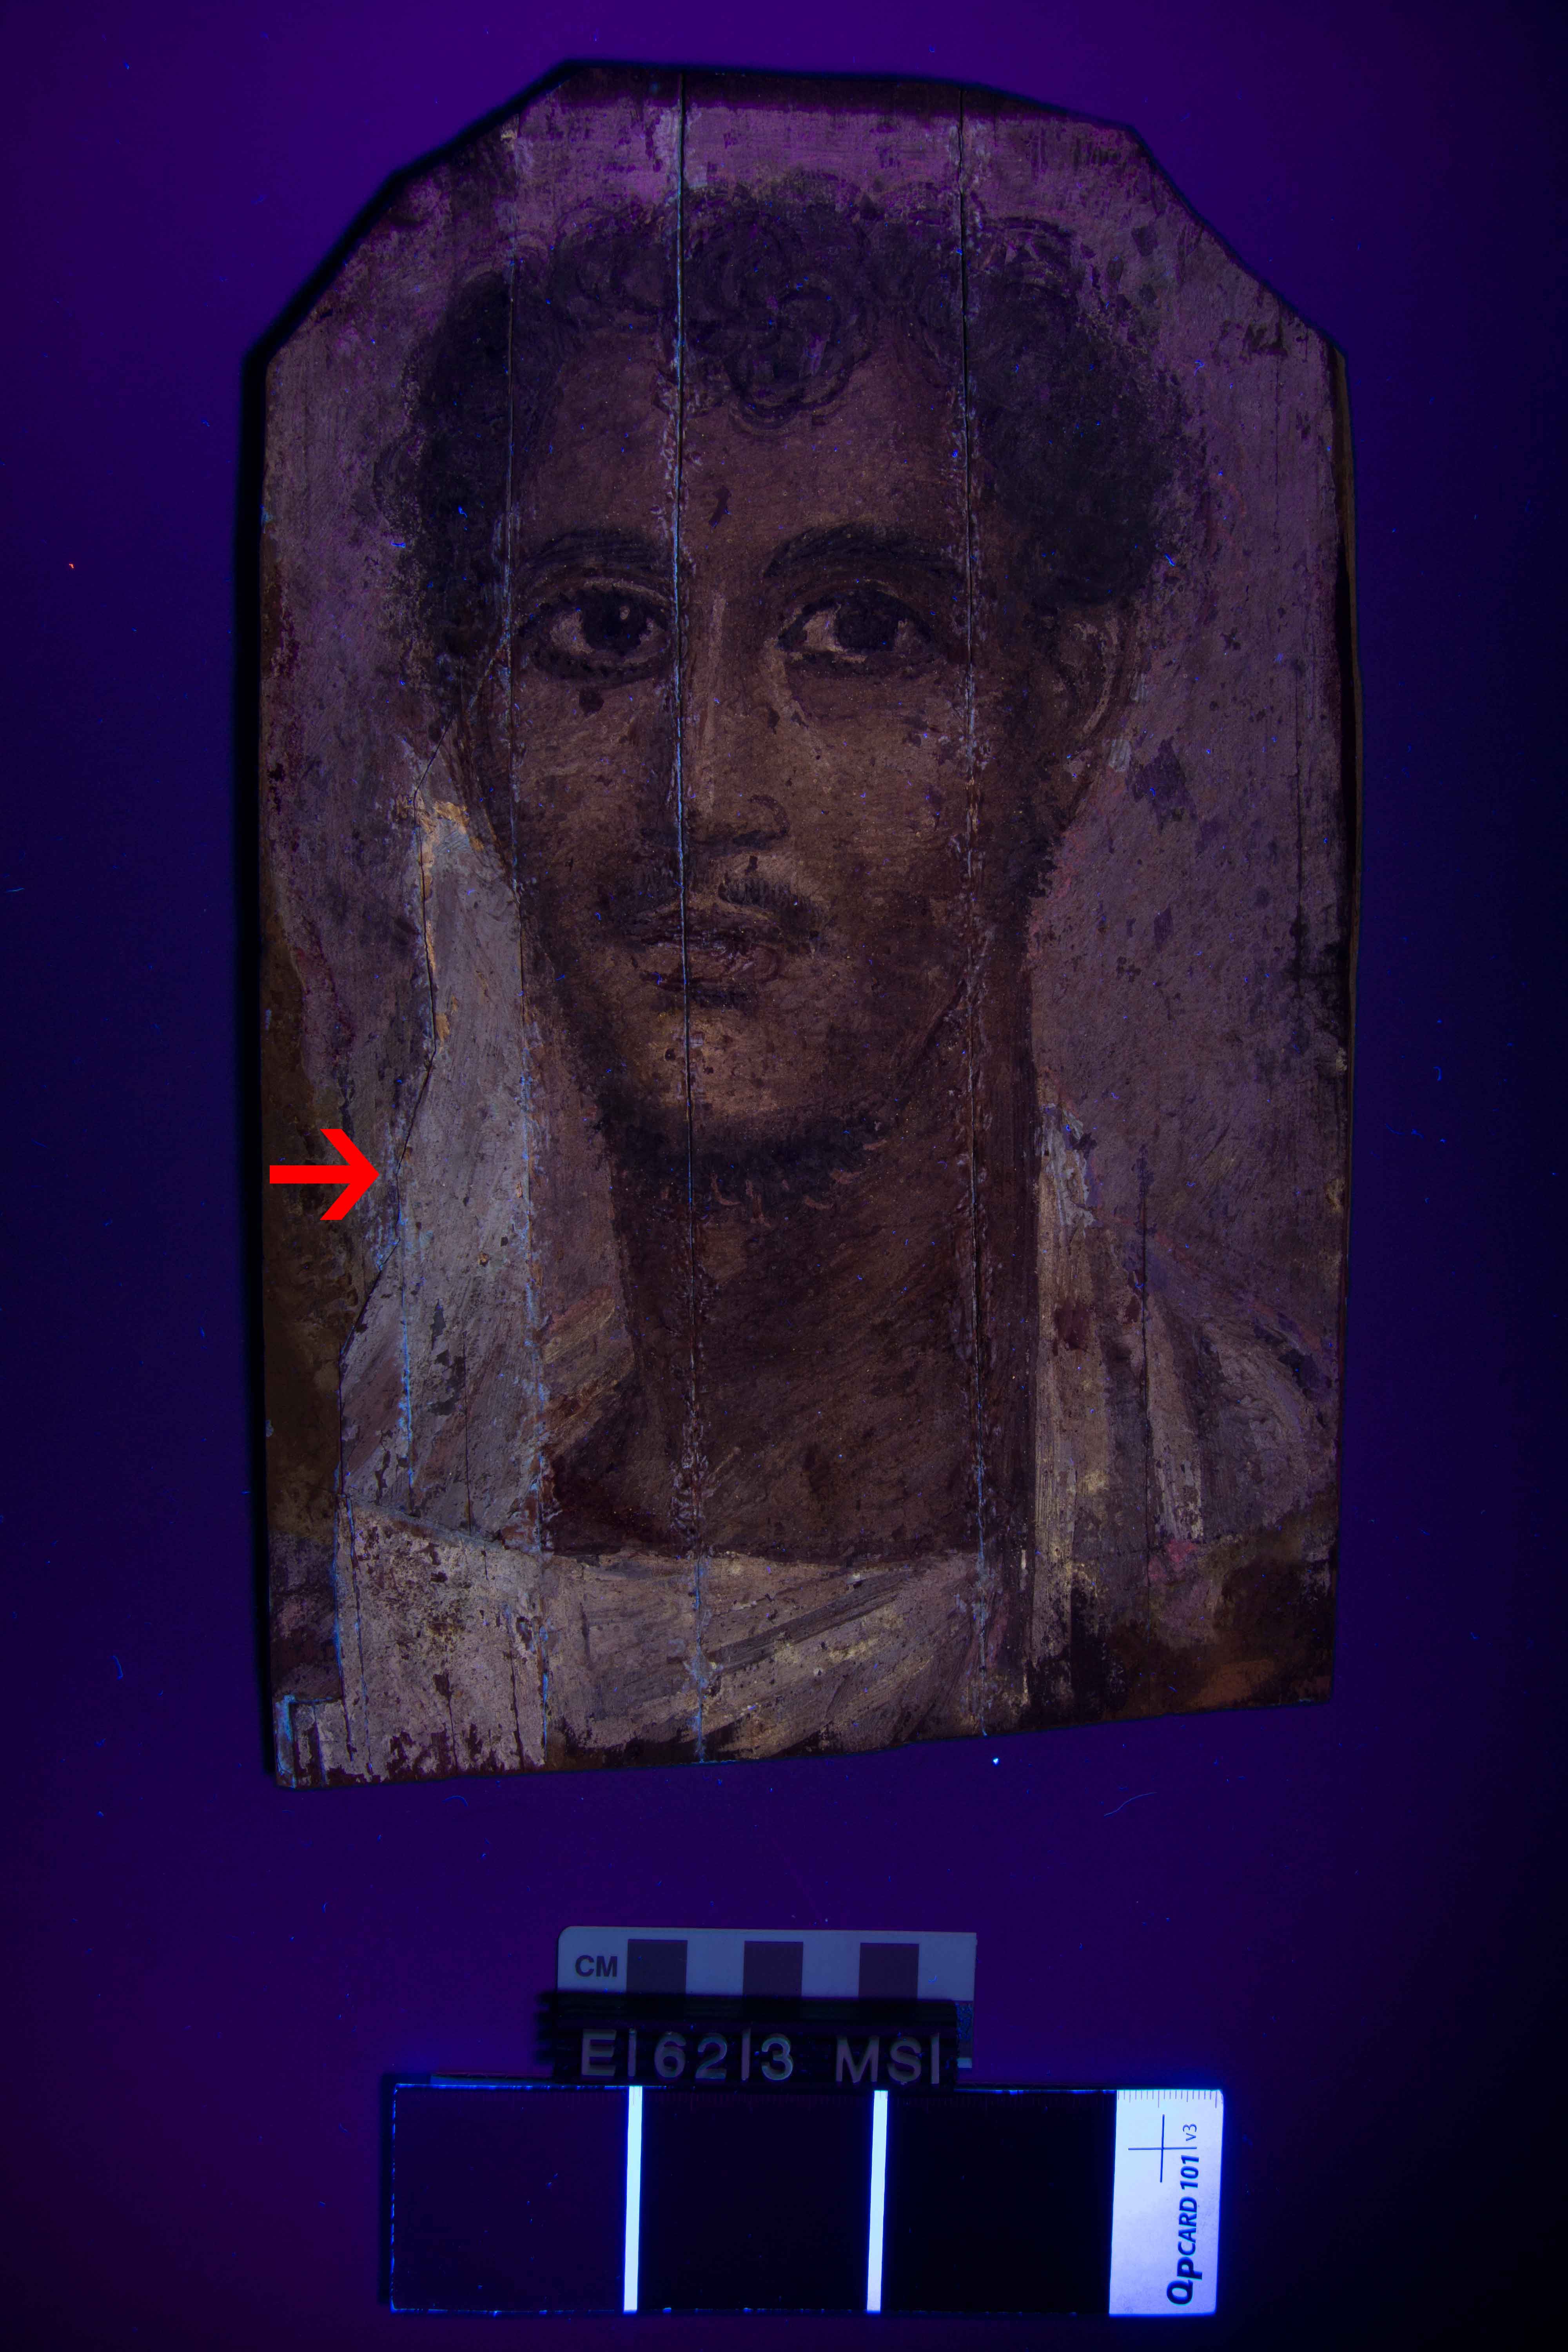
It appears that there is a lot of black paint here, but not all of this paint was originally black. The yellow arrows point to black paint while the red arrows point to areas that were originally blue.
If you’ve been reading our blog, you are probably very familiar with one of our favorite photography techniques for Egyptian material, visible-induced infrared luminescence imaging. I have written about it previously, where I explain the process and the equipment we use (follow this link to the post).
Sure enough, it worked beautifully to confirm, and to allow us to see the Egyptian blue on this object:

Image of the coffin boards in normal light (left), Visible-induced infrared luminescence image (center), False color image (right). Click on the image to see a full-screen version.
All of the darkened/altered Egyptian blue shows up as bright white in the center image above, and the red areas in the false color image on the right help to further visualize where the blue is in relation to the rest of the painted design. Gotta love this technique!
So that’s great for determining the presence and location of Egyptian blue. But what about some of the other colors? I was particularly curious about the two different yellows and the green. In the case of the yellows, are they two different pigments? And as for the green, which pigment(s) were used to produce this color? Without (for the moment – more about that later) knowing the exact time period of this object, I knew there could be at least a couple different options, including Egyptian green (or green frit), and green earth.
To gather more information about these pigments, I carried out portable x-ray fluorescence analysis (pXRF) in select areas on the boards. I collected data from the following areas, marked with colored X’s in the image below:

pXRF analysis locations, with elements detected listed in order of relative peak height, from large to small
As you can see, I labeled the image with the findings from the pXRF analysis. It looks like the two different yellows are indeed two different pigments: the darker, more orange-yellow paint contains primarily calcium and iron, suggesting that this is an ochre, while the brighter yellow paint contains calcium, arsenic, and iron. The relatively large amount of arsenic suggests that this yellow was produced using orpiment (arsenic sulfide).
The green paint also contains arsenic, as well as calcium, copper, and iron. So it appears that the green was produced by mixing an arsenic-containing material (orpiment?) with a copper-containing pigment. Due to the lack of any visible-induced IR luminescence in the green areas, I don’t think that these areas could contain any Egyptian blue, so perhaps the green was made by mixing orpiment with Egyptian green. And as you can see, the blue paint does not contain any arsenic, but does contain calcium, copper, and iron, which we expect to find in areas painted with Egyptian blue. Further analysis will be necessary to determine exactly which pigments were used in the yellow and green areas, but we have discovered a lot using these completely non-invasive techniques!
In my next post about this object, I hope to write about the translation and interpretation, for which I’ll need to consult with the museum’s Egyptologists. In the meantime, if you’d like to learn more about green pigments on ancient Egyptian objects, and more applications of multispectral imaging on Egyptian objects, check out this really great video presentation by Kelsey Museum Conservator Carrie Roberts (originally presented at the 2014 ASOR Annual Meeting):
Green Pigments: Exploring Changing in the Egyptian Pigment Palette from the Late to Roman Periods through Multispectral Imaging and Technical Analysis