
Preserving Buddhist Murals
Apr. 30, 2024
By Sarah Lavin
It’s been nearly a decade since visitors could see the Penn Museum’s Buddhist Murals. Conservators are working to bring them back into view.
Read More
Mar. 20, 2023
By Sean Billups
Ancient Glow-in-the-Dark Artifacts
“Technical analysis” is a term frequently used in the conservation field to describe the use of specialized techniques to examine objects. Those techniques can include using scientific instruments, special cameras, and lots of other equipment. Maybe that term sounds boring, but in addition to telling you a lot about an object, you can also sometimes find fun surprises.
Jan. 08, 2023
By Chris LaMack
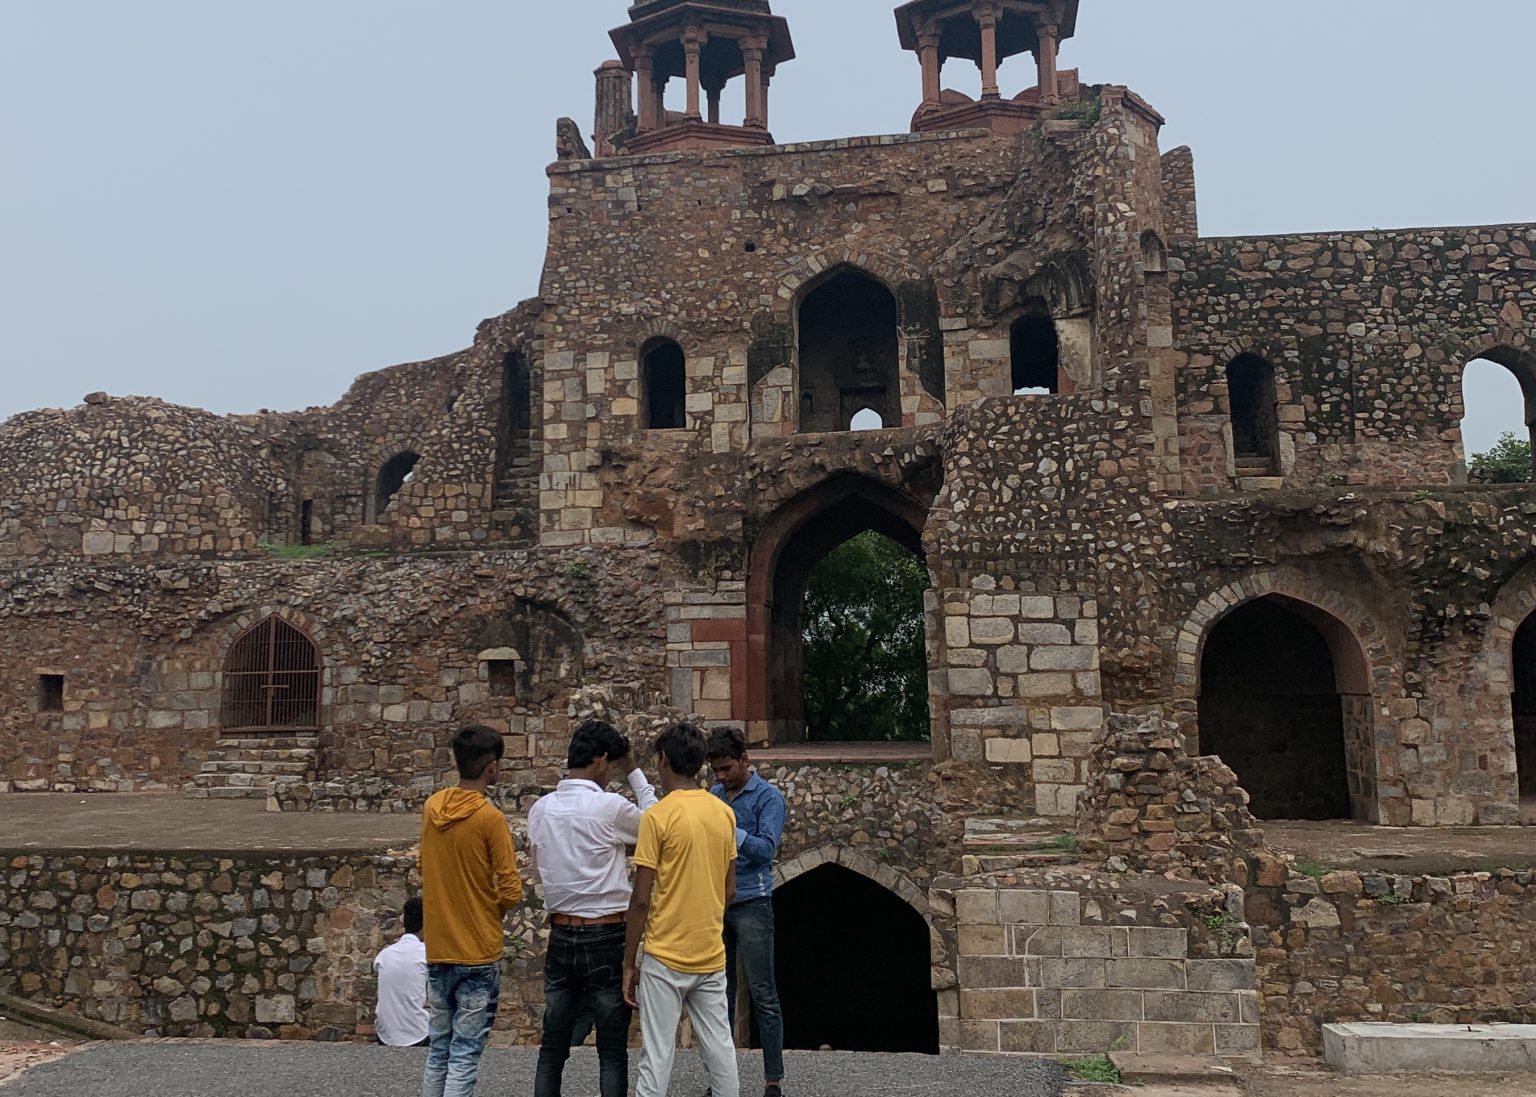
Archaeology Behind the Scenes
This past summer, our team from the Paleoecology Lab and the South Asia Center at Penn spent three weeks conducting preliminary work on our new South Asian Landscape Trajectories (SILT) project – and none of it involved excavation. A lot of it however, involved tea.

Dec. 12, 2022
By Cameron Findlay
The Process of Processing
Step 1: Acquiring the Objects Step 2: Bagging, Tagging, Measuring Step 3: Hand-Numbering Step 4: Creating Digital Records Step 5: Photography Written by Cameron Findlay, Penn Museum Intern (Summer 2022) Cameron Findlay is a senior at Smith College majoring in Anthropology and minoring in Art History, with a concentration in Museum Studies. She was one […]
Dec. 12, 2022
By Lynn Meskell
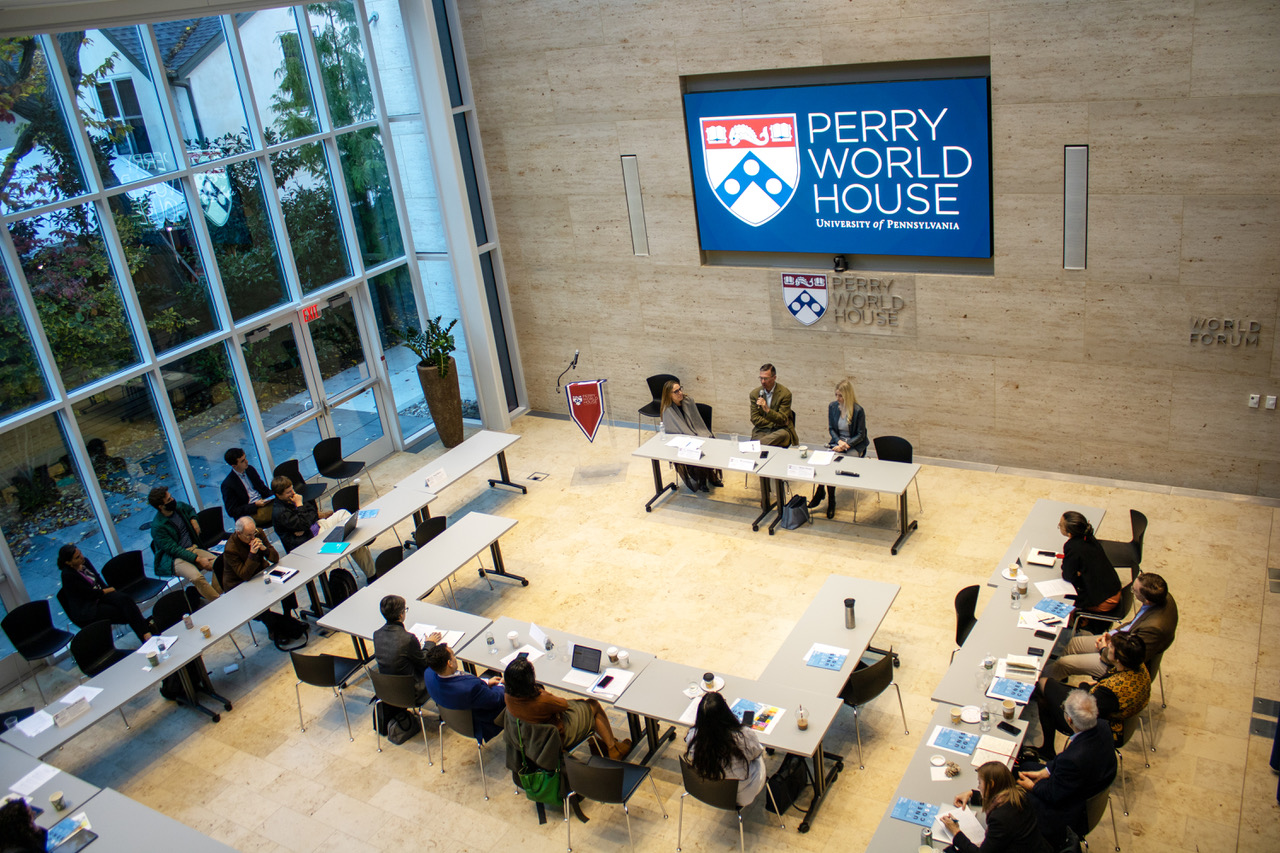
UNESCO World Heritage at 50
PIK Professor Dr. Lynn Meskell, who among her appointments holds the position of Curator in the Asian and Near East Sections of the Penn Museum, recently organized a workshop on global cultural heritage at Perry World House. In the following, Meskell sets out the conference and its contribution.

May. 15, 2022
By Sarah LaPorte
Cold War Archaeology
A large-scale archival “deep-dive” that considers multiple angles for how the US government, private industries, and academia came together in Froelich Rainey’s long career.

Jul. 22, 2021
By Christy Ching
Special Photography for Larger Objects
Photogrammetry is a technology that gathers spatial and color information of an object from multiple photographs to form a geometrically corrected, highly detailed, stitched image called an orthomosaic. Essentially, photogrammetry creates a distortion-free, three-dimensional model of an object based on two-dimensional photos of every surface photographed in sections.