Reimagining an ancient Egyptian material

Have you checked out our In the News section of this blog? Periodically, we try to update this page with some interesting articles related to our Egyptian collection, stories about projects and discoveries in Egypt, and even our own lab highlighted in the press.

One of the more recent stories that we’ve posted is about a new discovery related to Egyptian blue, one of the world’s first synthetic pigments. The ancient Egyptians made it by heating together copper, silica (sand), lime (calcium oxide) and an alkali such as natron (sodium sesquicarbonate) and it is found on objects from as early as the 4th Dynasty through to the Roman Period. We see this pigment on artifacts here in the lab, including Tawahibre’s coffin (and for more details read our blogpost on how we know this.)

A detail of Tawahibre's coffin. Based on analysis, this pigment has been determined to be Egyptian blue.

A detail of Tawahibre’s coffin. Based on analysis, this pigment has been determined to be Egyptian blue.

One thing that has been discovered about Egyptian blue is that it has luminescent properties-this luminescence cannot be seen in normal light conditions, but can be detected and recorded using a device that is sensitive to infrared light. This phenomenon is called visible-induced infrared luminescence. Using a regular (visible) light source and a modified digital camera, it is possible to not only positively identify Egyptian blue using a completely non-invasive technique, but it is also possible to discover very small traces of Egyptian blue pigment on surfaces of objects. It is our hope that we might be able to try this technique to examine some of the artifacts in our collection.

A painted wood uraeus on display in our Upper Egypt gallery. The paint has not been analyzed, but based on appearance the blue is most likely Egyptian blue. Examination with an IR source could confirm this.

A painted wood uraeus on display in our Upper Egypt gallery. The paint has not been analyzed, but based on appearance the blue is most likely Egyptian blue. Examination with an IR light source could confirm this.

Furthermore, it is now understood that this luminescence is produced by the nanostructure of the pigment – scientists have discovered that the calcium copper silicate in Egyptian blue can be broken into nanosheets, which produce infrared radiation similar to beams that communicate between TVs and remote controls and car door locks. It is now being envisioned that these nanosheets could be used for future near-infrared-based medical imaging techniques and security ink formulations!! Talk about a new life for such an ancient material.

You can read and hear more about this by following this link to our In the News section of this blog. Have you read or heard about something recently that you think we should share on our blog? Leave a comment here and we’ll try to incorporate these suggestions whenever possible.


The Philadelphia Science Festival & National Preservation Week

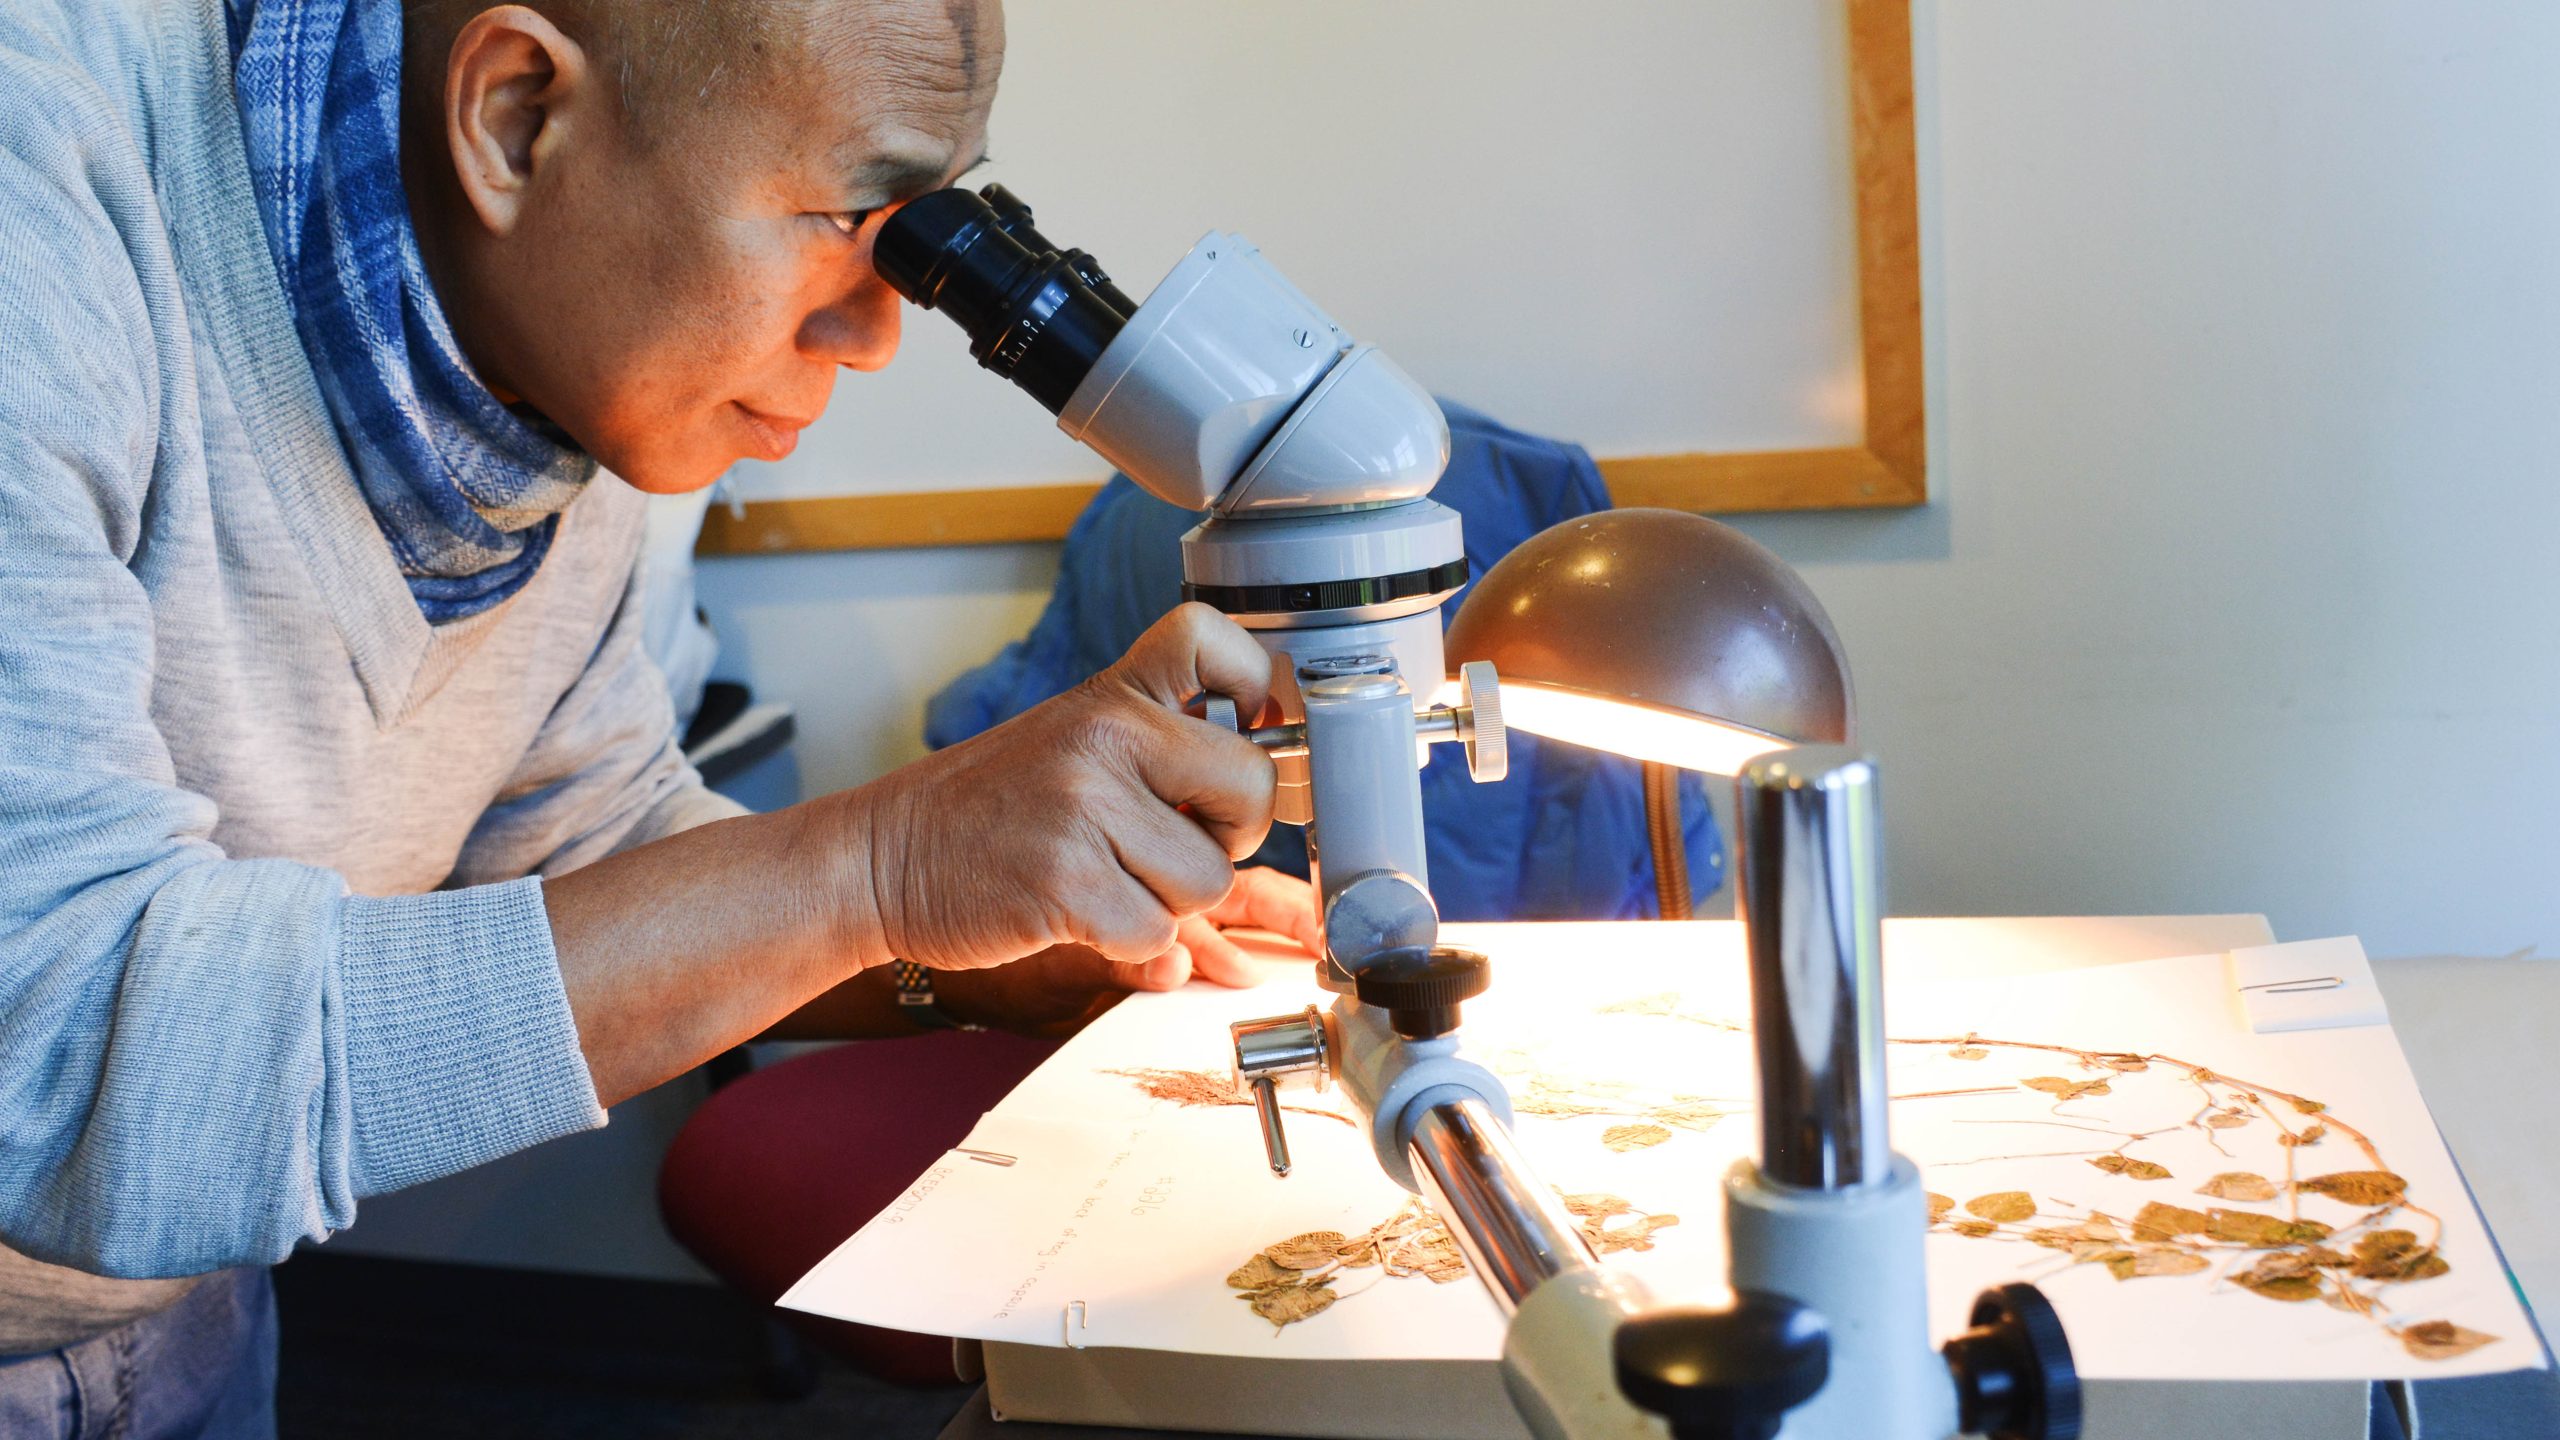
Why do we use microscopes to examine artifacts? What is that funny thing that Lynn Grant is wearing on her head? Find out tonight at the Philadelphia Science Festival event, Long Live Our Treasures: The Science of Conservation and Preservation

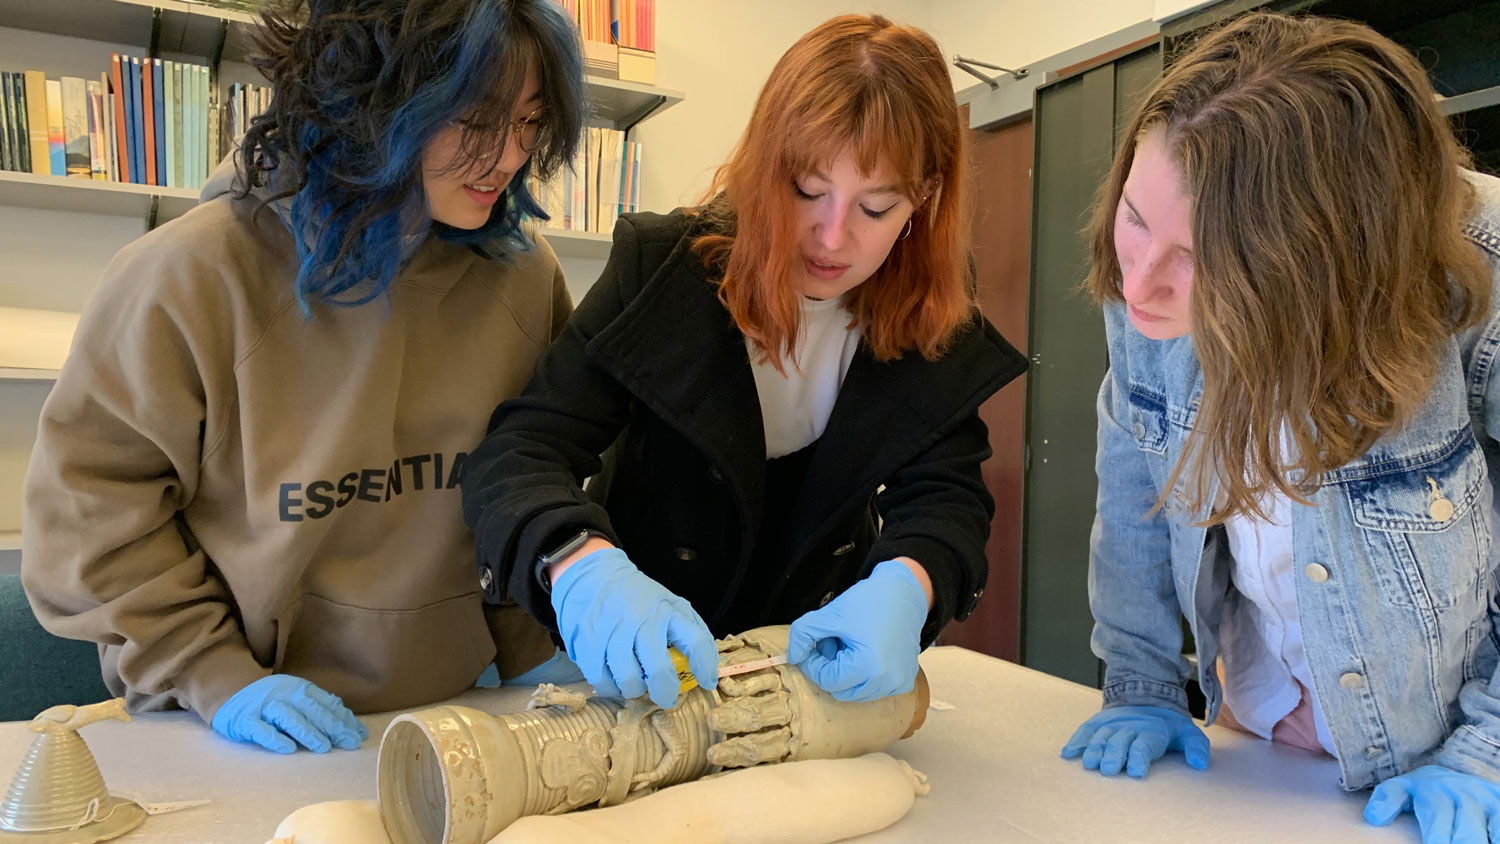
You may look at the photos above and wonder, what are these women doing, and what are they wearing? We answer these sorts of questions every day in the Artifact Lab, but tonight, we won’t be the only ones talking about conservation here in the museum. The Philadelphia Science Festival is currently underway, and this evening, from 5:00- 8:00pm, we are hosting one of the festival’s Signature Events: Long Live Our Treasures: The Science of Conservation and Preservation. Not only will all of our museum’s conservators be available in the Artifact Lab, but we’ll be joined by conservation and preservation professionals from 17 different organizations, including The Barnes Foundation, the Conservation Center for Art & Historic Artifacts, the Franklin Institute, the University of Delaware, and the Free Library of Philadelphia, just to name a few.

What can you expect to see at this event? Essentially, the third floor of the museum will be taken over by booths from each of our partnering organizations. At each station, conservators and researchers will be demonstrating and discussing the preservation of cultural heritage, including photographs, films and home movies, books, paintings, herbarium sheets…oh, and mummies of course!

Curious about this mummy? Visit the Artifact Lab to find out more!!

Curious about this mummy and what we’re doing to preserve it? Visit the Artifact Lab to find out more!!

There will also be many hands-on activities, which everyone has been working hard to prepare.

Artifact Lab intern Melissa Miller prepping demo artifacts for the Science Festival. She is making them "dirty" so Science Festival attendees can try their hand at cleaning them.

Artifact Lab intern Melissa Miller prepping demo artifacts for the Science Festival. She is making them “dirty” so Science Festival attendees can try their hand at cleaning them.

Long Live Our Treasures is essentially an opportunity to learn from the experts about how science and art are combined in the unique field of conservation, and to find out what you can do to care for some of your most treasured possessions. In addition, there will be several presentations throughout the evening.

This week is also National Preservation Week. If you’re in the Philly area, and you’re at all interested in museum conservation, our event this evening is the perfect way to celebrate, to connect with conservation experts and enthusiasts in our community, and to learn more about the important collections in the Philadelphia area and what is being done to preserve them. We’ll look forward to seeing you!


It’s hard work, but with lots of rewards

As I’ve said before on this blog, one of my favorite parts of my job is meeting our visitors on a daily basis. This kind of interaction is really rewarding for me, and I hope that the feeling is mutual for those who do get a chance to stop by the Artifact Lab during open window sessions. So you can imagine how pleased I was to find this in my mailbox yesterday:

quinn envelope_addressremovedAs soon as I saw this, I knew exactly who it was from. Last week I was visited by three brothers, Sean, Aidan, and Quinn – their Granddad brought them to the museum for a day, and after doing his homework, specifically came up to the Artifact Lab for our 11:15 open window session. They had lots of questions for me, and we talked for awhile about our animal mummies. I explained to them that we don’t need to unwrap these mummies to know what’s inside – x-rays show us that this rather nondescript mummy –

ibis mummy

– is definitely an ibis, indicated by the characteristic long curved beak which is clearly visible in x-radiographs taken from 2 different angles:

The ibis' beak, indicated here with red arrows, is seen in x-radiographs taken from two different angles.

The ibis’ beak is indicated here with red arrows

To illustrate this in the lab, we printed out one of these x-ray images along with a little drawing of an ibis, and we keep it next to the mummy for comparison. As soon as the youngest brother, Quinn, saw the picture, he quipped, “I wish I could color that!”. So I immediately handed it over to him and asked him if, when he was done coloring, he could share a photo of it with me to post on the blog. Well, he sure didn’t waste any time – not only did he send me his drawing (signed and everything):

Quinn drawingbut the brothers also included a very sweet, and beautifully illustrated thank you note.

quinn letter togetherWhat wonderful artists, and very thoughtful boys. Answering questions can be hard! But with visitors like this, it doesn’t feel like hard work-it’s just fun. Thank YOU Aidan, Sean, Quinn, and Granddad Dan for visiting me in the Artifact Lab and being the highlight of my day!


Tawahibre all tied up

When I wrote about the fantastic image we retrieved from our Archives a couple weeks ago showing our Mummy Gallery in 1935, I promised to provide an update on the treatment progress on Tawahibre’s coffin.

Well, why don’t I start with this:

A view of Tawahibre's coffin from above

A view of Tawahibre’s coffin from above

While you may not be sure what you’re looking at here, this looks like progress, doesn’t it? I’ll tell you what you are seeing – the coffin is tied in several places with cotton twill tape, holding small pieces of white Volara foam and blueboard (acid-free, lignin-free corrugated board) in place against the coffin surface.

A detail of the Volara foam and blueboard held in place with cotton twill tape

A detail of the Volara foam and blueboard held in place with cotton twill tape

The purpose of this system, other than looking kind of intriguing, is to place select pressure in areas on the coffin (whenever I say this I always think of the useful book The Gentle Art of Applied Pressure-the title speaks for itself). As I have described previously, the coffin is pretty distorted in areas, due to the fact that many of the individual wood elements have separated and moved apart and that the plaster has separated from the wood substrate. We are trying to realign these pieces as much as possible using humidification with a Preservation Pencil, which allows us to direct a small stream of warm humidified air in select areas, which helps the plaster and wood relax a bit and encourages movement. Once we get an area to move sufficiently, we then apply pressure to the area to hold everything in place.

Here Nina is directing a stream of humidified air with the Preservation Pencil and I am applying pressure with my hands.

Here Nina is directing a stream of humidified air with the Preservation Pencil and I am applying pressure with my hands.

We’re also continuing to consolidate the painted surface and readhere loose pieces of plaster and wood.

We don't usually work in teams, but yesterday we had a little group humidification and consolidation party!

This treatment has been a team effort, and yesterday we had a little group humidification and consolidation party!

While we’re making progress and becoming pretty comfortable with the coffin and the treatment, there are still some scary areas to deal with. This is an area that I’ll be tackling next:

A detail of a badly damaged area on the coffin, showing significant cracking and flaking and detached and displaced fragments

A detail of a badly damaged area on the coffin, showing significant cracking and flaking and detached and displaced fragments

Wish us luck as we continue this work!

Salvaging PUM I’s chest wrappings

This week, I started to work on the treatment of our mummy PUM I‘s linen wrappings. Poor PUM I – not only is his body quite deteriorated and in multiple pieces, but his linen wrappings are also fragmentary and very fragile. Some of linen in the worst condition are the pieces that once covered his chest, which were cut off during the 1972 autopsy.

This rectangular section of textiles was cut away as a single unit during the 1972 autopsy.

This rectangular section of textiles was cut away as a single unit during the 1972 autopsy.

In addition to the mechanical damage caused by the autopsy, the linen has suffered from insect damage and it is significantly stained and embrittled in areas, likely due in part to deterioration of the human remains they were once in contact with.

Removing the wrappings (left) and the chest wrappings after removal (right)

Removing the wrappings (left) and the chest wrappings after removal (right)

While this linen is in poor condition, it can be moved as a single unit, so we removed it for treatment. The goal of the current treatment is to keep the linen layers in this section together; to prevent them from slipping out of alignment and to prevent the linen from continuing to tear and deteriorate even more.

After vacuuming the linen thoroughly, I got to work relaxing distorted areas and realigning tears.

Local humidification of the linen in progress, using damp blotter and Gore-Tex

Local humidification of the linen in progress, using damp blotter and Gore-Tex

To realign tears, I bridged these areas from behind with small pieces of Japanese tissue paper, adhered in place with methylcellulose adhesive. The methylcellulose works well because it sets very quickly with only a small amount of pressure from my finger or a spatula.

One side of the wrappings before (left) and after (right) humidification and tear repair

One side of the wrappings before (left) and after (right) humidification and tear repair

The other side of the chest wrappings before (left) and after (right) tear repair

The other side of the chest wrappings before (left) and after (right) tear repair

This is only the beginning of the treatment on PUM I’s wrappings, but I think they are already looking better!


From the Archives

The Penn Museum Archives is an incredible resource for us here at the museum.

A view into the Penn Museum Archives

A view into the Penn Museum Archives

When we begin working on objects in the conservation lab, we carry out preliminary research, which often includes searching for related materials in the Archives. Among the materials we may be interested in are archaeological field notes, letters between curators and archaeologists or collectors about the acquisition of specific artifacts, and old photographs.

Recently, Senior Archivist Alex Pezzati scanned some images for me, including this one, a shot of the Egyptian “Mummy Gallery” in 1935.

31011_mummyroom_1935_compressed

I was excited to see some of the artifacts we’re working on in the Artifact Lab right now in this photo. Can you pick some of them out? In the image below I’ve circled some of them in red.

The objects circled in red above are either being worked on in the Artifact lab or are on display in our accompanying exhibit

The objects circled in red above are either being worked on in the Artifact lab or are on display in our accompanying exhibit

These old exhibition photographs can be extremely valuable to conservators. Not only does this particular image tell us that certain artifacts were definitely on display, and when (which may not be recorded elsewhere), but it also shows us how they were displayed. In some cases, seeing the way that artifacts were previously displayed may help to explain damage, such as excessive fading on one side or adhesive residues left behind by an old mount. We can often make good guesses about this type of damage, but it’s always nice to have some proof!

What particularly excited me about this photograph is that it shows the coffin of Tawahibre in the gallery. We are currently working on this coffin in the lab, but it is still too fragile to separate the lid from the base to allow for examination of both pieces individually.

The coffin of Tawahibre in the Artifact Lab.

The coffin of Tawahibre in the Artifact Lab.

Just recently, Curator Dr. Jen Wegner was up in the lab and we were discussing the coffin and some of my observations, and she wondered out loud if the back had any text written on it. I had wondered the same thing myself but I knew that until we carried out further work, we wouldn’t be able to know.

BUT, since this 1935 photograph shows both the lid and the base of the coffin on display, we don’t have to wait any longer!

The lid and the base of Tawahibre's coffin, side by side in the Mummy Gallery in 1935.

The lid and the base of Tawahibre’s coffin, side by side in the Mummy Gallery in 1935.

As you can see in the above image, there is writing on the back! Now only if we could just hasten the conservation treatment so we can examine it for ourselves…

Another thing that is useful about this image is that is shows that much of the damage we’re seeing on the coffin today was present in 1935. This includes both major structural damage and extensive paint loss in areas. It is likely that the coffin came into our collection with this damage, which is somehow reassuring to me. I will also note this in my documentation.

Tawahibre's coffin in 1935 (left) and today (right). Much of the major damage we see today had already occurred by 1935. To highlight this, I've circled some of the damaged areas in red in both images.

Tawahibre’s coffin in 1935 (left) and today (right). Much of the major damage we see today had already occurred by 1935. To highlight this, I’ve circled some of the damaged areas in red in both images.

We continue to plug away on the treatment of the coffin and we are hoping to soon reach the point where we can separate the lid. I will provide an update shortly about some of the more recent work we have been carrying out on this artifact!