Investigating the shabti box coating

Last month, I wrote about a new challenge in the lab, otherwise known as this shabti box and its associated shabtis:

front compressedAt first the box came into the lab with 3 shabtis, and then we found that there were 3 more in storage that may belong with the box as well. 4 of the shabtis are very similar in appearance whereas the other 2 are slightly different, so they may actually not be associated after all. Can you spot the 2 different shabtis?

2 of these things are not like the others...

2 of these things are not like the others…

All of these objects are made of wood, gesso, and paint. And as you can see, all of them have an orange-yellow coating on their surfaces. In my last post I posed the questions “what is this coating?” “is it an original varnish or is it a later restoration?”. My initial guesses were that it is either an original pistacia resin varnish, a later cellulose nitrate (or other old restoration adhesive) coating, or a combination of the two.

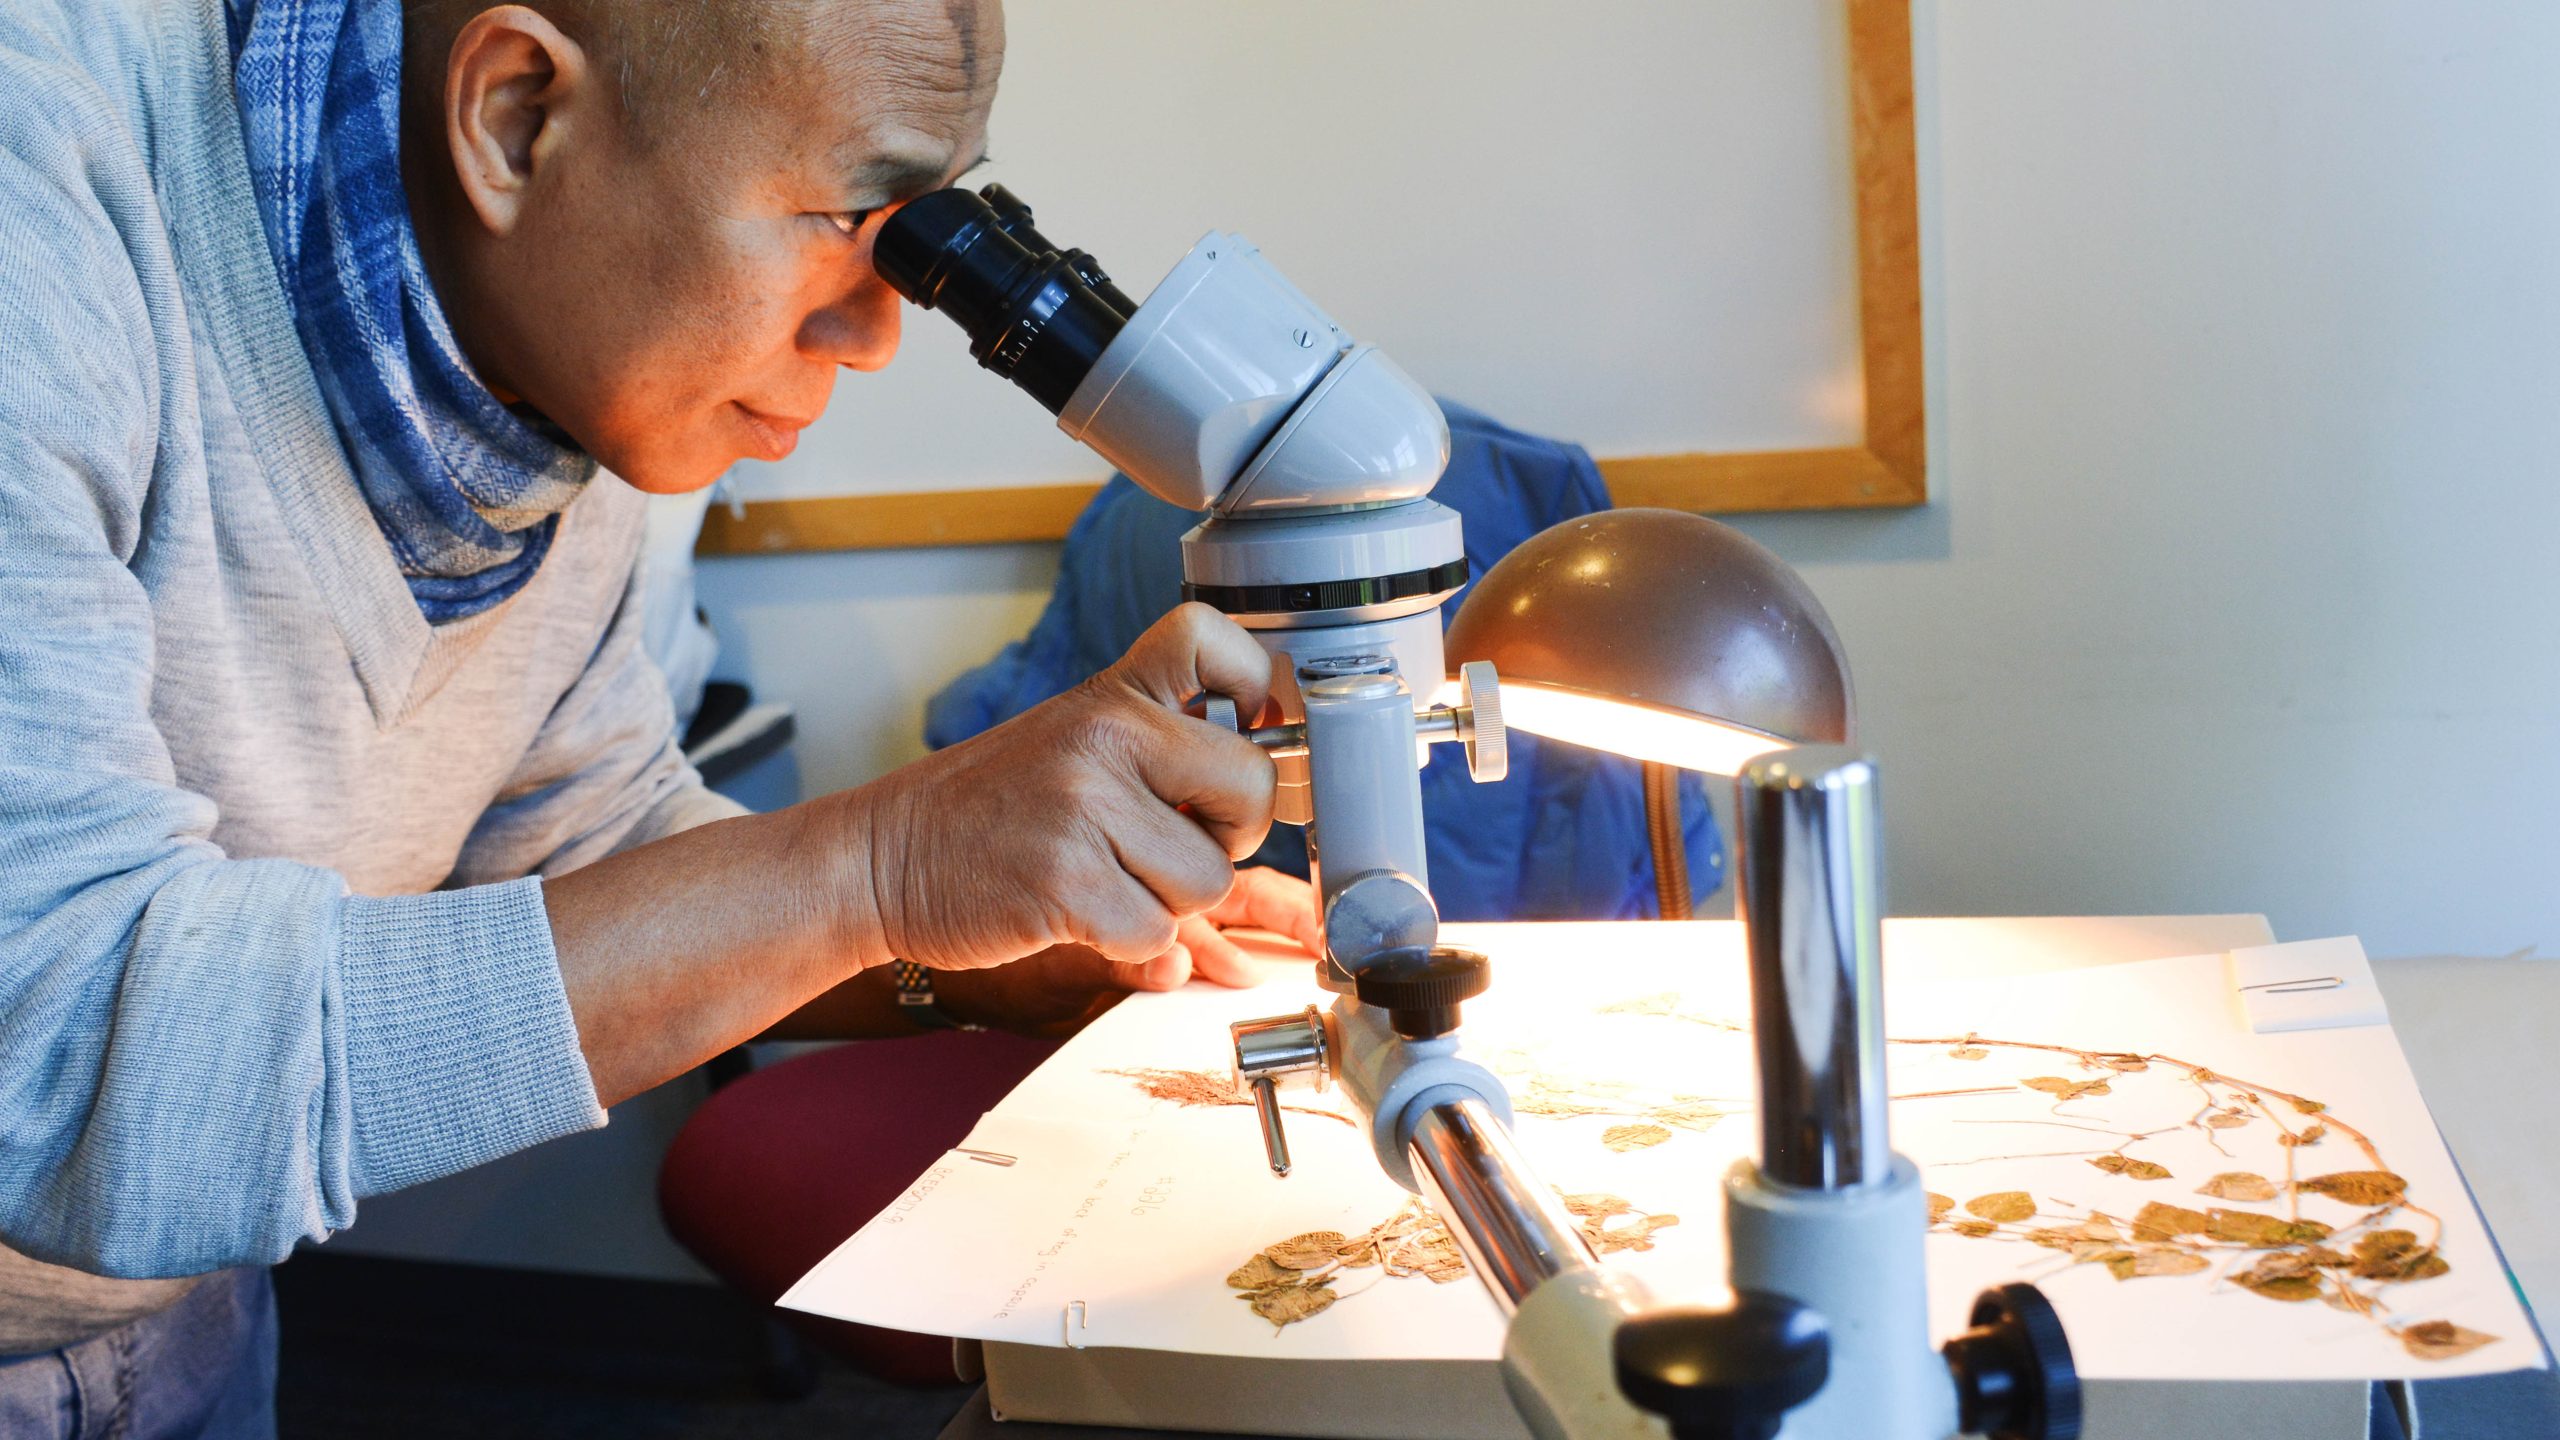
Well, there are several things we can do to try to answer these questions and to narrow down the possibilities. One of the first things I did was to look at these objects very carefully using our binocular microscope. I could see that the coating was applied unevenly, especially on the box, and that it is actively cracking and flaking. Another thing that I noticed was that there are areas on the box where the paint is lost and where the coating extends over the loss onto the gesso below.

A detail shot of one side of the shabti box - the yellow arrows are indicating areas where the coating extends over an area of paint loss onto the gesso.

A detail shot of one side of the shabti box – the yellow arrows are indicating where the coating extends over areas of paint loss onto the gesso.

Usually, this would indicate that the coating was applied after the damage occurred (so sometime after excavation, either in the field or soon after coming to the museum). So this is one clue, but doesn’t really answer my questions.

Next, I examined the shabti figures under ultraviolet (UV) light. In conservation we routinely use UV examination to characterize materials and to distinguish old restoration materials from original materials – for instance, shellac, used historically to repair objects, exhibits a characteristic bright orange fluorescence under UV. (For an explanation of UV, along with some interesting images, check out this post we wrote on multispectral imaging.)

The coating on the box and the shabtis has a yellow-orange appearance under UV – but not the bright orange that we expect to see from shellac.

shabti UV

4 shabti figures under UV light

So UV examination was helpful (it eliminated shellac as a possibility) but didn’t answer my questions either.

Next, I did a microchemical spot test on a couple of the previously detached flakes of the coating. We’ve used spot-testing before in the lab – the last time I wrote about it was in reference to the mystery fibers on Tawahibre’s coffin. In this case, I carried out a spot test for nitrates using diphenylamine (according to instructions in Material Characterization Tests for Objects of Art and Archaeology). Using this test, a sample containing nitrates will turn blue once a solution of diphenylamine/sulfuric acid is added. Below you can see the result of the test on one of the coating flakes from the shabti box (left) and the test on a control sample of cellulose nitrate adhesive (right).

Left: coating sample from the box after spot test (negative result) Right: control cellulose nitrate adhesive after spot test (positive result)

Left: coating sample from the box after spot test (negative result) Right: cellulose nitrate control after spot test (positive result)

Based on these results, it seems that the coating does not contain cellulose nitrate. This does not mean that the coating does not contain another recently-added adhesive. We have a few other ways of narrowing down the possibilities even further, and I will write about our continued work on this in my next post.


Au revoir, Laura!

Since September, we have been very fortunate to have Laura Galicier interning with us in the Artifact Lab. Laura is a graduate student studying conservation at the University of Paris Pantheon-Sorbonne, and spent her time here working on the conservation of several objects, two of which (the wooden heads) are the basis for her dissertation.

laura with headsLaura will soon graduate with her degree in conservation, and will embark on the next phase of her career as a conservator.  Although Laura’s final day in the lab was last week, have no fear – you haven’t heard the last from her. She has at least 1 more blog post to contribute, which will be available soon.

Congratulations, Laura!  Félicitations!  We will miss you. And these guys want to know, when will we see you again??

heads goodbye laura

A new material in the Lab

loadimg.phpWhile we primarily work on Egyptian materials in the Artifact Lab, we occasionally work on objects from other cultures as well. (http://www.penn.museum/sites/artifactlab/2013/12/21/ch-ch-changes-in-the-artifact-lab/) Recently, two new objects were brought to lab. They are two glass vessels from Cyprus, which were discovered in the archaeological site of Kourion. Their date is unknown.

Untitled-1Capture

First of all, what is glass made of? Generally three materials are mixed together:

A former, being the main component: silica, usually found in sand;

A flux, lowering the melting point of the glass mixture, the melting point being the temperature at which the glass mixture becomes a liquid (from 1600-1713 Celsius for raw silica alone to 800 Celsius for silica + a flux); this material is an alkali or soda.

A stabilizer, inserted inside the chemical structure of the glass to strengthen it; usually lime.

– A fourth material, metal oxides, can be added to obtain a specific color (manganese for purple, gold for red, silver for yellow…).

This composition and the percentages of each substance change according to times and places. Moreover, glass can take a wide range of different shapes.

Here is a picture of the objects before treatment:

The two glass objects before treatment.

The two glass objects before treatment.

Both are glass vessels. The vessel on the left was restored in the past; a coating was applied on its whole surface and it was glued with that same substance. This adhesive is now flaking off the object, leaving thin and transparent films. This become more obvious when observed under ultraviolet light.

The object viewed under UV light. The bright white-yellow material is the old adhesive.

The object viewed under UV light. The bright white-yellow material is the old adhesive.

The old adhesive is pretty obvious now, with its white-yellowish color. This substance is also soluble in acetone. These properties allowed us to conclude that it is cellulose nitrate, a well-known material used to restore glass objects in the past. In addition to not aging well, this adhesive was applied very thickly on the edges, preventing the fragments from being joined together correctly.

Example of a problematic cellulose nitrate deposit on the  edge of a fragment.

Example of a problematic cellulose nitrate deposit on the
edge of a fragment.

Both glass objects also show evidence of delamination of their surfaces. It takes the form of a white layer, which flakes off the object.

New Picture (3)This phenomenon, called delamination, can start in the burial environment especially when the object undergoes weathering. This weathering changes the refractive index of glass as well. Each glass artifact has a specific refractive index, indicating how the light passes through it. According to this, our eye will perceive the object a certain way. Any change in the material, such as delamination, will alter this refractive index and thus our perception of it.

Untitled-10Here is an illustration directly on the object itself:

Delamination of the glass; the delaminated layers are white whereas the ‘glass substrate’ show a brown amber color.

Delamination of the glass; the delaminated layers are white whereas the ‘glass substrate’ show a brown amber color.

This process, if not stopped, can end up delaminating the whole object, layer by layer, resulting in the loss of this artifact. Conservation treatment, and good environmental controls, can prevent this from happening.

We’ll write more about the treatment of these glass vessels in our next post!