What is under the paraffin ?

Egyptian wooden statue of Ka-Aper, also named  the Sheikh-el-beled, from the Vth Dynasty, decorated with inlaid eyes.

Egyptian wooden statue of Ka-Aper, also named
the Sheikh-el-beled, from the Vth Dynasty,
decorated with inlaid eyes.

Quite a while ago, we dealt with the treatment chosen for the two Egyptian wooden heads and now it’s time to talk about its results. Let’s focus on the cleaning of the surface: the goal was to remove the paraffin that certainly masked other remains of the painted layer.

First of all, we have to talk about the notion of original surface and original level.

> The original surface is composed of the original materials, before they were buried and underwent an alteration process. Concerning the heads, it corresponds to the paint layer they were decorated with.

> The original level is a layer of altered material that took the place of the original material but remained at the same level as the original surface. A good way to understand this is to think about a fossil: it is no longer the original animal, insect or plant made of flesh, bones, shell that it used to be…but you can still identify its shape since it was precisely petrified by another material. That’s what we can call the original level of an object surface.

Nouvelle image (2)It was necessary to define what the original level was on the heads, so as to know how deep the cleaning could go. It had to keep its meaning regarding the object itself. The paint layer was a good clue since these colored patches were all that remained from the original surface. As far as we could see, the rest of the surface was more or less corresponding to the original level. Indeed, there was no important gap between the painted areas and the present surface.

Sans titre - 1

Original surface and original level near the wig of E17911, x7.5 magnification.

Another issue with paraffin was to think about how much of it we wanted to remove. Indeed, this sticky layer seemed to be what was holding the elements of the current surface together. That was especially true about the painted areas. Concerning the wood, we could only suppose that the paraffin had penetrated inside on a few millimeters only (thanks to a few articles that were published and gave estimations of paraffin migration inside archaeological wood) since we had no way to obtain an accurate estimation of this. Therefore, we didn’t want to remove it completely from the wood because it could threaten its stability and cause the wood to crumble.

That’s why the cleaning began with the known rather than with the unknown: the painted areas were cleaned from the paraffin that covered them. Thus, we could see their real extent. However, the pigments remain stuck in a thin paraffin layer but their legibility was improved, as you can see on these pictures:

Pictures of E17911’s right cheek before and after cleaning, x7.5.

Pictures of E17911’s right cheek before and after cleaning, x7.5 magnification

Nouvelle image (15)

Pictures of E17910’s chin before and after cleaning, x7.5 magnification.

E17910’s right eye, before and after cleaning.

E17910’s right eye, before and after cleaning.

Then began the exploration of the unknown side of the heads, meaning the rest of the surface, where the presence of areas of paint was only a supposition.

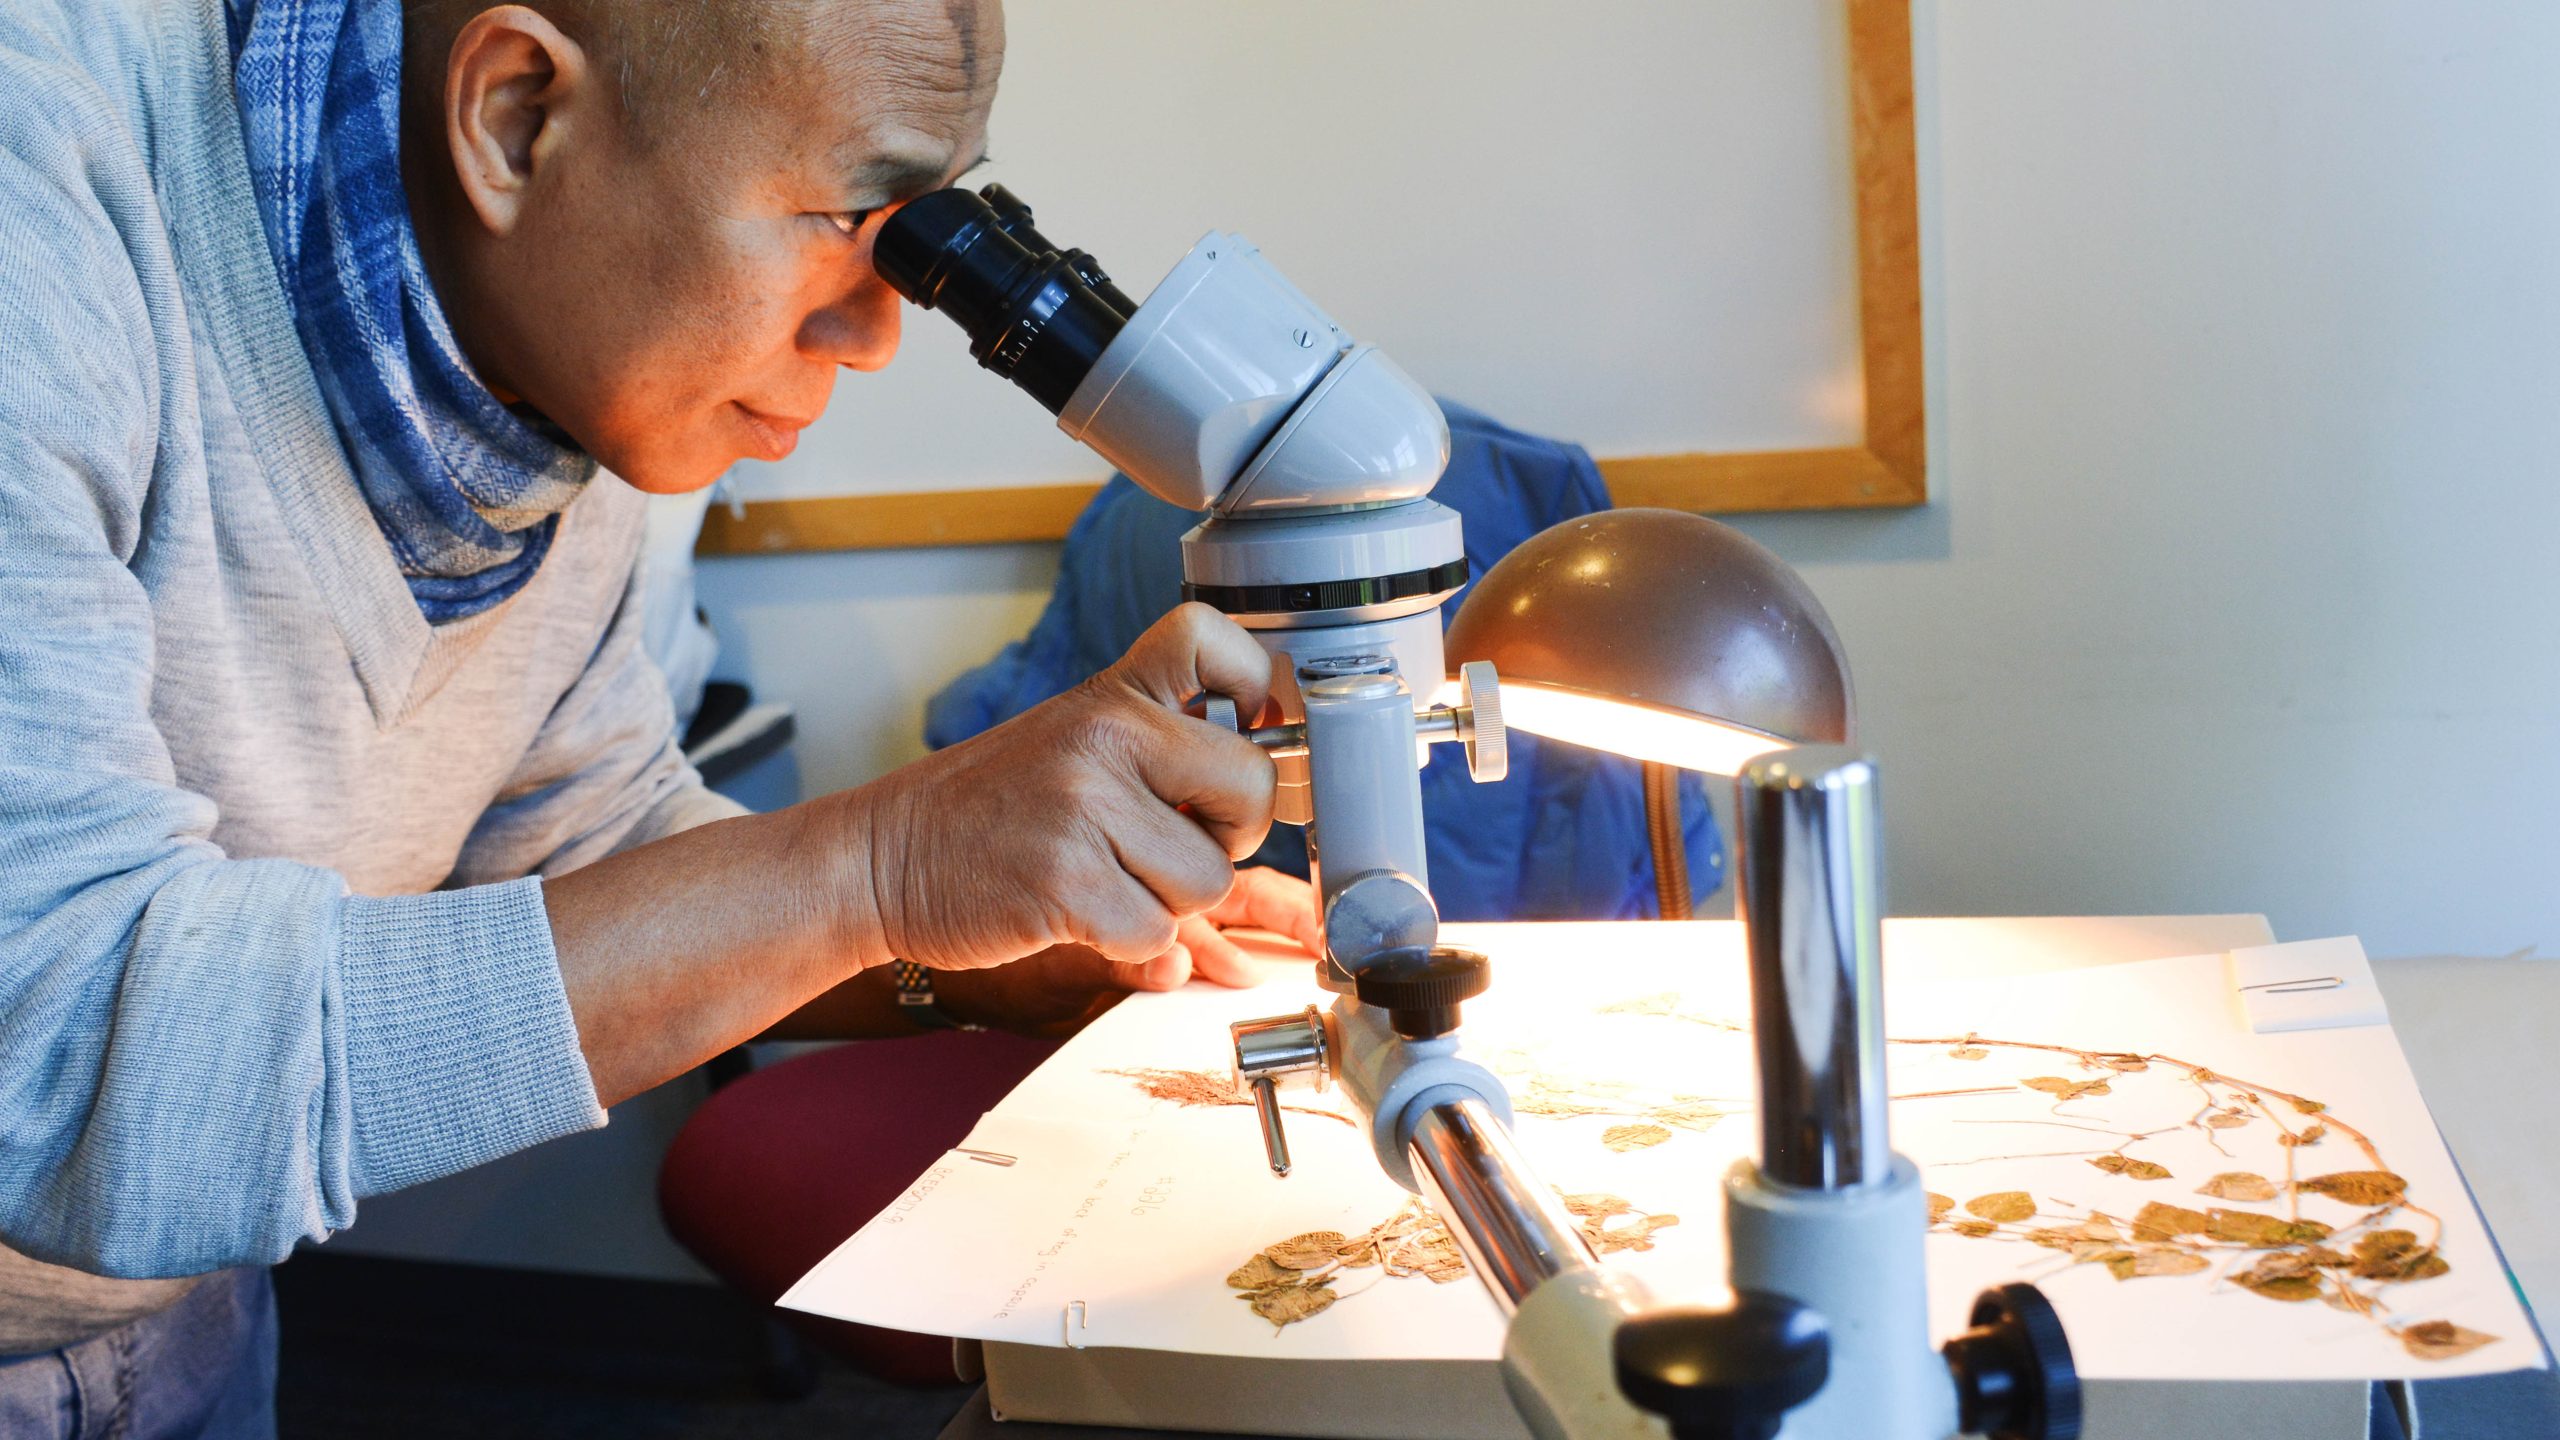
This part of the work was really the longest since we couldn’t know what to expect under the paraffin and sediment layer. Some days, only a centimeter square could be cleaned ! Cleaning was carried out using a binocular microscope, in order to see precisely what happened under the scalpel blade and to be able to stop whenever it was necessary.

We found some new paint areas, generally rather small, sometimes buried under a rather important depth of sediment.

Example of two new painted areas on E17911, on the wig (on the left) and next to the right ear (on the right).

Example of two new painted areas on E17911, on the wig (on the left) and next to the right ear (on the right).

The biggest surprise happened with E17910 :

E17910 before and after treatment: a wig is now visible.

E17910 before and after treatment: a wig is now visible.

Close-up on the wig on the right part of E17910.

Close-up on the wig on the right part of E17910.

E17910’s face before and after, with other remains of a wig.

E17910’s face before and after, with other remains of a wig.

The cleaning allowed us to reveal a wig on the right side of E17910 and some other elements belonging to it on the face. We now know more details about the heads and they are almost able to be studied.

See you at our next post to learn more about the remaining steps of this treatment.

A new material in the Lab

loadimg.phpWhile we primarily work on Egyptian materials in the Artifact Lab, we occasionally work on objects from other cultures as well. (http://www.penn.museum/sites/artifactlab/2013/12/21/ch-ch-changes-in-the-artifact-lab/) Recently, two new objects were brought to lab. They are two glass vessels from Cyprus, which were discovered in the archaeological site of Kourion. Their date is unknown.

Untitled-1Capture

First of all, what is glass made of? Generally three materials are mixed together:

A former, being the main component: silica, usually found in sand;

A flux, lowering the melting point of the glass mixture, the melting point being the temperature at which the glass mixture becomes a liquid (from 1600-1713 Celsius for raw silica alone to 800 Celsius for silica + a flux); this material is an alkali or soda.

A stabilizer, inserted inside the chemical structure of the glass to strengthen it; usually lime.

– A fourth material, metal oxides, can be added to obtain a specific color (manganese for purple, gold for red, silver for yellow…).

This composition and the percentages of each substance change according to times and places. Moreover, glass can take a wide range of different shapes.

Here is a picture of the objects before treatment:

The two glass objects before treatment.

The two glass objects before treatment.

Both are glass vessels. The vessel on the left was restored in the past; a coating was applied on its whole surface and it was glued with that same substance. This adhesive is now flaking off the object, leaving thin and transparent films. This become more obvious when observed under ultraviolet light.

The object viewed under UV light. The bright white-yellow material is the old adhesive.

The object viewed under UV light. The bright white-yellow material is the old adhesive.

The old adhesive is pretty obvious now, with its white-yellowish color. This substance is also soluble in acetone. These properties allowed us to conclude that it is cellulose nitrate, a well-known material used to restore glass objects in the past. In addition to not aging well, this adhesive was applied very thickly on the edges, preventing the fragments from being joined together correctly.

Example of a problematic cellulose nitrate deposit on the  edge of a fragment.

Example of a problematic cellulose nitrate deposit on the
edge of a fragment.

Both glass objects also show evidence of delamination of their surfaces. It takes the form of a white layer, which flakes off the object.

New Picture (3)This phenomenon, called delamination, can start in the burial environment especially when the object undergoes weathering. This weathering changes the refractive index of glass as well. Each glass artifact has a specific refractive index, indicating how the light passes through it. According to this, our eye will perceive the object a certain way. Any change in the material, such as delamination, will alter this refractive index and thus our perception of it.

Untitled-10Here is an illustration directly on the object itself:

Delamination of the glass; the delaminated layers are white whereas the ‘glass substrate’ show a brown amber color.

Delamination of the glass; the delaminated layers are white whereas the ‘glass substrate’ show a brown amber color.

This process, if not stopped, can end up delaminating the whole object, layer by layer, resulting in the loss of this artifact. Conservation treatment, and good environmental controls, can prevent this from happening.

We’ll write more about the treatment of these glass vessels in our next post!


The jar is gone !

Example of an Egyptian jar, complete (XVIIIth Dynasty).

Example of an Egyptian jar, complete (XVIIIth Dynasty).

After making some fills on the Egyptian demotic jar, two other steps remained to complete the treatment.

First: painting the fills. The goal is to tone the fills with a color matching the general shade of the ceramic, so as it doesn’t catch your eye when you’re looking at it from a few feet away. It has to be clearly distinguishable if you get a closer look.

Here is the result:

Untitled-2 Let’s have a closer view:

Untitled-3

Untitled-4

View of the 4 areas of the jar that were filled and toned.

Second step: making a storage box. The basic rules about storage-making are quite simple. The materials used to make the storage must be chemically neutral towards the object and their ageing must not threaten its condition. For example, some materials can deteriorate in a short-term time period and cause chemical reactions with the artifact they are supposed to protect, causing alterations.  That’s why conservators use materials that were approved by testing them, like submitting them to specific temperature or humidity settings. More details about storage materials can be found following this link.

To prevent this situation from happening, acid-free paper and cardboard, polyethylene foam and fabric, and other well-known conditioning materials are preferred.

Then, each object being different, the storage needs to be adapted to its needs (size, weight, material sensitivity…) but also to the room available in the storeroom itself ! Concerning the jar, it was about allowing its safe and easy handling and preventing it from rolling.  According to its weight, the cardboard used had to be quite strong.

Left: the box has a front side that opens and a small compartment (on the right) to store fragments that couldn't be glued to the jar.   On the right: The box with the front side closed.

Left: the box has a front side that opens and a small compartment (on the right) to store fragments that couldn’t be glued to the jar.
Right: The box with the front side closed.

The mount, so as the jar can safely be pulled out of the box.

The mount, so as the jar can safely be pulled out of the box.

Left: the jar in its new storage box... Right: ...ready to go back to the Egyptian storeroom.

Left: the jar in its new storage box…
Right: …ready to go back to the Egyptian storeroom.

Here ends the conservation treatment of the jar; it was brought back to the storerooms last week. But we still have new projects in the Lab !

Ungluing, re-gluing and filling the jar.

Statuette of an egyptian potter at work (beginning of  the 2nd mill. B.C).

Statuette of an egyptian potter at work (beginning of the 2nd mill. B.C).

The next step for the Egyptian jar was un-gluing all the fragments …to glue them together again.

We had two different cases: fragments that remained adhered together and fragments that were already separated, bearing remains of an old adhesive on their edges. The old adhesive had to be removed since it had many negative issues. First, it prevented the fragments from being joined back together by creating an unnecessary thickness at their junction. Moreover, when reconstructing the ceramic, the old adhesive prevents the fragments from fitting together well.

This old adhesive had a light brown color and after a few tests, it was found to swell when warm water was applied on it.

Here is what it looked like:

Detail of the break edge of one of the fragments, after applying water steam.

Detail of the break edge of one of the fragments, after applying water steam.

To remove the adhesive from the break edges, we used a Preservation Pencil, a tool looking like a pen and emitting water steam. Once softened, the adhesive was very easily removed with a scalpel or a brush.

And here is the result :

The same fragment edge after the removal of the old adhesive.

The same fragment edge after the removal of the old adhesive.

For the fragments still adhered together, it was a little more difficult since the water had to penetrate inside the jar but not too much because of the water-soluble ink on the surface. Compresses, or poultices, of water were applied on the interior of the ceramic, to cover the breaks. Most of the fragments fell apart quite quickly contrary to areas where the jar was very thick.

Now the building could begin ! … well almost since it was necessary to plan precisely how to proceed and in which order to arrange the fragments. First, we had to find where each of them was going, to estimate the losses. For that purpose every fragment was given a number and they were located on a map so as to keep track of their location.

The map; the numbers were indicated on the fragments with blue scotch tape.

The map; the numbers were indicated on the fragments with blue scotch tape.

Then the gluing really began, using the conservator’s favorite adhesive: Paraloid B72, diluted in acetone.

First steps of the gluing.

First steps of the gluing.

The more the jar grew, the more it needed a support, first on the outside, since its bottom is rounded….

A good support was provided by this bucket filled with glass balloons, heavy enough to stabilize the jar.

A good support was provided by this bucket filled with glass balloons, heavy enough to stabilize the jar.

…then on the inside to prevent it from collapsing on itself because of some particularly heavy fragments.

The jar was growing and needed internal support; the white material inside is a plastic bag filled with polyethylene fiber.

The jar was growing and needed internal support; the white material inside is a plastic bag filled with polyethylene fiber.

Losses in the ceramic had to be filled at the same time as the gluing to provide structural support to the jar and prevent it from collapsing.  Moreover those areas to fill would have been difficult to reach once the gluing was complete.

There was one large loss that definitely needed to be filled since one of the surrounding fragments was holding by only a few millimeters to another one.

Filling this area was a bit tricky. The fill material needed a support to be applied on the jar. Japanese tissue paper was glued inside of it and strengthened by applying several layers of Paraloid B72. It also needed to be shaped according to the curve of the jar.

On the left: The area to be filled.                        On the right: Japanese tissue paper used as a support to hold the fill material.

On the left: The area to be filled.  On the right: Japanese tissue paper used as a  support to hold the fill material.

On the left: The inside of the jar with the "tricky fragment" held in place by the japanese tissue paper.   On the right: Applying the fill material.

On the left: The inside of the jar with the “tricky fragment” held in place by the japanese tissue paper. On the right: Applying the fill material.

The fill material used is a mixture of Paraloid B72 and glass micro-balloons, looking like a very light white powder; plaster is also traditionally used to fill losses, but glass micro-balloons are lighter and don’t bring any salts to the ceramic. That kind of fill is also reversible and completely neutral towards the ceramic.

Here’s the fill once finished and polished with a heat spatula, ready to be painted.

The fill almost finished: the building can go on.

The fill almost finished: the building can go on.

More fills and building to come in a next post !

The wooden heads, paraffin and a lamp.

Example of the burial environment of two wooden Egyptian  Statues in Saqqara (from HARVEY, Wooden statues of the Old Kingdom, plate I).

Example of the burial environment of two wooden Egyptian
Statues in Saqqara (from HARVEY, Wooden statues of the Old Kingdom, plate I).

The cleaning of the two heads is now in progress, and almost finished on the head with the wig.

But first, let’s talk about the main problem concerning those heads: paraffin. Thanks to W.M. Flinders Petrie’s publication about his preservation practices in the field (PETRIE, Methods and aims in archaeology), we knew in advance what to expect. He wrote that he used paraffin wax, almost at its melting point, to impregnate wooden objects that were very damaged. Using paraffin for that purpose, and on many other materials, was very common from the 19th to the first decades of the 20th century. Thanks to it we have artifacts instead of wood powder, which nevertheless presents some issues !

As far as we know, the heads were found very decayed and couldn’t be lifted from the ground. To facilitate their removal, the paraffin was spread on them while still half buried. That explains the current condition of the surface: here the paraffin takes several shapes.

White deposits (seen in photos below) on the surface are due to an application of paraffin in a non-optimal? environment. Indeed, the paraffin is brought to its boiling point and is supposed to remain warm enough to flow far inside the porous material. If it doesn’t, you might obtain something like this :

White deposits on the surface, due to the precipitation of paraffin applied in the field.

White deposits on the surface, due to the precipitation of paraffin applied in the field (magnification x10 and x25).


Those deposits cover the eyelids and the polychromy too (magnification x12,5  and x50).

Those deposits cover the eyelids and the polychromy too (magnification x12,5 and x50).
On the left: Yes, this yellowish tube-shaped material is paraffin !


More paraffin, covering the red polychromy on E17910 (magnification x25 and x20).

More paraffin, covering the red polychromy on E17910 (magnification x25 and x20).

And here is what the surface looks like:

Detailed view of the surface, similar on both heads (magnification x12,5 and x50)

Detailed view of the surface, similar on both heads (magnification x12,5 and x50).

Sediment (sand, quartz), and some vegetal particles, were stuck to the surface and it has never been cleaned since the discovery in 1898. The general texture can be described with a single word: waxy ! The paraffin was spread on the entire object, including the surrounding sediment. That’s why we have so much sand, quartz and organic elements included in the paraffin layer. That is particularly a problem for a conservator because the layers on an object generally have different textures that help us understanding the general stratigraphy. It also helps to guide the cleaning.

Several methods of cleaning were possible, all involving mechanical work, with a scalpel and requiring many hours of work ! The subtle aspect of this treatment is that we don’t want to completely remove the paraffin because it seems to hold what remains of the wood together. It’s like a shell of paraffin and inside is the wood, its cells completely disorganized as the CT-scan helps to figure out.

CT-scan picture of E17911, showing the damaged structure of the wood.

CT-scan picture of E17911, showing the damaged structure of the wood.

Here is what wood is supposed to look like when well-preserved:

Example of the CT-scan of a Japanese wooden statue from the 18th century CE, conserved at the Field Museum, Chicago. The wood growth rings are clearly visible and the structure appears to be in very good condition.

Example of the CT-scan of a Japanese wooden statue from the 18th century CE, conserved at the Field Museum, Chicago.
The wood growth rings are clearly visible and the structure appears to be in very good condition.

So, removing the paraffin would be both dangerous for the object and impossible. It was decided to remove, as far as possible, the layer that prevents us from knowing what the real condition of the object is. And it certainly hides more polychromy, especially on the head E17911. Cleaning tests indicated that in addition to mechanical cleaning, other cleaning methods are needed to reduce the paraffin on the surface.

First possibility: solvents. After trying several, it appeared that it wasn’t the best solution because this method was slow, not so efficient and penetration of the solvent into the material can’t be controlled.

Second possibility: heat. This More precisely a lamp with a bulb that provides warmth. Once warm, the paraffin melts and is much easier to remove mechanically. However cleaning the polychromy has to be carried out when the object is “cool” because of its fragility. This is the cleaning method that was ultimately chosen.

General view of the heating process.

General view of the heating process.

And many things were hidden under that waxy layer…

Cleaning the jar

Detail of the black inscription covering the jar.

A previous post introduced you to this demotic jar, currently on view in the Lab. The first step in its treatment was to clean the surface, which was very black due to dust.

It was necessary to make some tests on the ceramic to determine which way to clean was the best, meaning the safest for the object. Indeed, the black inscription on the jar is fragile and water sensitive. The first rule was to choose a non -aqueous method, that’s why I first thought about…erasers !

Image showing cleaning tests on a fragment of the jar.

Image showing cleaning tests on a fragment of the jar.

Test 1 : Sanford Magic Rub Eraser. index Test 2: Staedtler stick eraser.stadtlerTest 3 : Latex eraser.

Test 4: Ethanolethanol

Test 5: Wishab eraser.wishab

As you can see on the picture, the erasers seem to be the best choice, especially the n.2. Indeed, it can be applied with different levels of strength according to the amount of dust to remove.

Ethanol was also to be tried, being a “light” solvent; but the issue with a solvent is that you can’t control how it penetrates in the material, especially with a porous ceramic. So the best choice seemed to be the Staedler eraser.

It was then time to test this cleaning method on the inscription.

P1040678

Cleaning test with the eraser on an inscribed fragment.

The eraser appeared to work well, removing only the black grime and not the inscription. Of course, one has to be careful with this method, and not to press the eraser too hard or the black ink could disappear as well !

So I went on and cleaned all the other fragments.

Fragment before cleaning.

Fragment before cleaning.

The same fragment after cleaning.

The same fragment after cleaning.


In a general way, cleaning an object is very rewarding for a conservator, because the result can be seen at once. And pictures taken before and after are often impressive.

However, some things could not be improved; many demotic signs are lost due to water damage that occurred in the burial environment so the text isn’t complete. Moreover, a few fragments didn’t change after being cleaned, and still look dusty even if they aren’t.

Here is the general result, after all the fragments were cleaned.

General view of the fragments before cleaning.

General view of the fragments before cleaning.

view after step1

General view of the fragments after cleaning.

Next step: de-gluing the fragments !


The heads in color.

If you’ve been following the Artifact Lab blog you are now familiar with the two Egyptian wooden heads and the work in progress on them. Those heads are complex since they are composed of several materials that the conservator has to understand to treat them.

So let’s explore an important but now almost lost of their aspects: polychromy. Indeed, 99% of the colors on the heads are lost but some remains allow us to figure out what colors were originally theirs.

Mapping of E17911 – To show the remaining polychromy on the heads, the colors were enhanced using Adobe Illustrator.

Mapping of E17910 red paint layer.

Mapping of E17910 red paint layer.

Let’s have a look at the real colors left on the heads:

E17911 – On the left: Detail of red paint on the left ear (x 10 magnification) ; On the right: detail of blue paint on the the wig located on the right of the head (x 10 magnification).

E17911 – On the left: detail of black paint on the the wig located on the right of the head (x 10 magnification) ; On the right: Detail of red paint on the left ear (x 10 magnification).

E17910 – Detail of the red paint above and under  left eye and red paint below the right eye (x 10 magnification).

E17910 – Detail of the red paint above and under left eye and red paint below the right eye (x 10 magnification).

The wig is black (even if it looks blue on the picture !). The red is ochre, produced by reducing iron oxides to powder.

All Egyptian statues (and generally statues from other ancient civilizations) were completely painted. Only a few of them had their polychromy preserved, and it is especially rare on wooden artifacts because of many alteration factors that damaged these objects. The two heads were buried in a grave, several feet underground and the groundwater could rise very irregularly and completely overflow the tomb and its contents. The wood suffers a lot from humidity changes: indeed, this material always tries to keep its own moisture content stable, according to the environment moisture. That involves cycles of giving off and taking moisture; if those cycles occur too many times, the wood can’t follow and breaks generally appear.

If the wood is covered with a polychromy layer, it falls off since it can’t follow the movements of the wood. The wood is also susceptible to damage by other substances, like different types of salts and other alkaline substances whose action is increased by humidity.

That’s what explains that on the heads, the few areas of color left are in a bad condition; let’s try to explain what’s going on under the sediment!

To give you an idea, here is a stratigraphic representation of what a nice and undisturbed polychromy (if that exists!) should look like:

stratiThe wood is covered with a preparatory layer; it allows the surface to be even so that the paint layer can stick better to it. That’s it about the theory, let’s see what we have in reality:New PictureA lot less pretty and legible ! We can’t say whether the preparatory layer exists or not, and the paint is covered with a modern application of paraffin wax that wasn’t applied correctly on the wood; indeed the white material that covers some areas of the surface and of the polychromy is a paraffin deposit.

White paraffin deposits on the paint and the wood.

White paraffin deposits on the paint and the wood.

E17911 - The paint layer is poorly attached to the surface and termites didn’t spare it.

E17911 – The paint layer is poorly attached to the surface and termites didn’t spare it.

The paint layer is poorly attached to the wood and the paraffin used to strengthen the heads in the field (during the 19th century) is the only thing maintaining them.

While we are grateful that there is still some polychromy remaining…paraffin isn’t such a good thing ! It will be the topic of a next post to come.

A demotic jar

A pottery workshop (from LICHTHEIM Miriam, Ancient Egyptian literature, 1973)

A pottery workshop (from LICHTHEIM Miriam, Ancient Egyptian literature, 1973)

Among the objects that an archaeological conservator treats, a very important one regarding the quantity is ceramic. Ceramic artifacts are widespread on time and many very different places; a lot of (if not all) civilizations on Earth made ceramics, so if you haven’t met one of those yet in a museum, it’s only a matter of time!

The one we have in the Artifact Lab is an Egyptian jar, from one of the past Penn Museum’s excavations on this site. Jars were used to contain fluids and are covered inside with a mixture of water and clay, to make it waterproof.

Here is a picture of the fragments before any intervention:

The jar before treatment.

This ceramic is covered with inscriptions painted in black ink (most likely a carbon ink) and the writing appears to be demotic. The Egyptian writing knew three different forms: hieroglyphic, which is the one you’re used to see on monuments; hieratic, which is a simplification of hieroglyphs, allowing the scribes to write faster for their administrative work on papyrus or pottery and rock fragments; and the demotic is a simplification of the hieratic, used from the VIIth century B.C. It is one of the writing that you can see on the Rosetta Stone.

rosetta stone

Demotic writing on the Rosetta Stone.

Detail of the black inscription covering the jar.

Detail of the black inscription covering the jar.

This black ink is water soluble, meaning that water is highly prohibited to clean the inscribed areas !

Concerning its condition, the main problem of course is that the jar is broken into about 50 fragments. It was restored in the past so it still bears remains of an old adhesive on the edges and many fragments are still glued together. Moreover, the surface and the inscription are covered with dust and need to be cleaned.

P1050012

Example of a particularly dirty fragment. The inscription is barely visible.

The next step will be to remove the old adhesive and to put the fragments together again. Eventually, we may have to fill some gaps in the ceramic, so as its handling could be easier and safer.

Those steps will be more detailed in several blogposts to come !


X-rays and the statues eyes

left eyeIn a previous post, we told you that the two wooden heads were going to be X-rayed and CT-scanned, alongside with some other artifacts from the Lab.

In this post we will deal with what we learned about the wooden heads’ eyes from the X-radiographs only.

A lot of our readers will probably know what X-rays are, for they may have experienced them in a hospital. X-rays are also successfully used in Art and Archaeology (for a general overview and some examples, see SCHREINER et al, “X-rays in Art and Archaeology – An overview). The principle of the X-ray is to expose a material to x-ray energy of a particular wavelength. According to the molecular weight of the material, the x-rays will, or won’t, be allowed to go completely through it. The energy that does penetrate passes through to a detector.

In digital radiography, the data is then processed by a computer and, eventually, we obtain a picture where dense (high molecular weight) materials appear white and lighter ones (low molecular weight) are black.

X-ray photograph of E17911

X-ray photograph of E17911 – We can see a lot of termite tunnels and the big hole inside the head, on the right-hand side, and the shining eyes.

E17911, in profile - This picture allows us to see more clearly the structure of the eyes.

E17911, in profile – This picture allows us to see more clearly the structure of the eyes.

New Picture (2)

E17910 – Also helpful about the inserting of the eyes.

In these radiographs, we clearly see the structure of the inlaid eyes. In fact, those eyes are quite similar to those studied at the Louvre Museum on Kay’s statue (ZIEGLER, Les statues égyptiennes de l’Ancien Empire, Musée du Louvre, 1997, p.256). This statue is from the Vth Dynasty, not so far in time from our heads.

Eventually, we can conclude that the eyes are made of a metallic sheet soldered in the back, which is flat. It is shell-shaped and the hippo ivory is inserted inside. Then the black pupils (made of obsidian?) are placed in the ivory, maintained inside by an adhesive (resin ? plaster ?).

New Picture (3)

X-ray radiography photograph of Kay’s statue eyes (from ZIEGLER, 1997, p.256).

Structure of Kay's eyes (from ZIEGLER, 1997, p.259); the back of the metallic part is flat and the edges were folded so as to form the eyelids.

Structure of Kay’s eyes (from ZIEGLER, 1997, p.259); the back of the metallic part is flat and the edges were folded so as to form the eyelids.

Structure of Kay's eyes and identification of the materials we have on Adu's eyes (from ZIEGLER, 1997, p.259)

Structure of Kay’s eyes and identification of the materials we have on Adu’s eyes (from ZIEGLER, 1997, p.259)


Fortunately, the Penn Museum has some inlaid eyes in storage, allowing us to figure out more clearly what we have on the heads.

New Picture (7)

The eye n.E6789B – Limestone and obsidian.


Back of the eye n.E12905A - Copper alloy.

Back of the eye n.E12905A – Copper alloy.


Again, fortunately for us (yes, fortunately!), the Louvre Museum has a very interesting statue, also from the Old Kingdom, with missing eyes. This statue of a nobleman named Tcheti informs us on how the inlaid eyes were inserted into the wood.

Tcheti statue, Louvre Museum n.E11566 - Detail of the missing eyes.

Tcheti statue, Louvre Museum n.E11566 – Detail of the missing eyes.

We can see that a hole was cut in the wood, fitting the eyes’ size. We can suppose that an adhesive was used to prevent the eyes from falling off the statue.

As you can see, a conservation intervention, apart from treating the objects, can also allow us to study them more closely and to know them better.

We will talk about the CT-scan in a next post and, in the meantime, you’re more than welcome to visit us at the Lab or to post a comment below !


Let’s focus on the eyes.

eye

In a former post we saw that a conservator has to gather clues about an object’s past and do a lot of bibliographical research. Now let’s talk about the materials themselves and the amazing eyes of these two wooden heads.

During these last few weeks we have been busy trying to identify the materials used to make the eyes; we knew that there were three of them, one for the outer line (or eyelid), a second for the white part, and the third one for the black pupil. We first observed the eyes under a binocular microscope, which is the easiest way for a conservator to have a close look at an object.

Leica Picture

Wood is missing around the eyes, but it allows us to see more of the metal !

Leica Picture

Here is a pink-golden layer of copper that we can identify through the corrosion layers.


The material used for the eyelids was immediately identified as a copper alloy because of the green corrosion products observed on the surface. Moreover we can see the metallic pink-golden surface of the copper here and there. However, the metal could have also been silver with some copper impurities; indeed when two metals are combined or in contact with each other in a burial environment, the less precious metal preferentially corrodes (also called galvanic corrosion).

To know more about the chemical composition of this alloy, we carried out X-ray fluorescence analysis (XRF), with the portable XRF device of the Lab.

Here are what the results look like:

E17911 - eye - bluefilter

Those peaks indicate what kind of elements we have in the metal. We learned that this is an arsenic-copper alloy, which is well-known for Egyptian artifacts. The other elements can be impurities in the metal or due to the burial environment of the objects.

Concerning the white material, the first thing we observed under the microscope was the lines in the material.

Leica Picture

Some detail of the lines.

IC800516

A clue for us was that we don’t see the lines across the entire surface, as we can see on the picture on the right (near the upper part of the pupil).

We first wondered if these lines indicated elephant ivory, since elephant ivory has unique features called Schreger lines. However, the lines in the whites of the eyes do not look like Schreger lines, which look more like cross-hatching. That’s why we then thought about tool marks; indeed, the Egyptian sometimes marked the material they used to make the white of inlaid eyes, to make them look more realistic. We quickly abandoned this theory because the pattern on the eyes is too regular and not spread across the entire surface.

So we returned to the idea that the material might be ivory, but what kind of ivory? We were lucky that our department recently acquired a complete set of ivory samples, so we could compare directly. It turned out that our eyes are made of hippo ivory. XRF analysis also revealed that the white is composed of calcium, which is coherent for ivory.

ivory

This is elephant ivory.


IC800527 - Copy

Here is an example of what hippo ivory looks like, with the entire surface covered with lines.

IC800522

Here is an area of the hippo ivory where we can see the limit between the lines and a smooth part.

Concerning the material used to make the black of the eyes, a few paths could be followed. According to the literature, Egyptians used obsidian, glass with a black substance on the back, or other black materials for the inlaid eye pupils. The microscopic observation of the wooden statue eyes revealed that the black material is translucent with tiny bubbles. This structure could indicate obsidian, which is a natural glass. Moreover, the Penn Museum has several spare eyes in storage; comparison with these known references confirmed that the pupils of the wooden heads are indeed made from obsidian.

Leica Picture

We will know more about the structure of the eyes by next week, since this Friday the heads are going to be X-rayed and CT-scanned !