Ancient faces in the Middle East Galleries

Our new Middle East Galleries open next week and they will feature over 1200 artifacts from our collection, including many iconic objects like the Ram in the Thicket, the Bull-headed lyre, and Queen Puabi’s headdress. Oh, and for those of you who are always asking about our cuneiform tablets, do we have a treat in store for you – there are dozens and dozens in the galleries. The majority of the objects in the exhibition were excavated by Penn archaeologists, many nearly a century ago.

ALL of these objects came through our Conservation Labs to prepare them for the galleries and many needed significant treatment in order to ensure their stability for long-term display. Our Middle East Galleries (MEG) team has worked diligently and tirelessly on this project – you can read more about some aspects of this work on the Penn Museum blog here.

The triumphant column team poses next to the 4 recently conserved mosaic column drums from Tell al-‘Ubaid, Iraq. This project took months to complete.

In just over a week, visitors to the Museum will have the opportunity to get up close and personal with these newly-conserved objects. Everyone will be drawn to the highlight pieces mentioned above and here, but the other pieces are worth lingering over too. It’s usually impossible to see them as closely as we do during the conservation treatment process, so I thought I’d give you the opportunity to see 2 small but beautiful objects closer than you can in the galleries.

B8997 (left) and B9026 (right)

These 2 female figures, both excavated from Nippur, Iraq, will be on display in the same case in the Middle East Galleries. They’re small, just several inches long. The figure on the left was likely a doll which would have had articulated arms; you can see the holes where they were once attached. Fortunately, both artifacts required very little treatment. B8997, the figure on the left, does have a large, but stable crack that did not require any treatment. Examination under the binocular microscope revealed small amounts of burial dirt on both figures which had escaped previous cleaning campaigns, so both were carefully surface cleaned to remove this soil.

Detail of B9026 before (left) and after (right) cleaning, 7.5X magnification

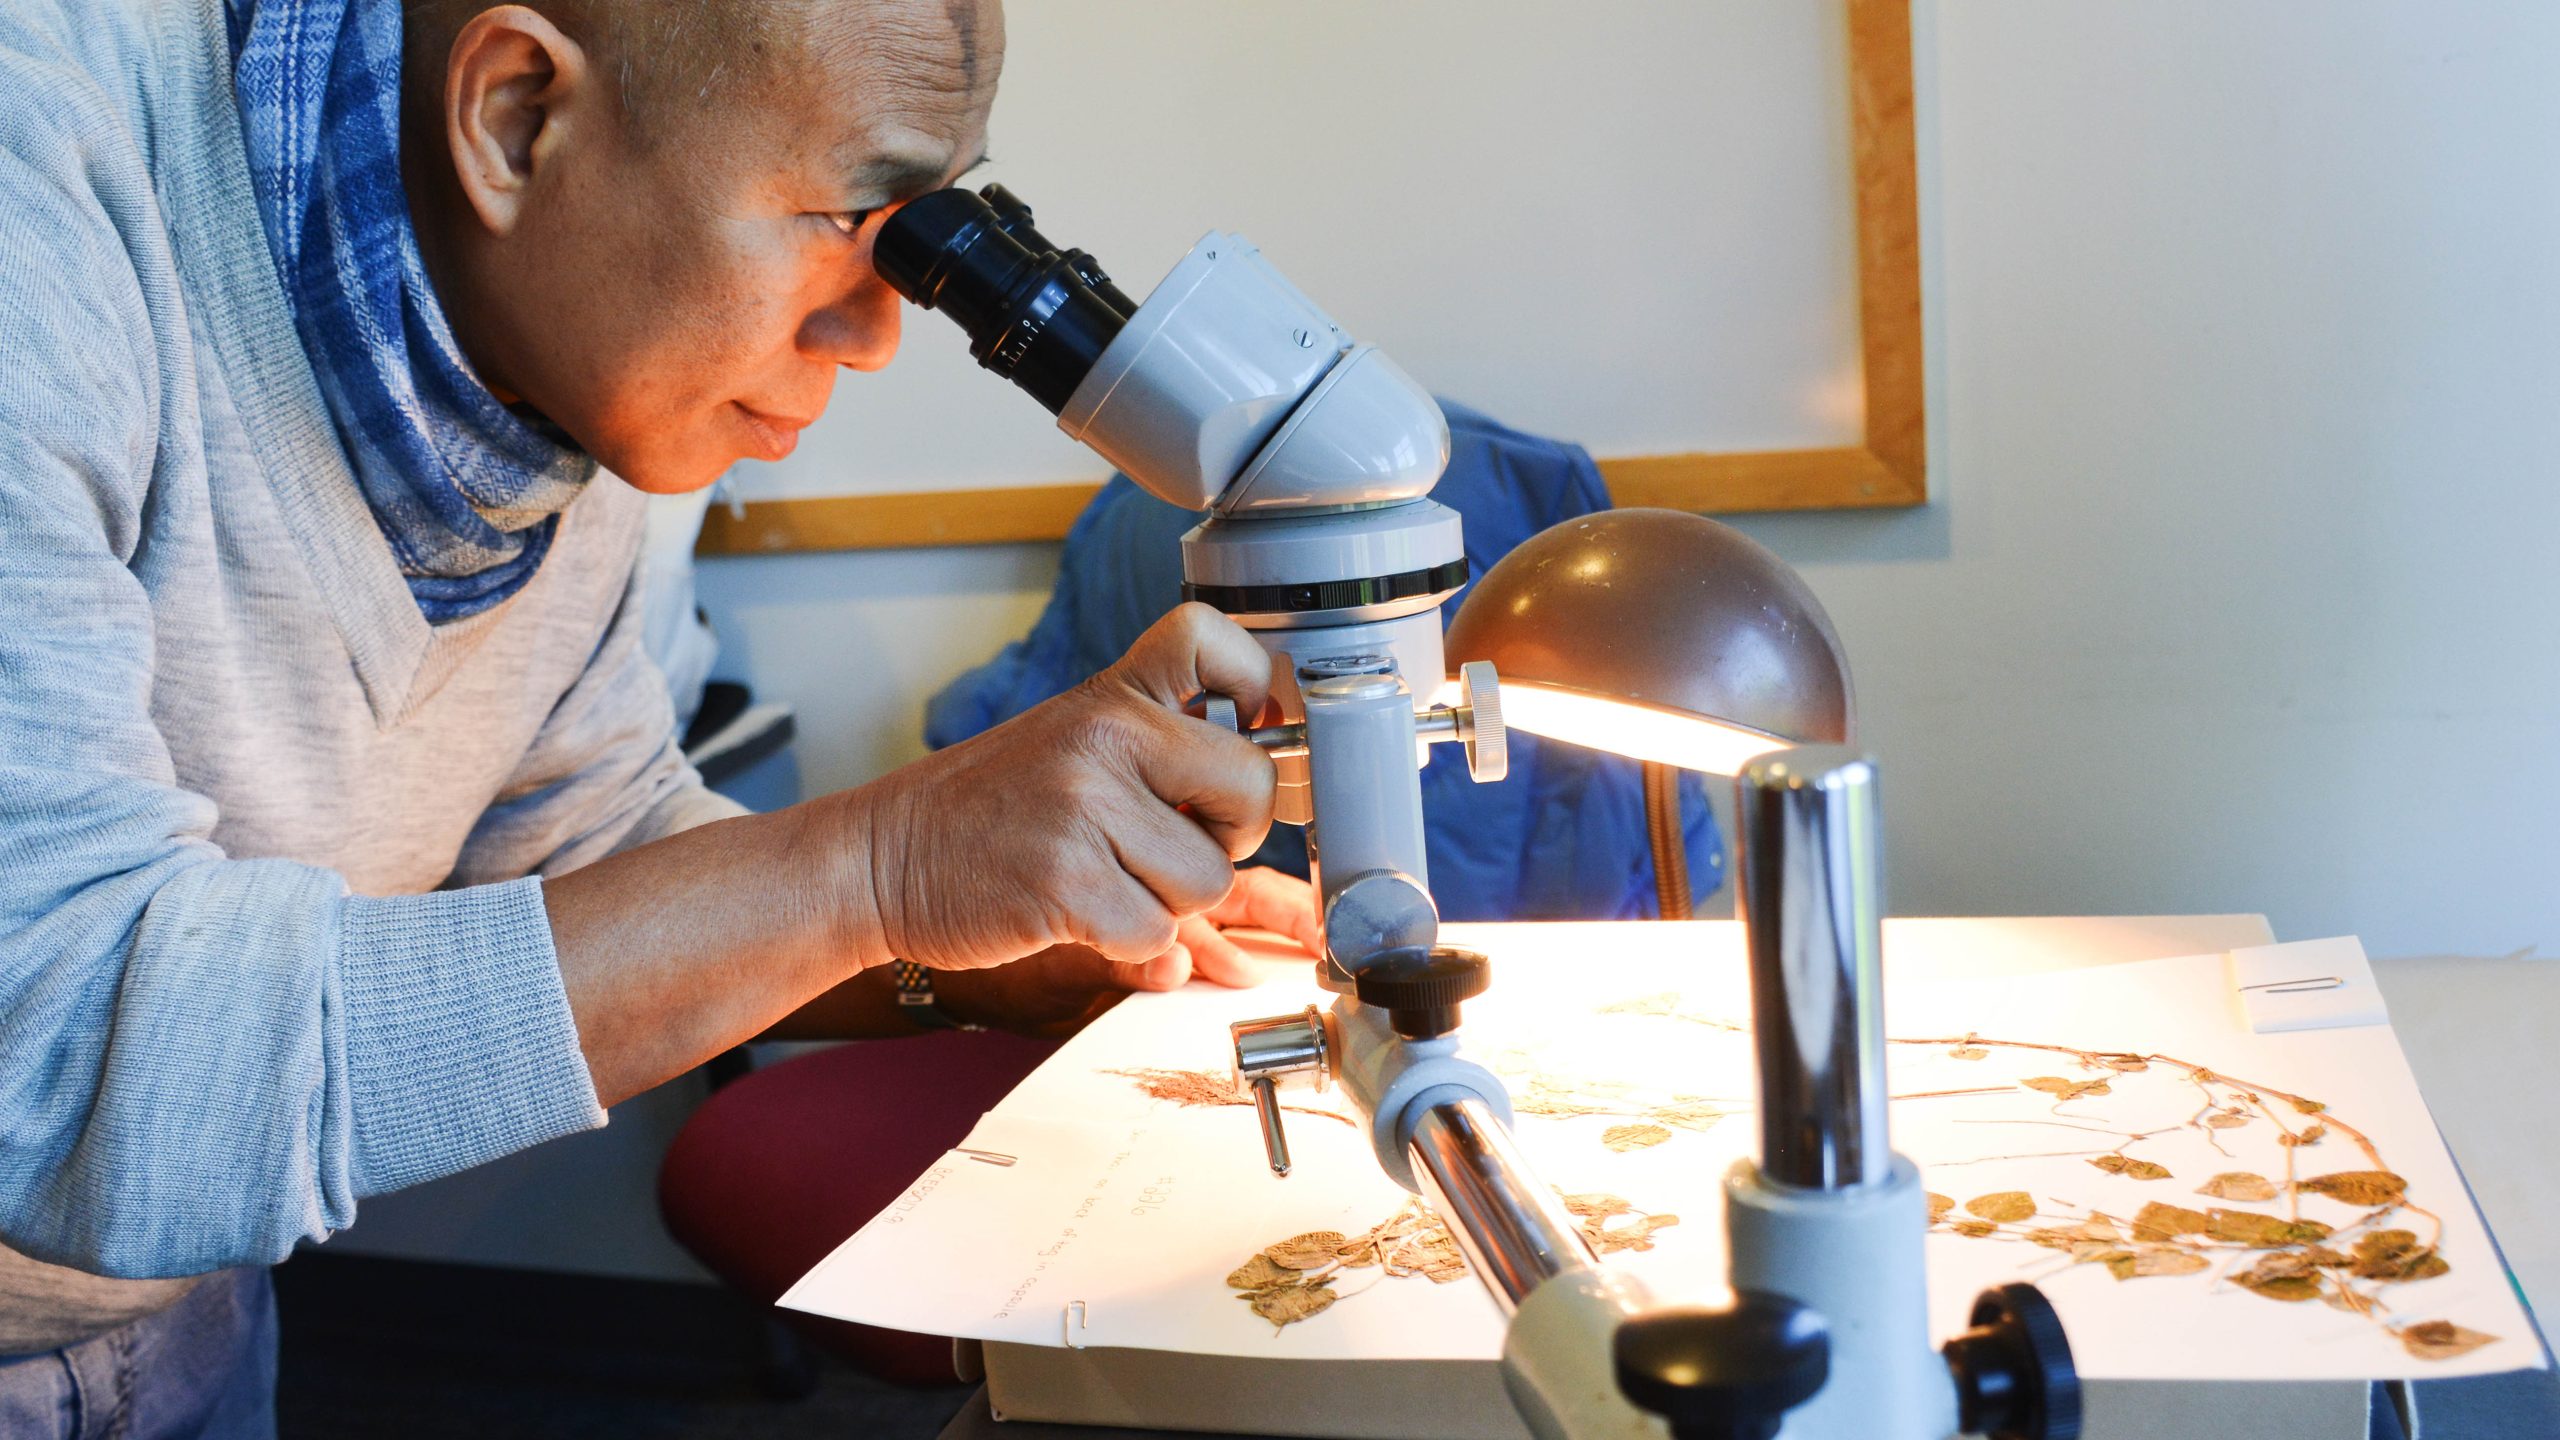
As I worked on these figures, I captured some images with the camera attachment on our Leica microscope. Both objects are made of bone and are delicately carved. The reverse side of the doll’s head has an unworked area that nicely shows the cancellous (or spongy) bone features.

B8997 detail of front (left) and reverse (right), 7.5X magnification

Their time in the lab was brief – they only stayed for a day or 2. But in the midst of the hustle and bustle of preparing for these galleries, it’s nice to take a moment to appreciate the details.

The Middle East Galleries open to the public on Saturday, April 21. Our department has a few loose ends to wrap up with that project (and a few loose ends on the blog – stay tuned for a last blogpost on the mosaic column treatment) but we’re already turning to our next big tasks – the renovation of our Mexico & Central America Galleries, Africa Galleries, and Egyptian Galleries.

Moose hair and birch bark

Moose hair and birch bark. Those are 2 materials that we have not written about on this blog before. But now that we are working in the Artifact Lab on objects for all of our upcoming exhibitions and loans, we are seeing a wider variety of artifacts and materials in the lab.

This embroidered birch bark case will be installed in our Native American Voices gallery later this month, so it is in the lab for examination and treatment.

Views of both sides of a small birch bark and moose hair case (45-15-1328) 

The 2-part case (the lid is a separate piece) was purchased by the museum in 1945. It is attributed to being Huron and from Canada.

The case itself is made of birch bark and it is embroidered with moose hair. The intricate details are difficult to appreciate without being able to see them up close. So, let’s take a closer look at the decoration:

Details of the moose hair embroidery, 7.5X magnification

Details of the moose hair embroidery, 20X

The case and lid are edged with bundles of moose hair attached with thread:

Details of the moose hair embroidery, 7.5X magnification

As you can see in the image above, some of the threads attaching the moose hair bundles along the edges are missing, causing hairs to become lost. These areas, as well as splits in the birch bark, will have to be stabilized before this case can go on display.

Check back for post-treatment photos, and visit the museum to see this case on exhibit by the end of May.

Two Al-‘Ubaid friezes

There will be a heavy rotation of objects from Iraq and Iran in the Artifact Lab as we work on objects that will be installed in our new Middle Eastern Galleries, scheduled to open in April 2018. Two of the newest pieces to come into the lab (but 2 of the oldest things in here) are these friezes from Tell Al-‘Ubaid, a site located west of Ur in Iraq, which date to the Ubaid period (ca. 6500-3800 BCE).

B15880, frieze of 6 bulls.

B15883, frieze of 3 ducks

These frieze fragments were excavated by Charles Leonard Woolley in 1924 as part of the British Museum/University Museum Expedition to Al-‘Ubaid. They both have been heavily reconstructed, displayed a lot, and loaned several times, so this is not their first time in the conservation lab. Due to some condition issues and because we are preparing them to go on long-term exhibition here at the museum, we have decided to deconstruct the old repairs and reassemble the friezes using materials that we expect will last longer and provide greater protection for the original pieces.

Conservation treatment of the frieze with the bulls began a week ago:

The bull frieze after 2 days of treatment.

One week later, even more progress has been made:

The bull frieze after 1 week of treatment.

Detail of the first bull freed from the frieze, 7.5X magnification. The bulls are made of shell and are in excellent condition.

Prior to treatment, the friezes were x-rayed to provide a better understanding of their construction and previous repairs, and to guide conservation treatment.

A digital x-ray radiograph of a portion of the bull frieze showing ancient methods of attachment (some are circled in red), modern nails (circled in blue), and a large fill made as part of a previous conservation treatment (circled in green).

Check back for updates on this exciting and complex treatment.


Cleaning Questions and Cross-Sections

Julia Commander is a third-year graduate student in the Winterthur/University of Delaware Program in Art Conservation. She is currently completing a curriculum internship at the Penn Museum.

The investigation of the painted Ptah-Sokar-Osiris figure continues. Previously, I mentioned that I would be taking cross-section samples to gain a better understanding of the paint layers. This type of sampling involves taking tiny (less than 1 mm) flakes of paint to capture the stratigraphy. Once I have a slice showing all of the layers, I can look at the edge under magnification to observe the structure from surface down to ground level.

In this case, I took four samples from representative areas on the figure in order to compare the layers. Before sampling, I looked at each area under magnification and made notes about surface characteristics and conditions. To sample, I continued working under magnification with a fresh scalpel blade.

L-55-29, cross-section sample areas. You can also see the darkened appearance of the front surface.

As you can probably imagine, handling a tiny little paint flake can be tricky. To make observation possible, conservators embed cross-section samples within a mounting material, typically a clear resin. Mini ice cube trays are perfect for making small blocks of resin for this purpose. After embedding the sample between two resin pours, one face of the cube is polished to a glossy finish. The polishing process helps to get a clean cut of the sample from an edge-on perspective.

Mounting cross-sections with a clear polyester resin, molded in a mini ice cube tray. The cubes are then polished with Micro-Mesh cushioned abrasive cloths.

You never know exactly what your cross-section will end up looking like until it’s under the microscope. Flakes can shift while the resin cures or be affected by polishing, so it’s an exciting moment to see the results. Sample X2, below, shows a clear view of the layer structure. Similar to the way conservators use ultraviolet (UV) light during object examinations, cross-sections are often viewed with various light sources to show different properties. Here, you can see the sample in visible light and UV light (365 nm).

Sample X2, 100X total magnification, in visible light (right) and ultraviolet light (left). Samples were viewed on a Zeiss Axio Scope.A1 polarized light microscope.

We can see a few interesting features here. The sample area appeared to have predominantly red paint, although it was heavily obscured by the surface darkening. The uppermost layer of dark material could be related to a discrete layer of soiling or coating, or we could be seeing black paint. Since the front surface of the figure is intricately painted, it’s difficult to completely rule out paint as a possibility. Aged coating materials often fluoresce in UV light, which can help to distinguish them from underlying paint layers. In this case, we can see small flecks of fluorescence (indicated by the red arrows) but not a distinct fluorescent layer. We can also observe faint fluorescence in the ground layer, which is consistent with the idea of an aged animal glue binder.

Another sample, X4, came from an area of plain red paint without any adjacent black designs. This area was also affected by the surface darkening issue, although to a less severe extent. Here, instead of a discrete layer of dark material, we can see small specks above the red paint layer (indicated by the red arrows). These dark specks are most likely related to soiling or discolored coating and unlikely to be original applied paint.

Sample X4, 200X total magnification, visible light (right) and ultraviolet light (left). Samples were viewed on a Zeiss Axio Scope.A1 polarized light microscope.

The cross-section samples offered some insights into the multi-layered nature of the delicately painted surface. As with most analytical techniques, results lead to more questions than clear-cut answers. Luckily, my colleagues here in the lab got together to talk about this complex condition issue and offer different perspectives and approaches. To clean or not to clean the darkened layer? Clarifying the surface details would be helpful for interpretation, but an even more gentle cleaning system will be needed to avoid damage to paint layers. The consensus: further testing needed!

Examination and treatment of a cartonnage pectoral

Update – this post contains outdated language. We no longer use the term “mummy” and instead use “mummified human individuals” to refer to Ancient Egyptian people whose bodies were preserved for the afterlife. To read more about this decision, follow this link.   

We have had this object in the collection since 1890:

E352, overall before treatment

E352, overall before treatment

This painted cartonnage pectoral (E352) was made as a covering for the chest of a mummy, and dates to the Ptolemaic Period (ca. 200 BCE). We don’t have the mummy or any other items from the person’s burial, so we don’t know anything about who this belongs to other than that they were buried with this beautiful piece (and likely an equally nice mask, and leg and foot coverings).

This artifact was previously on display in our Secrets and Science gallery and is now in the lab for conservation treatment. It was displayed vertically for over three decades, but since it has come into the lab, we have removed it from the old mount to allow for a full examination, documentation, and treatment.

Multispectral imaging allowed us to identify the Egyptian blue paint used for all of the blue decoration:

An overall image of the pectoral in visible light (left) and a visible-induced IR luminescence image, where the Egyptian blue pigment appears white

An overall image of the pectoral in visible light (left) and a visible-induced IR luminescence image, where the Egyptian blue pigment appears white (right), and everything else is black

We have written about the unique luminescence of Egyptian blue before on this blog, and in the image on the right, above, we can clearly see where it was used to decorate this pectoral.

Conservation treatment so far has included consolidation of the flaking paint with methyl cellulose, carried out under the binocular microscope.

A detail of the pectoral, 7.5X magnification

A detail of the pectoral as viewed through the microscope, 7.5X magnification

I have also been filling small losses with a mixture of Klucel G and glass microballoons, and backing weak areas with Japanese tissue paper.

Here is a link to a mini-slideshow that shows a small section of the cartonnage under 7.5X magnification (the same section seen in the image above). The slidehow shows how I filled a tiny hole with the Klucel mixture, which then allowed me to readhere a tiny fragment of red paint. The change is subtle – see if you can spot where I reattached the paint flake!

A recap of Death Salon: Mutter Museum

I just returned to work after 2 fascinating days of Death Salon: Mutter Museum, an event filled with presentations, speaker panels, Q&A sessions, murder ballads, a Dark Artisan’s Bazaar, and Death Quizzo.

Ask a Mortician! at Death Salon: Mutter Museum

Ask a Mortician! at Death Salon: Mutter Museum

I have attended many conferences, but none quite like this one. There were a wide variety of speakers presenting on topics related to death, how different cultures deal with death (both past and present), and our relationship to death and mortality. I spoke on the first day about my work on the mummies here at the Penn Museum – mostly about how we treat them today and how this has changed over time, using examples including PUM I, our baby boy mummy, Wilfred/a, and Nespekashuti. But you’ve heard about all of them before. Let me provide a brief outline of all of the other speakers, with links as appropriate.

  • Dr. Marianne Hamel is a medical examiner who spoke about what it’s really like to be a forensic pathologist vs. what you see on TV. She also was a consultant for the wildly popular podcast Serial and co-founder of Death Under Glass, which also had a booth at the Dark Artisan’s Bazaar, selling watches, umbrellas, notepads, etc. featuring beautiful forensic microscopic images.
  • Alexis Jeffcoat (Chemical Heritage Foundation) and Emma Stern (Laurel Hill Cemetery) spoke about the Friends of Laurel Hill Cemetery and their efforts to make Laurel Hill a place for the living as well as for the dead, with vibrant community programming.
  • Ryan Matthew Cohn spoke about historical skeletal preparations and models of the human body, along with his own work to make exploded and dissected skulls.
  • A panel discussion about American death spaces with Colin Dickey about the battlefields of the American Civil War and Bess Lovejoy on Hart Island: The World’s Biggest Tax-Funded Cemetery. I had never heard of Hart Island before, where unclaimed bodies and bodies of the poor and stillborn are soon to number one million. There are recent efforts to document the burials and transfer jurisdiction of the island from the Department of Corrections to the Parks Department.
  • Evi Numen, Mutter Museum exhibitions manager, spoke about the Curious Story of One-Eyed Joe and the 1867 Anatomy Act, discussing the struggle to legislate cadaver dissection and ownership.
  • Dr. Paul Koudounaris (a now 5-time Death Salon speaker!), who has extensively researched charnel houses and ossuaries, discussed various cultures’ relationships with the dead. He specifically shared information about Indonesian communities who mummify family members and exhume them each year to care for and celebrate them, and sometimes even keep them in their homes.
  • A panel discussion about anthropodermic bibliopegy (books bound in human skin) with Mutter Museum Curator Anna Dhody, analytical chemist Dr. Daniel Kirby, Juniata College Chemistry Chair Dr. Richard Hark, and Death Salon Director and USC medical librarian Megan Rosenbloom. Their project is aimed at surveying and creating an inventory of books bound in human skin, and they are using peptide mass fingerprinting (PMF) to determine this. So far they have tested 22 books – 12 are actually human, while the others are sheep, cow, and even faux skin. The Mutter has the largest known collection in the world, with 5 authentic human skin books.
  • A presentation by Sarah Troop about the rituals and art of child death in Mexico. She discussed the tradition, which used to be practiced in many Latin American countries, where dead children become a hybrid between saints and angels called angelitos, and the most famous angelito, Miguel Angel Gaitan from Argentina, who died in 1967.
  • Dr. Norma Bowe discussed her death class at Kean University which she has been teaching for 15 years and has a 3-year wait list. She uses experiential learning in the class and they make several field trips, including to a hospice care facility, a Ronald McDonald house, a funeral home, a cemetery, a maximum security prison, a crematory, and a medical examiners office. A book has been written about her called The Death Class and its currently being turned into a TV show.
  • Elizabeth Harper spoke about incorrupt saints, which apparently aren’t very easy to identify just by looking at them. Her presentation included images of saints she’s visited and a little game of “Incorrupt or Nah”.
  • Artist David Orr presented his work photographing human skulls from the Mutter Museum collection and mirroring one side to create perfectly symmetrical results. This project, Perfect Vessels, can be viewed on his website.
  • Penn physician Dr. Erin Lockard spoke about death from the doctor/daughter perspective in a conversation with Death Salon Director Megan Rosenbloom. She shared her experiences both as a physician who specializes in geriatric medicine and how experiencing her mother’s illness and end of life has affected her work.
  • Mutter Museum Director Dr. Robert Hicks gave a presentation entitled Exquisite Corpses: Our Dialog with the Dead in Museums. He spoke about our relationship and discomfort around post-mortem imagery, and how other cultures are ahead of us in terms of articulating an aesthetic of death, decay, and mortality.
  • Christine Colby discussed the issues for transgender people in how to preserve their identity in death and and the work that is being carried out to assist transgender people and their families and friends.
  • The formal presentations of the conference concluded with a session entitled Ask a Mortician LIVE. Two morticians, Sheri Booker and Caitlin Doughty (Death Salon co-founder), fielded audience questions about their work.

The talks were incredibly interesting and often quite inspiring (and even tear-provoking), and there was an enthusiastic audience of at least 200 people by my count (probably more). The engaging day-time programming was supplemented by some terrific evening events, including behind-the-scenes tours of the Mutter, a Death Ball with a performance of 15th-century funerary music by The Divine Hand Ensemble, murder ballad performances, and a Death Quizzo. This conference had some of the best opportunities for people-watching too. Unfortunately I didn’t capture many photos but if you’re interested you can see some on the Death Salon Instagram account.

Mysterious bits from Nespekashuti

I’ve written before about mysterious things we’ve found during conservation treatment of our mummies (see this blogpost about the stuff we found at the bottom of Wilfreda’s crate). As I’ve been working on Nespekashuti, I’ve found some puzzling little bits at the bottom of his coffin and caught in his linen wrappings.

Here are a couple piles of detached and in most cases completely deteriorated linen, which needed to be removed as I’ve worked on Nespekashuti:

Piles of deteriorated linen wrappings and other materials removed from Nespekashuti during conservation treatment.

Piles of deteriorated linen wrappings and other materials removed from Nespekashuti and his coffin during conservation treatment.

In these piles, I found the mysterious bits. Some of these things I can recognize, but figuring out exactly what they are and how and why they got there is another story.

Here are some photomicrographs:

Feathers found with Nespekashuti, 7.5X magnification

Feathers found with Nespekashuti, 7.5x magnification

This first one is easy – these are feathers, of course – little grey plumaceous body feathers from who knows what kind of bird. There are some good resources out there for identifying feathers (see more info at the very bottom of our Learn More! page) but for little feathers like this, and non-experts like me, we need to resort to microscopic analysis by an expert from another institution in order to attempt identification. I did take some photomicrographs of the barbules from one of these feathers, which may be their most diagnostic feature, but again, I lack the experience necessary to make sense of what I’m seeing through the microscope. Just for fun, this is what the barbules look like:

Barbules of one feather found with Nespekashuti, 200x magnification.

Barbules of one feather found with Nespekashuti, 200x magnification.

We also found these:

Bird bones found with Nespekashuti, 7.5x magnification

Bird bones found with Nespekashuti, 7.5x magnification

and this:

Two fused bird vertebrae found with Nespekashuti, 7.5x magnification

Two fused bird vertebrae found with Nespekashuti, 7.5x magnification

These two images above show some tiny bones that were found in Nespekashuti’s coffin. I consulted Dr. Kate Moore, zooarchaeologist and Teaching Specialist in the Center for the Analysis of Archaeological Materials (CAAM). She confirmed that these are bird bones, and the second image shows two articulated bird vertebrae. Dr. Moore told me that upon her initial inspection, she thinks that they may have gone through a digestive tract (think:owl pellets, and that dissection you may have done in grade school!).

And then I found a bunch of this stuff:

Found with Nespekashuti - these look like mouse or rat droppings, 7.5X magnification

Found with Nespekashuti – these look like mouse or rat droppings, 7.5X magnification

These things look a lot like mouse or rat droppings, and there’s little bits of hair caught in some of them. No one said that working on mummies is for the faint of heart!

I also found some bits of cotton, tiny pieces of wood and plant materials, and even some broken glass. We can think of lots of good stories to explain why this stuff would be found with Nespekashuti, but in the end we’re not really sure. Like I said, we are reaching out to some experts about the feathers, so I’ll keep you posted if we learn more – identifying the feathers would be exciting, and could help explain how they got there!

Is there an archaeobotanist in the house?

Fortunately for us, the answer is yes.

Following up on my recent post about identifying the wood used to make this Middle Kingdom painted wooden coffin, I showed the images of the thin sections I cut from some detached wood fragments to Dr. Naomi Miller, our resident archaeobotanist. Dr. Miller typically deals with really degraded material, often tiny pieces of charcoal, so she was delighted to see that these samples showed enough information to make a more definite identification. AND, much to my delight, she confirmed my hunch that these boards are made of acacia.

Here are the images she used for comparison, found in Anatomy of European woods, by Fritz Hans Schweingruber.

acacia references

Reference images of Acacia cross-sections (left) and tangential sections (right)

And here they are, side-by-side with our samples:

wood comparison cross sections

In the cross-sections, we see pore multiples and uniseriate rays

wood comparison tangential sections

In the tangential sections, we see mostly uniseriate rays, with some biseriate rays.

We compared our samples’ images with images of ash and carob in the same book, since these were also candidates originally, but there were enough differences for us to exclude these as possibilities. It is possible that there is something that we are not considering, but I think that I’m convinced by this work that this coffin was made with acacia.


Wood ID

I’m currently treating 7 fragments of a painted wooden coffin from Abydos. Lately, many of our visitors have been asking what kind of wood was used to make this coffin. This has actually been a question that we have been asking ourselves, and we are trying to see if we can come up with an answer.

In ancient Egypt, large timbers for coffin-making were scarce, so the wood was either imported from places like the Mediterranean, the Near East, or from other parts of Africa, or the Egyptians would cobble together smaller pieces of wood from local sources. Based on previous studies, we have a finite list of types of wood that are known to have been used, but from there we need to move to looking at the object itself.

These images show the exposed wood on the side (left) and back (right) of one of the coffin fragments. Can you guess what type of wood this might be?

These images show the exposed wood on the side (left) and back (right) of one of the coffin boards. Can you guess what type of wood this might be?

As conservators, we are educated not only in object treatment, but in the analysis of objects, and the examination of tiny fragments of objects, like plant and textile fibers, wood, and pigments. But many of us don’t do wood ID all that often, so it can take awhile to get set up, to re-orient ourselves to what we’re seeing in the samples, etc. AND it requires a sample, which we don’t often have access to. Fortunately, for me, I have some already detached samples from these boards and access to someone who does this type of work more frequently, archaeobotanist Dr. Naomi Miller, so I turned to her to help me with this work.

Dr. Miller looked at the samples I had and selected one that looked promising, due to the exposed cross-section on one end. I mounted this sample under our binocular microscope and took a photo, to help her study it further and compare to known reference samples.

E12505_woodID

The wood fragment with exposed cross section, 60X magnification

From this sample, Dr. Miller was able to determine that this is a hardwood, based on the presence of clearly visible rays and thick-walled pores, many of which are radially paired (pointed out below).

Slide4Based on these features and the known types of hardwoods used in ancient Egypt, this helped narrow down the likely possibilities to Common ash (Fraxinus excelsior L.), Carob (Ceratonia siliqua L.) and Acacia (Acacia sp.). Dr. Miller considered other types but ultimately excluded willow (Salix), oak (Quercus), elm (Ulmus) and sycamore fig (Ficus sycomorus) due to either the presence or absence of certain features.

In an attempt to further narrow down the possibilities, I cut thin sections from the sample that Dr. Miller examined, from the cross-section and tangential surfaces, and wet-mounted them on glass slides. Looking at these thin sections with our polarizing light microscope (PLM), I was able to see some of these features a bit more clearly.

Cross-section, 50X magnification

Cross-section, 50X magnification

In the cross-section above, the pores are visible as solitary or paired, and mostly uniseriate (1-cell wide) rays are visible. The tangential section also shows mostly uniseriate rays, but some bi-seriate rays are visible as well.

Tangential section, 50X magnification

Tangential section, 50X magnification

Cutting these sections from the wood sample, which was quite degraded, was difficult and unfortunately I’m not really able to pick out many other features from the sections that I examined. I will have to get Dr. Miller to weigh in on this again, but in the meantime, I’m going to go out on a limb and say that I’m leaning toward this wood being acacia. One thing I forgot to mention is that the wood of the coffin board fragments is a deep red-brown color. Acacia is known for being a red, hard, and durable wood, and while it produces small timbers, we know that it was used for coffin-making, among other things.

Investigating the shabti box coating

Last month, I wrote about a new challenge in the lab, otherwise known as this shabti box and its associated shabtis:

front compressedAt first the box came into the lab with 3 shabtis, and then we found that there were 3 more in storage that may belong with the box as well. 4 of the shabtis are very similar in appearance whereas the other 2 are slightly different, so they may actually not be associated after all. Can you spot the 2 different shabtis?

2 of these things are not like the others...

2 of these things are not like the others…

All of these objects are made of wood, gesso, and paint. And as you can see, all of them have an orange-yellow coating on their surfaces. In my last post I posed the questions “what is this coating?” “is it an original varnish or is it a later restoration?”. My initial guesses were that it is either an original pistacia resin varnish, a later cellulose nitrate (or other old restoration adhesive) coating, or a combination of the two.

Well, there are several things we can do to try to answer these questions and to narrow down the possibilities. One of the first things I did was to look at these objects very carefully using our binocular microscope. I could see that the coating was applied unevenly, especially on the box, and that it is actively cracking and flaking. Another thing that I noticed was that there are areas on the box where the paint is lost and where the coating extends over the loss onto the gesso below.

A detail shot of one side of the shabti box - the yellow arrows are indicating areas where the coating extends over an area of paint loss onto the gesso.

A detail shot of one side of the shabti box – the yellow arrows are indicating where the coating extends over areas of paint loss onto the gesso.

Usually, this would indicate that the coating was applied after the damage occurred (so sometime after excavation, either in the field or soon after coming to the museum). So this is one clue, but doesn’t really answer my questions.

Next, I examined the shabti figures under ultraviolet (UV) light. In conservation we routinely use UV examination to characterize materials and to distinguish old restoration materials from original materials – for instance, shellac, used historically to repair objects, exhibits a characteristic bright orange fluorescence under UV. (For an explanation of UV, along with some interesting images, check out this post we wrote on multispectral imaging.)

The coating on the box and the shabtis has a yellow-orange appearance under UV – but not the bright orange that we expect to see from shellac.

shabti UV

4 shabti figures under UV light

So UV examination was helpful (it eliminated shellac as a possibility) but didn’t answer my questions either.

Next, I did a microchemical spot test on a couple of the previously detached flakes of the coating. We’ve used spot-testing before in the lab – the last time I wrote about it was in reference to the mystery fibers on Tawahibre’s coffin. In this case, I carried out a spot test for nitrates using diphenylamine (according to instructions in Material Characterization Tests for Objects of Art and Archaeology). Using this test, a sample containing nitrates will turn blue once a solution of diphenylamine/sulfuric acid is added. Below you can see the result of the test on one of the coating flakes from the shabti box (left) and the test on a control sample of cellulose nitrate adhesive (right).

Left: coating sample from the box after spot test (negative result) Right: control cellulose nitrate adhesive after spot test (positive result)

Left: coating sample from the box after spot test (negative result) Right: cellulose nitrate control after spot test (positive result)

Based on these results, it seems that the coating does not contain cellulose nitrate. This does not mean that the coating does not contain another recently-added adhesive. We have a few other ways of narrowing down the possibilities even further, and I will write about our continued work on this in my next post.