Caring For Culture: Introducing Teens to Museum Conservation

By Lu Denegre

All photos by Emily Hirshorn

On June 4th, 2022, with the help of funding from the Museum Council of Greater Philadelphia, the Conservation and Learning Programs departments hosted “Caring for Culture”, a hands-on introduction to conservation for teens. We had a great time and got some good feedback, and look forward to welcoming another group of teens this year on June 3rd 2023!

(If you’re a teen in the Philly area, you can register here for this year’s workshop)

Last year, 24 students arrived at the museum for a day of activities. The workshop began with introductions and a presentation by Senior Project Conservator Molly Gleeson about the basics of museum conservation. What kind of work does it involve? Why do we do it and what can damage cultural heritage collections?  

Molly Gleeson addresses Caring For Culture Participants in Widener Auditorium, and a diagram of the Agents of Deterioration (from A Guide to Risk Management of Cultural Heritage (p. 27), ICCROM, 2016).

Next, participants were led in smaller groups on a tour of the Museum’s conservation lab spaces by Head Conservator Lynn Grant. They got to see the X-Ray room, the photo studio, prep room, and main lab. Lynn and Graduate Intern Nylah Byrd spoke about the different treatments a large wall painting, a cartonnage mask, and a stone sculpture have undergone. These objects will be included in the upcoming reinstallation of the Ancient Egypt and Nubia Galleries and have collectively required different types of imaging, storage mounts, cleaning, and structural and aesthetic fills. 

Lynn Grant leads a tour of the conservation lab
Nylah Byrd talks about the treatment of a cartonnage mask

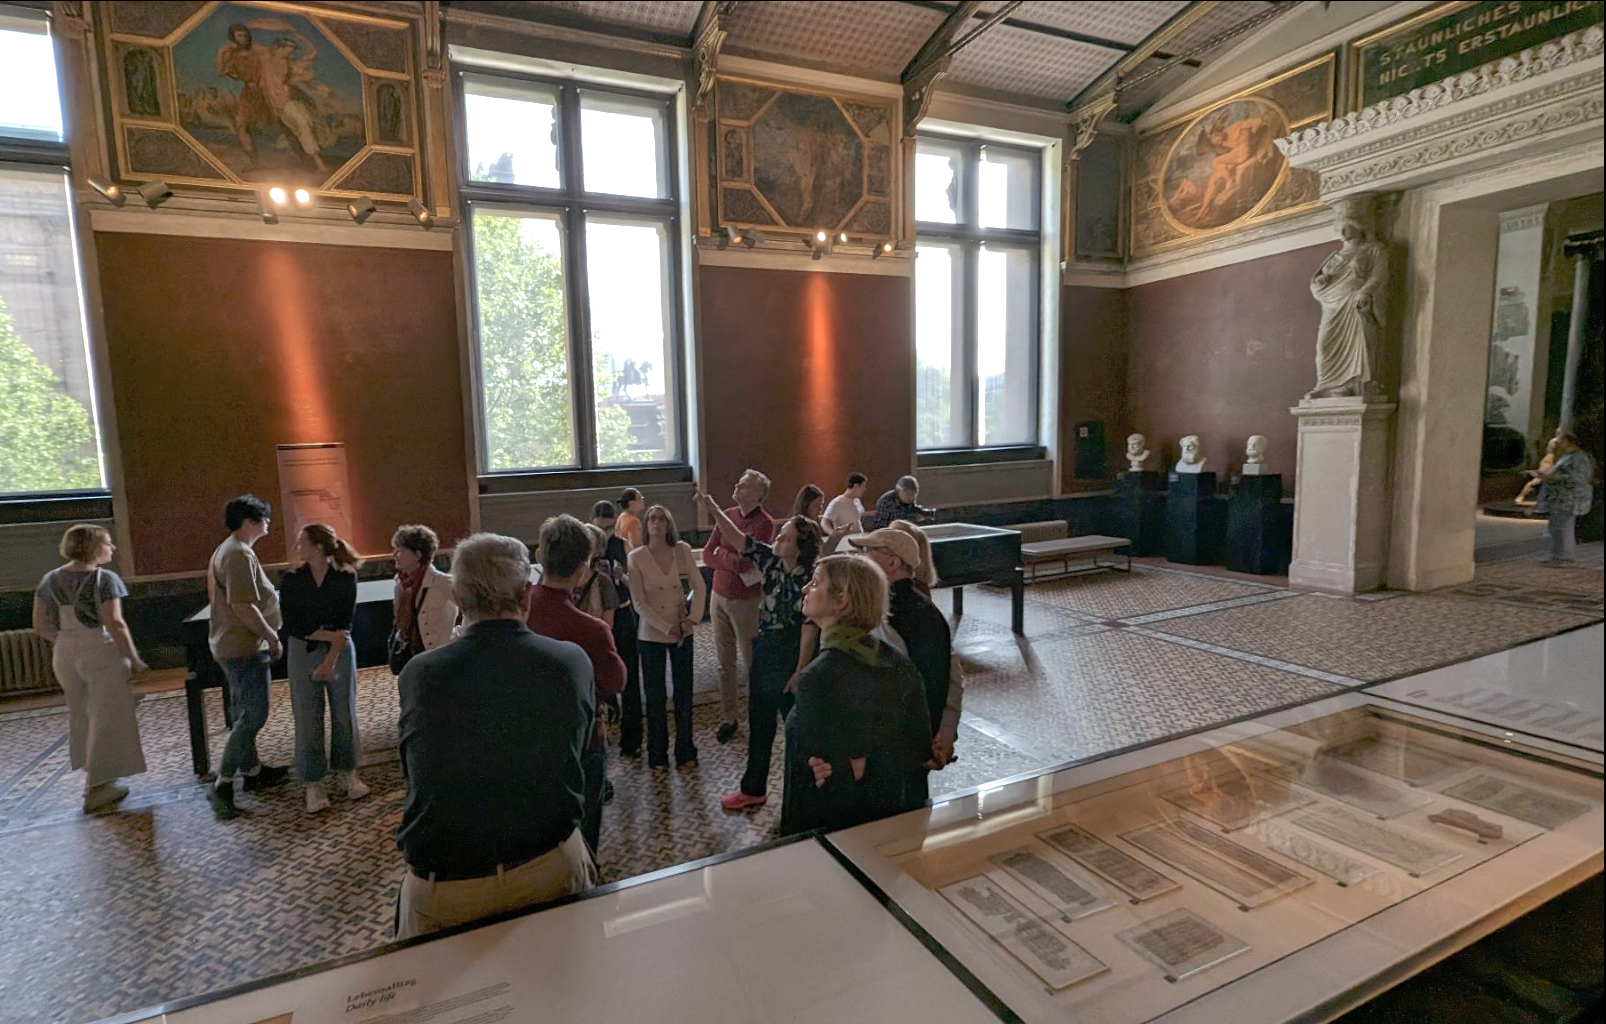
For rest of the morning, the groups were led into the galleries by a member of the conservation department to do some documentation of their own. Each participant chose an object in the galleries to condition report and diagram. Condition reporting is one of the first things you learn as a conservator and is the first important step in assessing an object’s needs before starting treatment. This activity offered opportunities to look for real life examples of condition issues, agents of deterioration, preventative conservation steps, and mountmaking.

Participants observing a strategy for a large fill on an object in the Middle East Gallery
Completing condition report worksheets for an object chosen in the galleries

After a sunny lunch in the Warden Garden, participants came back in for some hands-on activities. Groups rotated between three stations: cleaning, close looking, and ceramic reassembly. These stations introduced some of the beginning skills needed by a conservator in training. 

At the cleaning station, teens learned to roll their own cotton swabs to gently remove grime from the surface of a dirty tile. They also applied warm agar gel to learn how we loosen up and remove grime without using too much water on more sensitive objects or more stubborn dirt. 

A participant swab cleans a dirty tile

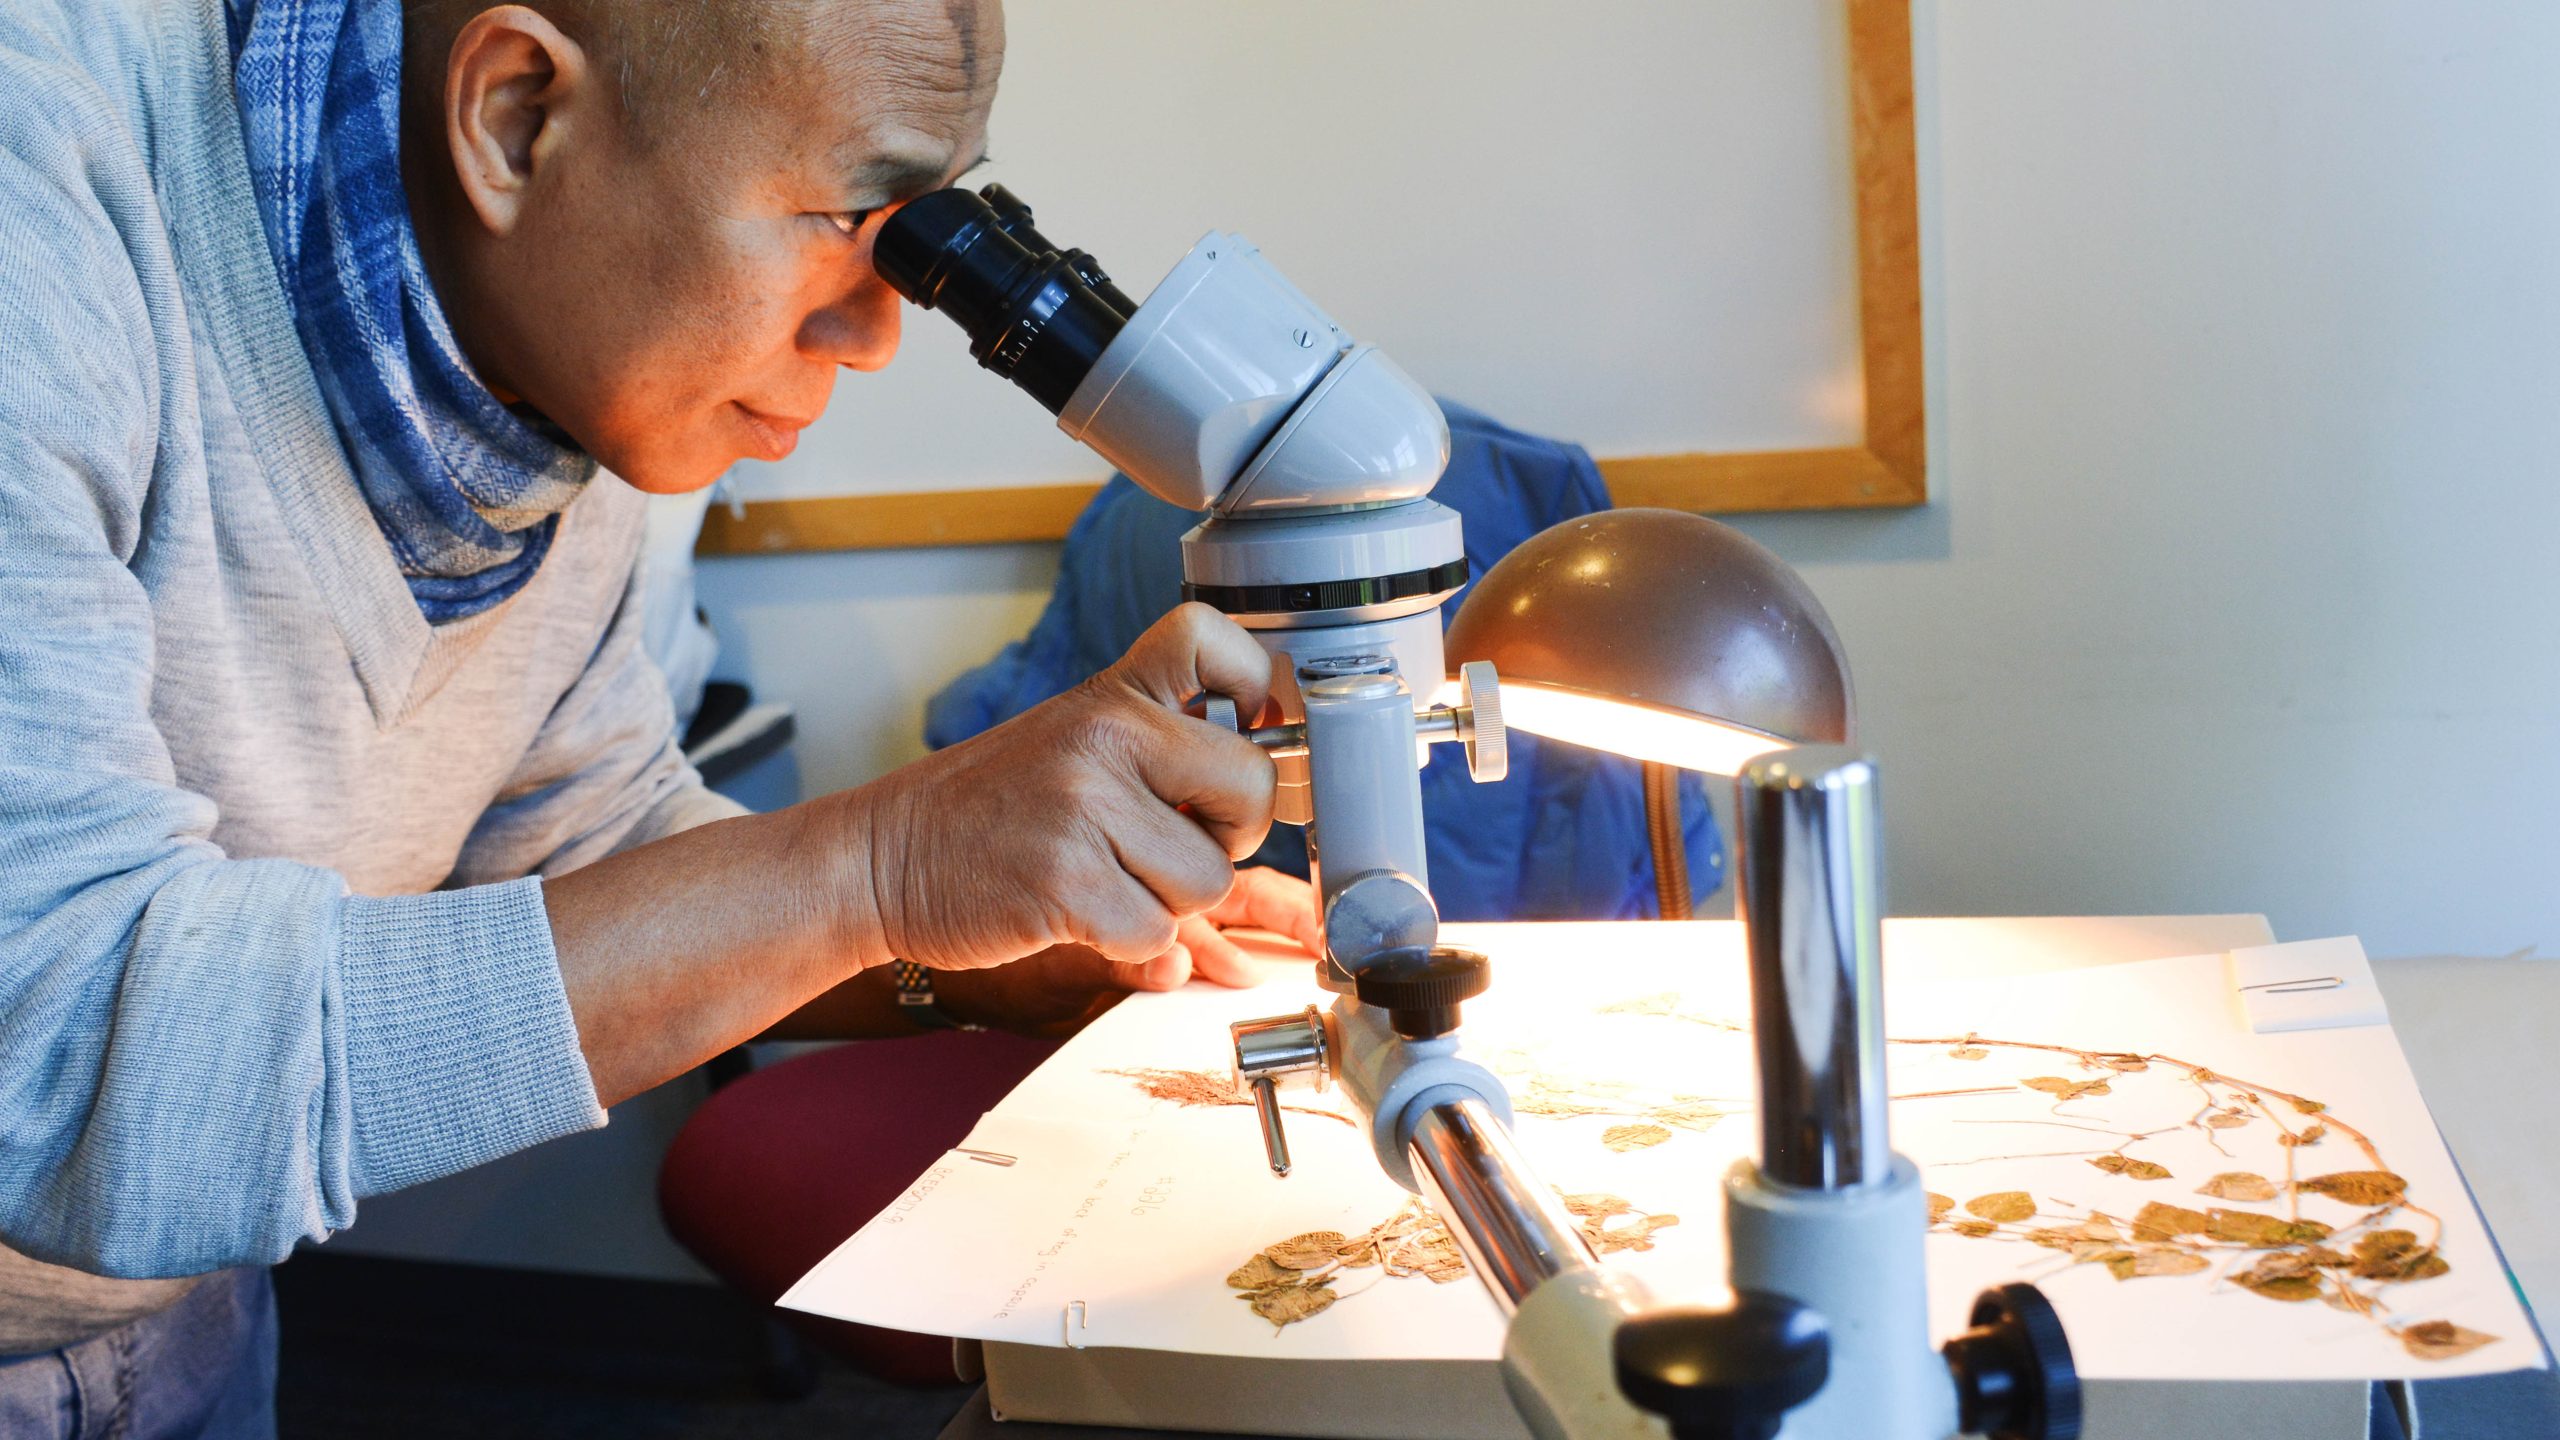
At the close looking station, teens used a Dino-lite digital microscope to get up close and personal with some study objects. A UV light setup showed that the way materials fluoresce differently under Ultra-Violet light can help identify unknown substances. 

Conservator Julia Commander guides participants through using a Dino-lite microscope

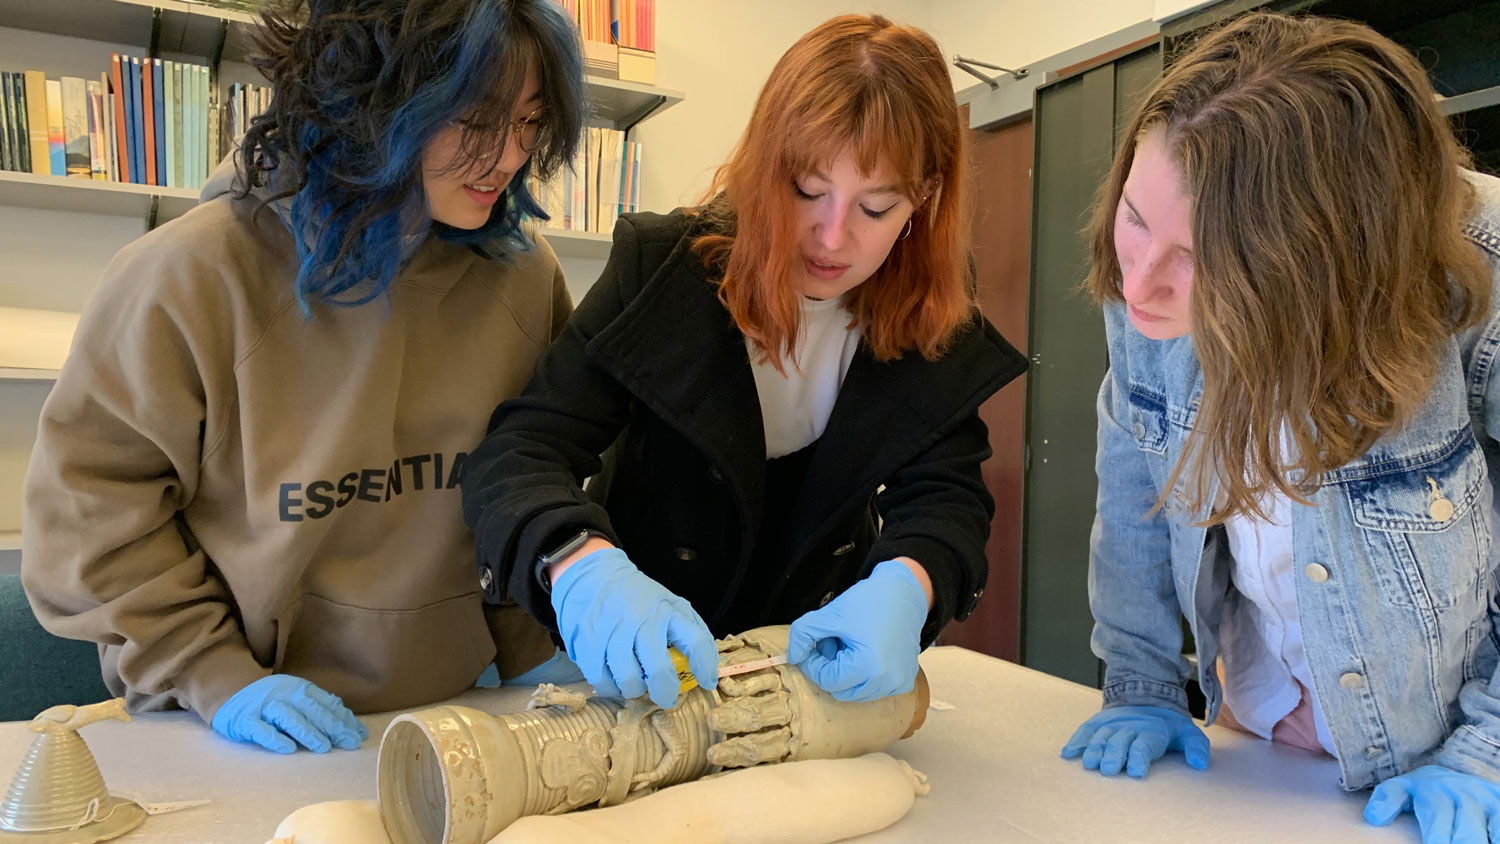
At the ceramic reassembly station, teams worked to puzzle out the correct location of sherds and reconstruct a ceramic object. Small sandboxes, blue tape, and clamps to hold everything in place are essential tools for gluing a ceramic back together. 

If students tried their hand at each table and still had time to spare, there were also individual activities on color matching and inpainting prepared for some down time. 

We were happy to see such enthusiastic attendance of this program last year and hope we get to meet some more future conservators at the workshop next month! If you or someone you know would like to participate, you can find more info and register here for this year’s workshop!

Conservation at the Penn Museum: the next generation

Update – this post contains outdated language. We no longer use the term “mummy” and instead use “mummified human individuals” to refer to Ancient Egyptian people whose bodies were preserved for the afterlife. To read more about this decision, follow this link

Our department temporarily gained a member last week, when aspiring conservator Jessica Schwartz returned to spend an afternoon with us.

Conservator Tessa de Alarcon shows Jessica an RTI (reflectance transformation imaging) file of a seal impression from Ur.

Conservator Tessa de Alarcon shows Jessica an RTI (reflectance transformation imaging) file of a fragment of a jar stopper from Ur. The seal impression is so worn, and RTI revealed that it actually has 2 different impressions on it.

Jessie, a 6th-grader from Atlanta, has been interested in archaeology for as long as she can remember, but after seeing us working In the Artifact Lab two summers ago, she redirected her energy to pursuing archaeological conservation. There aren’t many opportunities for 12-year olds to gain experience in conservation, so we thought that if she spent some time with us, she’d get a taste of what we do on a day-to-day basis.

The first time she worked with us, last summer, we spent some time looking at our Predynastic male mummy  using our microscopes to identify materials, and making scarab amulet impressions, and she wrote about all of this on the blog, which you can find by following this link.

Last week she came for a return visit (her family was here for the opening of our new exhibition, Beneath the Surface: Life, Death, & Gold in Ancient Panama) and she kept pace with all of the activities of the afternoon, including discussing my ongoing treatment of Pinahsi, a New Kingdom mummy (she had a good eye for picking out where I had repaired the textile shroud!) and reviewing radiographs of some of our animal mummies.

Jar of dirty cotton swab tips

Jar of dirty cotton swab tips

One of the first questions Jessica asked me when she came into the lab was, “what is that container full of little bits of cotton for?”. I’m so glad she asked (it’s a cotton swab disposal jar), because it gave me the idea to teach her one of the most important skills for a conservator to have – rolling your own cotton swab! We make our own swabs for cleaning objects because it allows us to have more control over the size and shape of the swab and the amount of cotton, and it’s also a lot cheaper. Jessica was so pleased with learning this new technique – I told her it would take her far!

Jessie with a successfully-rolled swab

Jessie with a successfully-rolled swab

After working in the Artifact Lab for a bit, we went downstairs to our new digital x-ray lab* to review some animal mummy x-radiographs. I x-rayed the animal mummies just before Jessie’s visit, so this was an opportunity for us to learn from the radiographs together. (*We are super excited about our new digital x-radiography equipment and we are just starting to use it to examine objects in our collection. I have been meaning to write a post just about the equipment and some of the things it has already allowed us to do, so look for this in the near future.)

One of the mummies we x-rayed was this ibis mummy, which our graduate intern
Alexis North treated over the summer. As far as we know, this mummy had never been x-rayed before, so we really had no idea what the radiograph would reveal. Here are the 2 views we captured:

X-ray image taken from the top down. Exposure information: 30kV, 1mA, 6 seconds

X-radiograph taken from the top down. Exposure information: 30kV, 1mA, 6 seconds. Image enhanced with flash! filter.

X-ray image taken from the side. Exposure information: 35 kV, 1mA, 6 seconds

X-radiograph taken from the side. Exposure information: 35 kV, 1mA, 6 seconds. Image enhanced with flash! filter.

Both views clearly show that there are bird remains inside, and the side view shows the characteristic long, curved beak of the ibis really well. The radiographs also show the textile wrappings and even the materials in the storage support! But focusing on the bird remains, they seemed a little…sparse. So we consulted with the museum’s zooarchaeologist and teaching specialist Dr. Kate Moore. She brought us into her lab and showed us a complete heron skeleton (she doesn’t have an ibis skeleton, but a heron is very comparable in terms of size and the shape of the bones).

TessaJessieKate

Dr. Kate Moore (far right) shows Tessa and Jessica a heron skeleton

Here is the complete skeleton, which Kate piled up on the table so that we could get a sense of how much volume those bones take up. After seeing these bones, we took another look at the x-radiograph, and realized that our ibis mummy only contained about half the bones of a complete skeleton (for starters, the pelvis is missing completely).

Heron bones

Heron bones with sharpie marker used for scale.

As you can see, we had a full afternoon, and we learned a lot together. Jessie had to fly back to Atlanta today to turn her attention back to her current full-time job, being a sixth grader, but we look forward to her next visit. While college, and conservation graduate school, are a bit far off in the future, we can already see that if Jessie ultimately decides to pursue conservation, she’s going to excel!