Caring For Culture: Introducing Teens to Museum Conservation

By Lu Denegre

All photos by Emily Hirshorn

On June 4th, 2022, with the help of funding from the Museum Council of Greater Philadelphia, the Conservation and Learning Programs departments hosted “Caring for Culture”, a hands-on introduction to conservation for teens. We had a great time and got some good feedback, and look forward to welcoming another group of teens this year on June 3rd 2023!

(If you’re a teen in the Philly area, you can register here for this year’s workshop)

Last year, 24 students arrived at the museum for a day of activities. The workshop began with introductions and a presentation by Senior Project Conservator Molly Gleeson about the basics of museum conservation. What kind of work does it involve? Why do we do it and what can damage cultural heritage collections?  

Molly Gleeson addresses Caring For Culture Participants in Widener Auditorium, and a diagram of the Agents of Deterioration (from A Guide to Risk Management of Cultural Heritage (p. 27), ICCROM, 2016).

Next, participants were led in smaller groups on a tour of the Museum’s conservation lab spaces by Head Conservator Lynn Grant. They got to see the X-Ray room, the photo studio, prep room, and main lab. Lynn and Graduate Intern Nylah Byrd spoke about the different treatments a large wall painting, a cartonnage mask, and a stone sculpture have undergone. These objects will be included in the upcoming reinstallation of the Ancient Egypt and Nubia Galleries and have collectively required different types of imaging, storage mounts, cleaning, and structural and aesthetic fills. 

Lynn Grant leads a tour of the conservation lab
Nylah Byrd talks about the treatment of a cartonnage mask

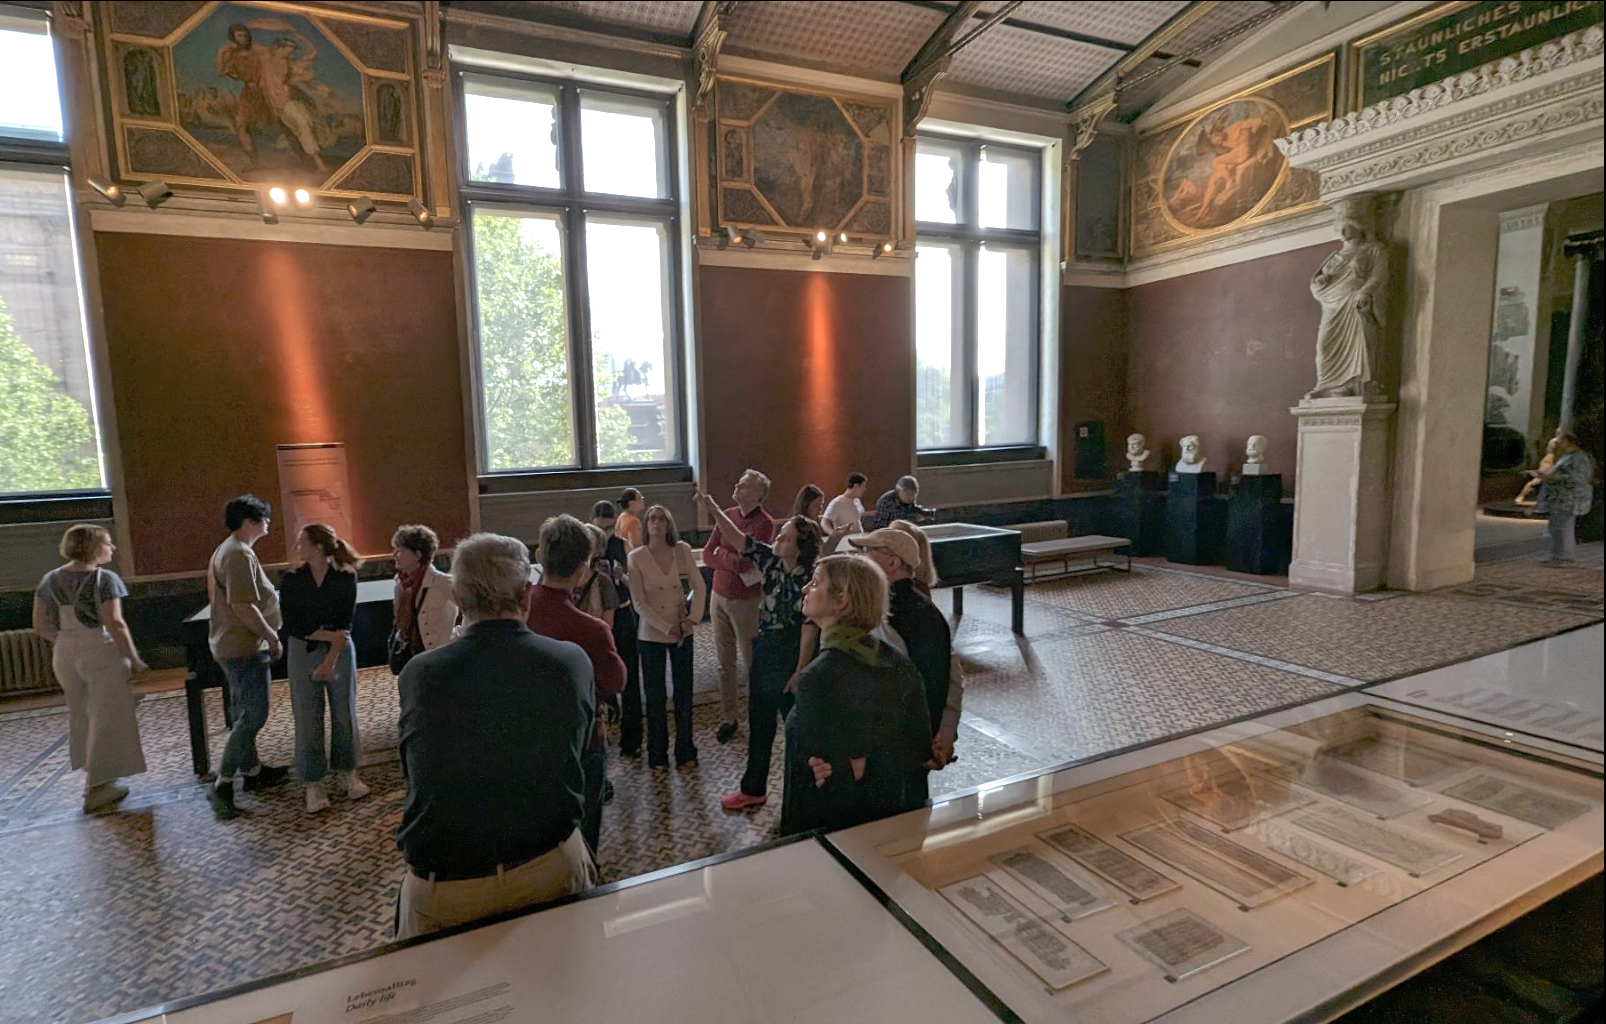
For rest of the morning, the groups were led into the galleries by a member of the conservation department to do some documentation of their own. Each participant chose an object in the galleries to condition report and diagram. Condition reporting is one of the first things you learn as a conservator and is the first important step in assessing an object’s needs before starting treatment. This activity offered opportunities to look for real life examples of condition issues, agents of deterioration, preventative conservation steps, and mountmaking.

Participants observing a strategy for a large fill on an object in the Middle East Gallery
Completing condition report worksheets for an object chosen in the galleries

After a sunny lunch in the Warden Garden, participants came back in for some hands-on activities. Groups rotated between three stations: cleaning, close looking, and ceramic reassembly. These stations introduced some of the beginning skills needed by a conservator in training. 

At the cleaning station, teens learned to roll their own cotton swabs to gently remove grime from the surface of a dirty tile. They also applied warm agar gel to learn how we loosen up and remove grime without using too much water on more sensitive objects or more stubborn dirt. 

A participant swab cleans a dirty tile

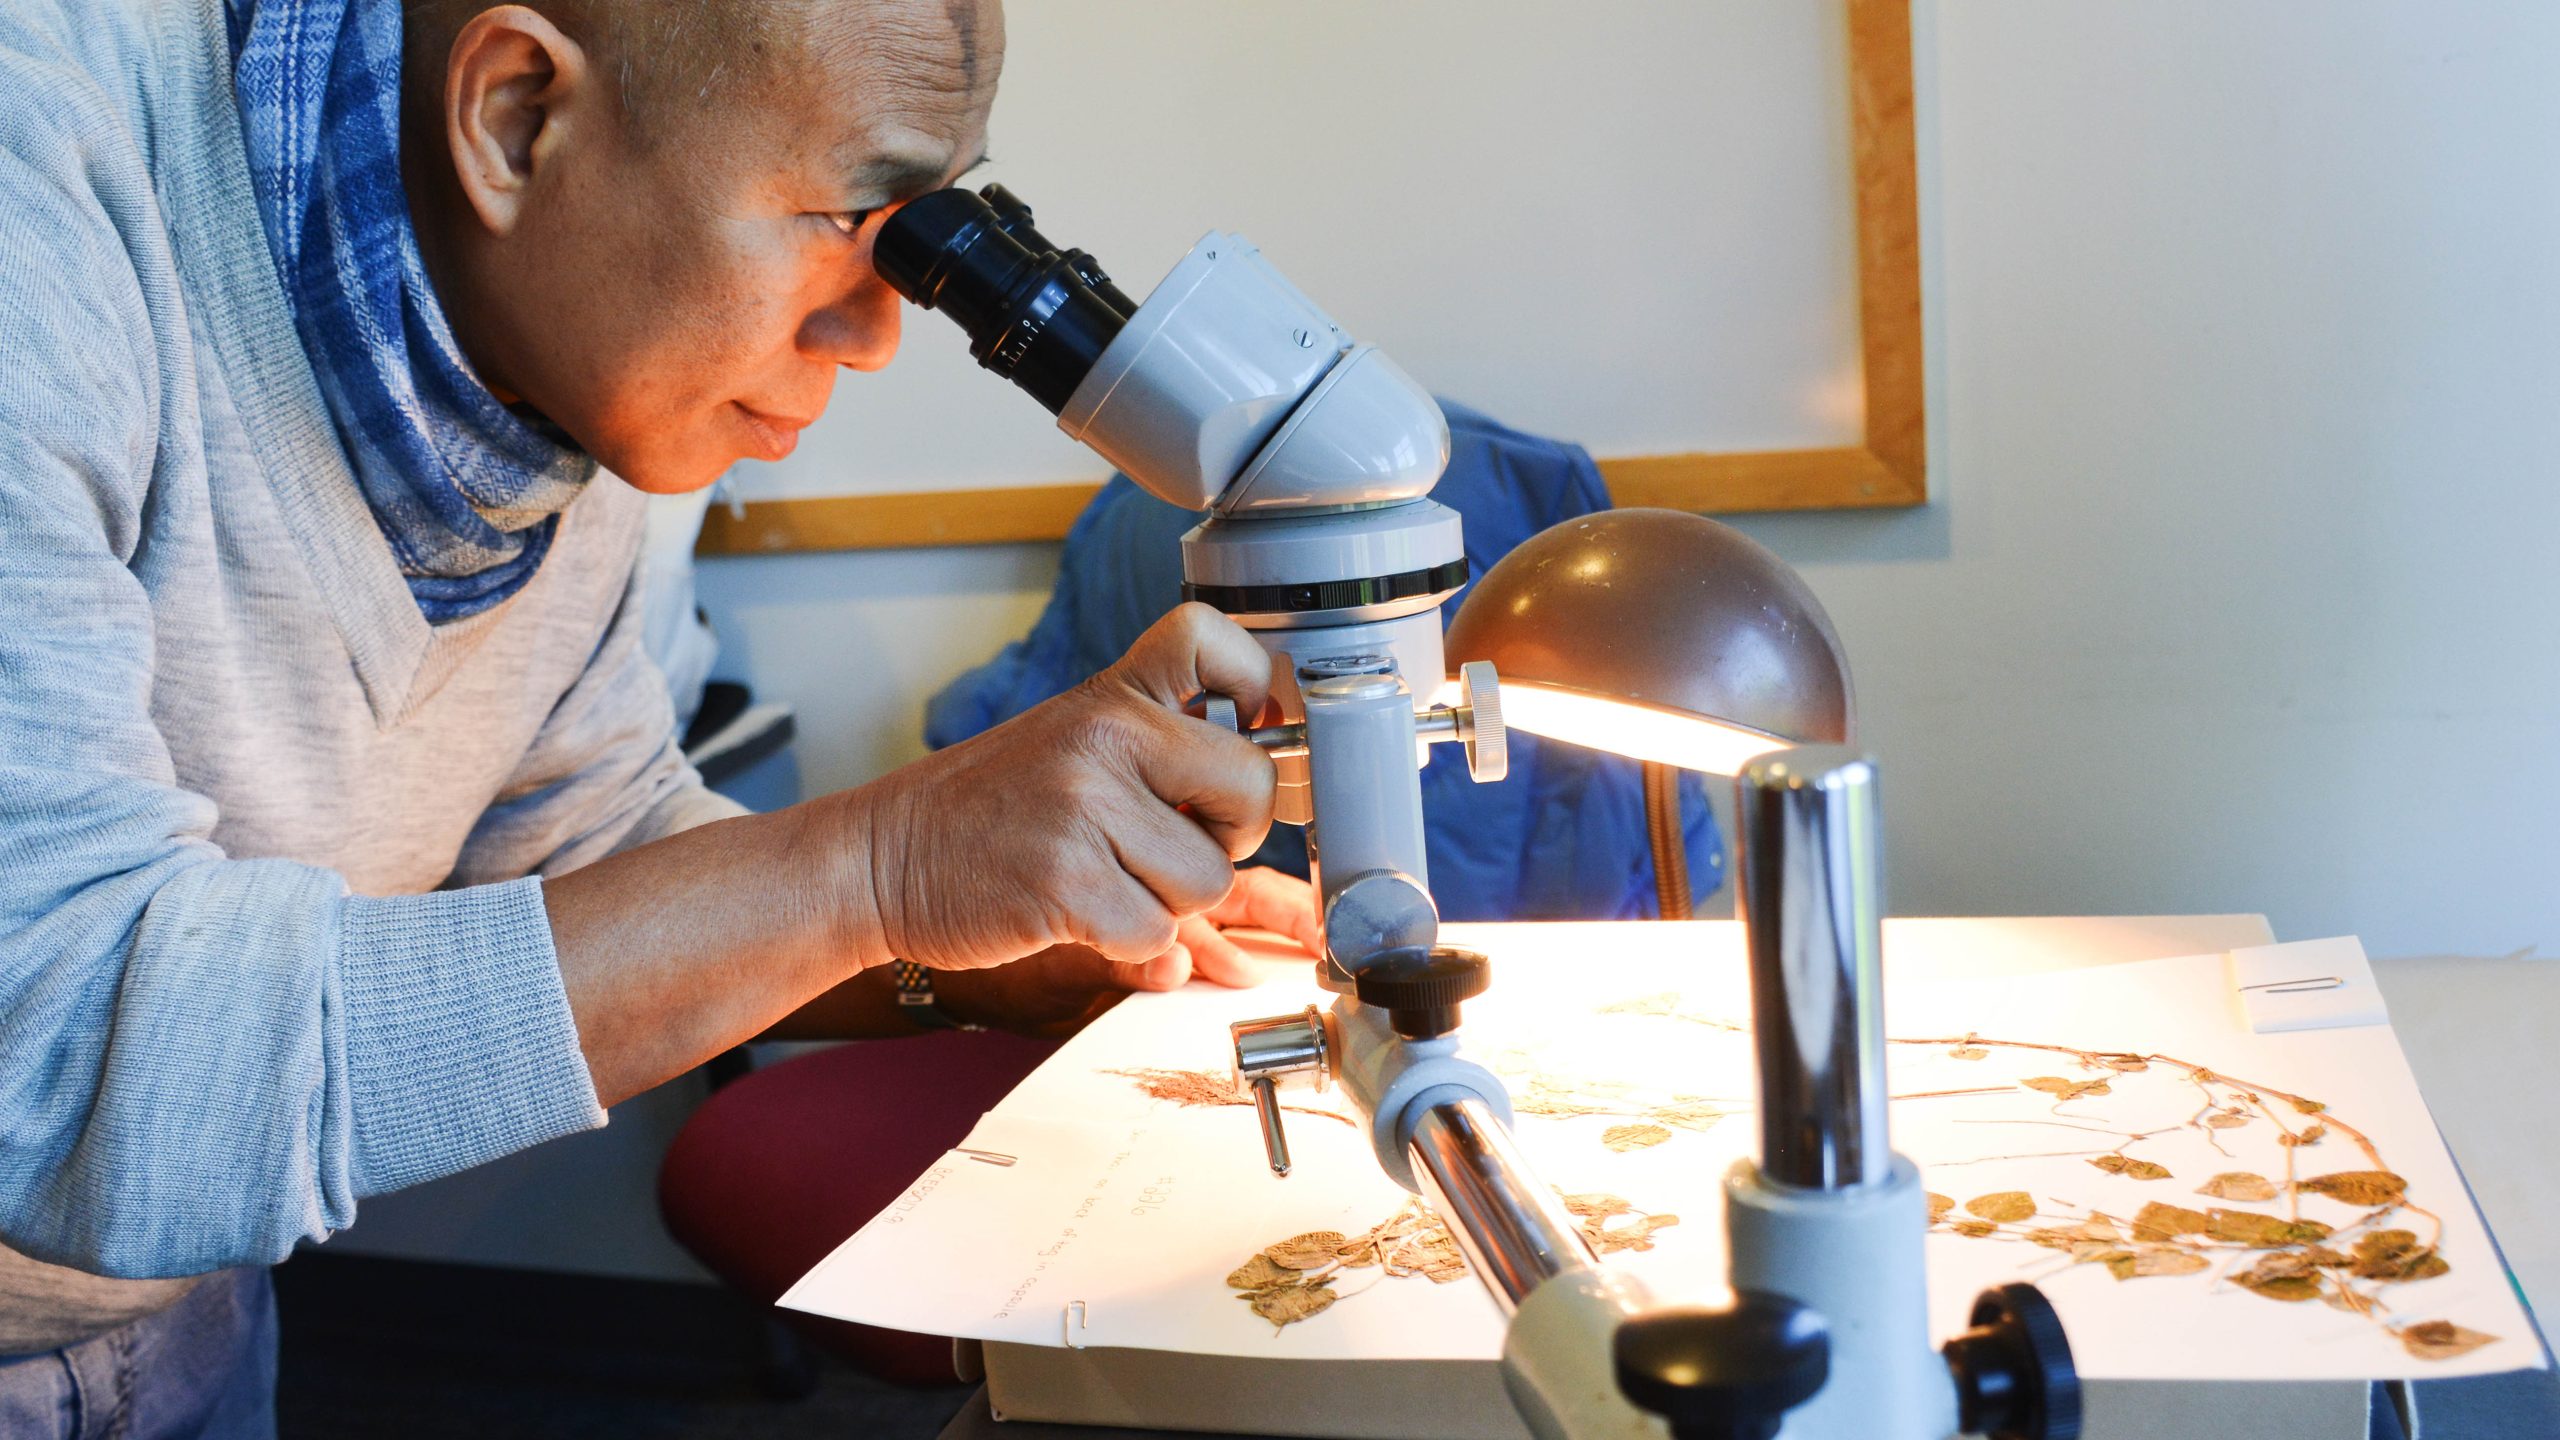
At the close looking station, teens used a Dino-lite digital microscope to get up close and personal with some study objects. A UV light setup showed that the way materials fluoresce differently under Ultra-Violet light can help identify unknown substances. 

Conservator Julia Commander guides participants through using a Dino-lite microscope

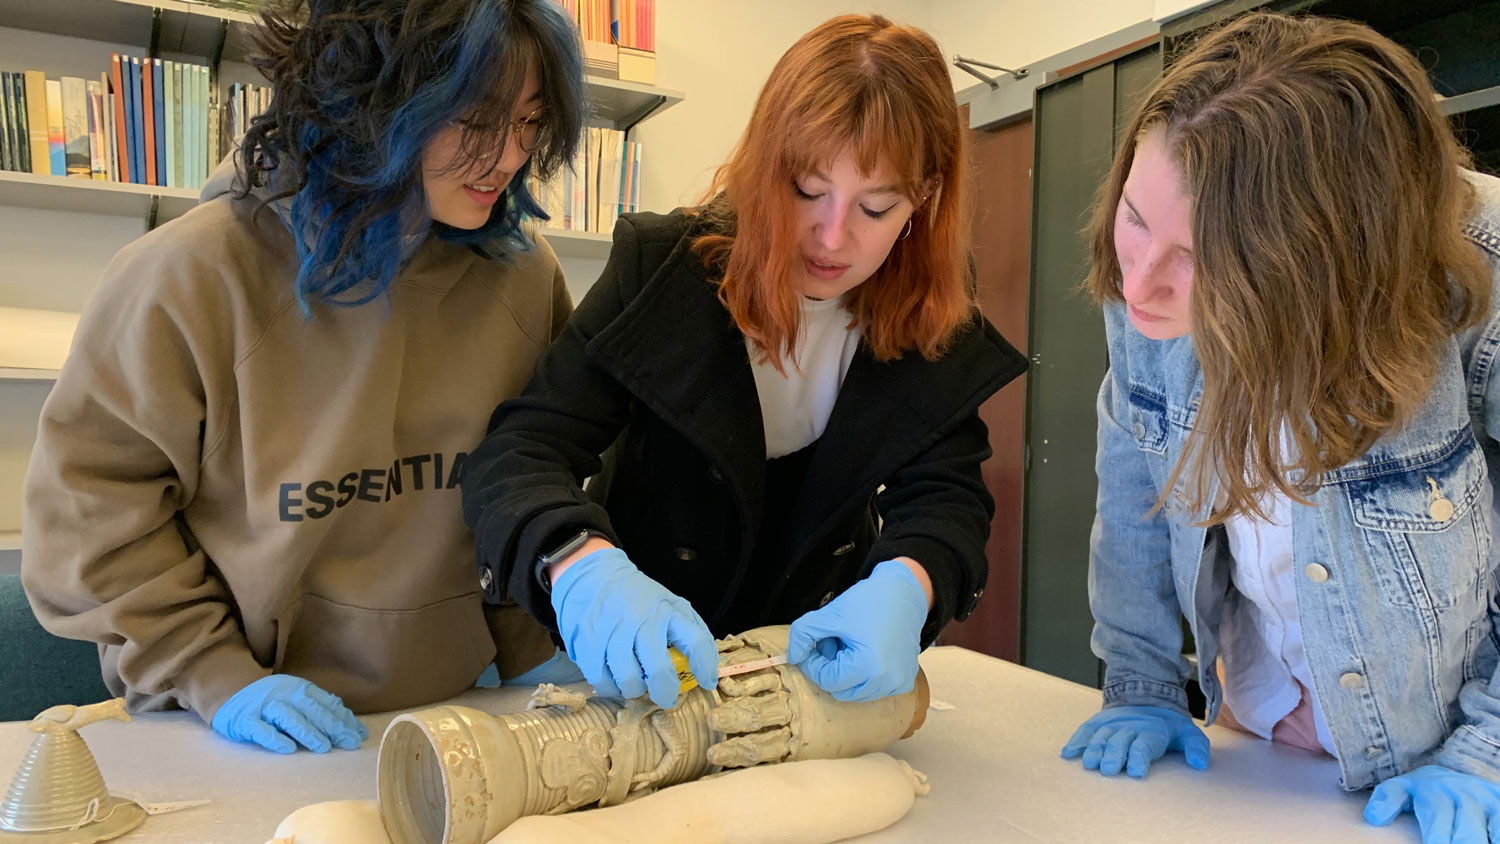
At the ceramic reassembly station, teams worked to puzzle out the correct location of sherds and reconstruct a ceramic object. Small sandboxes, blue tape, and clamps to hold everything in place are essential tools for gluing a ceramic back together. 

If students tried their hand at each table and still had time to spare, there were also individual activities on color matching and inpainting prepared for some down time. 

We were happy to see such enthusiastic attendance of this program last year and hope we get to meet some more future conservators at the workshop next month! If you or someone you know would like to participate, you can find more info and register here for this year’s workshop!

Conservation Confidential: Tools galore!

Today’s Conservation Confidential, Tools of Every Trade: Conservation Ingenuity with conservator Lynn Grant can be viewed at vimeo.com/483259426. You can also catch up with others in this series by looking in the Conservation Confidential section at https://www.penn.museum/events/adult-programs/the-daily-dig. Many of today’s stories and images were drawn from our 8 years of Artifact Lab blogging. If you want to know more, here are links to the relevant posts:

  • Molly’s tools:  https://www.penn.museum/sites/artifactlab/2015/08/17/the-right-tools-for-the-job/
  • Gel Cleaning: https://www.penn.museum/sites/artifactlab/2017/12/08/coming-clean/
  • Restringing: https://www.penn.museum/sites/artifactlab/2018/05/16/beaded-necklaces-restringing-to-secure-the-past/
  • Kitchenwares: https://www.penn.museum/sites/artifactlab/2017/04/11/cleaning-questions-and-cross-sections/
  • https://www.penn.museum/sites/artifactlab/2017/12/08/coming-clean/
  • https://www.penn.museum/sites/artifactlab/2013/01/10/making-scarab-amulet-impressions-part-2/

Transformation Tuesday, Stela Edition

Sometimes the simplest treatments make the most visible impact! This Eleventh Dynasty (2081-1938 BCE) painted limestone stela from Deir el-Bahari in Egypt had a thick and yellowed coating dating from before it was installed in our Lower Egyptian around 1958. It came off easily by swabbing with acetone, followed by a simple cleaning with a xanthan gum/benzyl alcohol gel to remove any remaining dirt. Plaster from where the edges been set into the gallery wall was carefully chipped away with a chisel. Suddenly, the ibis looked much younger than its 4,000 years!

Many thanks to Tom Stanley, the museum’s Social Media guru, for making this transformational GIF:

We should note that, in conservation, cleaning is considered an “irreversible” treatment – that is, there’s no putting back what you’ve cleaned away. So we’re always careful to make sure that anything we remove is something that shouldn’t be there. This is especially important when the cleaning process is as dramatic as the one above, since you can’t change your mind once you’ve started! From the way the coating was applied over the break edges, it was clear that it had been put on after the stela was excavated. That meant that the coating could be removed and the ibis will be much nicer to look at when it’s reinstalled in the renovated Egyptian Galleries.

58-10-1 before, during and after treatment.

Coming clean

by Alexis North, Williams Project Conservator

The renovation of our Mexico and Central America gallery will involve the conservation and installation of over 200 objects. Some are currently on display in the gallery, but many have never been exhibited before. One of these “new” objects (actually acquired from the World’s Columbian Exposition in Chicago in 1893) is this carved stone figure from Ecuador. It depicts a human man, possibly a king, seated on a throne.

Before treatment views of 12676, a stone figure from Ecuador.

It has an overall dark, somewhat shiny surface. At first glance, it looks like it may have been carved from a smooth black stone like hematite. However, once I was able to look at the figure more closely in the lab, I could tell there was something suspicious about its surface and overall appearance. The surface had a waxy feel, and upon closer inspection, I could see spots of wax on the surface. These waxy areas were very visible under ultraviolet light:

UV fluorescence image of the proper right side of the figure. The bright yellow-white spots are wax.

When I looked at the bottom of the figure, my suspicions were confirmed. Here you can see the bottoms of the feet of the figure and chair, which appear lighter and grey, and much more like stone than the odd waxy sheen of the rest of the surface.

Before treatment image of the bottom of the figure, showing the true surface and appearance of the stone.

I talked to the American section curator, keeper, and other conservators here in the lab, and we all agreed that this type of figure would not have had any sort of surface coating applied during its original use. It is likely that at some point after excavation, the piece was coated to give it more of an even, dark, shiny surface, which was seen as desirable by art dealers and collectors at the time, followed by a wax as a “protective” layer.

In order to prepare this object for display in our new gallery, the old surface coating had to go. It was misrepresentative of the object’s appearance, and the wax was collecting dust and grime. After our incredibly successful gel cleaning workshop with Professor Richard Wolbers, I decided that an emulsion gel would be ideal for removing this old coating.

I started by testing a number of aqueous cleaning solutions in a rigid agar gel. Small punches of gel with each solution were placed on the surface of the figure, and allowed to sit for 20 minutes. The small pores in the agar gel help it act as a sponge, holding the solutions against the surface and pulling the surface coating into the gel using capillary action.

During (left) and after (right) testing different cleaning solutions with a rigid agar gel.

The agar gel samples, after removing them from the figure’s surface.

And the results of my tests were pretty clear! All the solutions tested were successful in removing some of the surface coating (which is unusual!) but Solution A (deionized water with 0.5% citric acid, buffered to a pH of 6.0) clearly pulled the most grime and surface coating away. I performed a second test using Solution A in a xanthan gum gel, which is viscous but not rigid, resists penetration into the surface it is applied to, and has an emulsifying behavior when agitated which helps to pull out and hold on to the material being removed.

I also tested several solvents on the surface, and found that iso-octane would remove the wax, and acetone and benzyl alcohol both cleared some of the grime. I decided to make a xanthan gel mixture utilizing both cleaning Solution A and a combination of iso-octane and benzyl alcohol. This mixture, when tested on the surface, very successfully removed the surface coating better than Solution A on its own, revealing a lighter, gray-green micaceous stone underneath.

The results from testing xanthan gel mixtures by swabbing them on the surface.

Once the cleaning method was identified, it was simply a matter of systematically removing the coating. I worked in sections, by first applying a layer of octamethylcyclotetrasiloxane (D4), a silicone-based solvent which does not mix with water or the solvents used in the gel. The D4 fills the pores of the stone, and acts as a barrier that keeps the gel, solvents, or surface coating from penetrating into the stone during cleaning. Then I brushed on the xanthan gel mixture, and gently agitated it with a paintbrush over the surface to pull up the surface coating. Once the gel had turned a dirty brown, indicating that it pulled up the coating (see below), I removed the gel with cotton swabs and then cleared the area with deionized water. It was an extremely satisfying, if a bit goopy, process.

Left: After the left side of the seat was cleaned using the xanthan gel. Right: The cleared gel, you can see how dirty it got!

And here are some before and after photos of the figure. The difference is so clear! I believe the coating may have been applied to obscure the scratches you can see on the front of the figure, but overall it looks so much better now that the original material is visible.

After treatment images of the figure.

Front view after (left) and before (right) cleaning.

You can see this figure when we open our new Mexico and Central America gallery in late 2018!

Cleaning – it’s complicated

by Lynn Grant

Not that long ago, a museum colleague was heard to say “I suppose cleaning counts as conservation” in a doubtful voice. We conservators found this both appalling and amusing as cleaning is a huge part of what we do. And knowing when and how to clean is a big part of our education. Using the wrong methods can permanently damage an artifact. Those of us who finished our conservation training more than ten years ago mostly relied on the rule of thumb ‘try gentlest methods first’. But there have been rumblings in the field about better ways to do things, with terms like Modular Cleaning Systems and Gel Cleaning drifting by. Clearly this was something we needed to know more about.

Richard Wolbers (in blue polo shirt) demonstrates basics of cleaning gel production to Museum conservators and interns

Fortunately for us, one of the ‘rock stars’ of gel cleaning research, teaches nearby at the Winterthur/University of Delaware Program in Art Conservation. Richard Wolbers, who describes himself as a ‘Cultural Materials Engineer’ to reflect his interest in applying new ways of thinking about conservation issues, is Associate Professor at WUDPAC and has graciously lent us his expertise on specific projects previously (one example here). But now that we have so many conservators and interns working on different projects and with a major campaign to reinstall our Egyptian Galleries after 90 years about to start, we asked Richard to give us a two-day workshop on the basics of gel cleaning. This was an abbreviated version of week-long workshops he gives around the world but we certainly squeezed a lot of learning into two jam-packed days.

The conservators and interns get into gel (and emulsion) production!

Richard has basically turned much traditional conservation ‘wisdom’ on its head: looking deeply into the complex interactions among surfaces, dirt, and cleaning materials and using his observations to develop new approaches to cleaning. Even gels aren’t the new frontier anymore; custom made emulsions may allow conservators to use water and solvents in combination when the surface is easily damaged by them when used in liquid applications. Many of the techniques and materials that Richard uses come from the cosmetics and food industries. In fact, as we listened to his explanations, I kept thinking of the Molecular Gastronomy movement. Some of our new cleaning tools have as much relation to our old way of doing things as this does to your grandma’s chicken soup:

Chicken soup spheres (http://jordancaterers.blogspot.com/2013/07/chicken-soup-spheres.html)

It’s a brave new world for conservation cleaning….