A Puzzling Project at Villa La Pietra, NYU Florence

by Adrienne Gendron

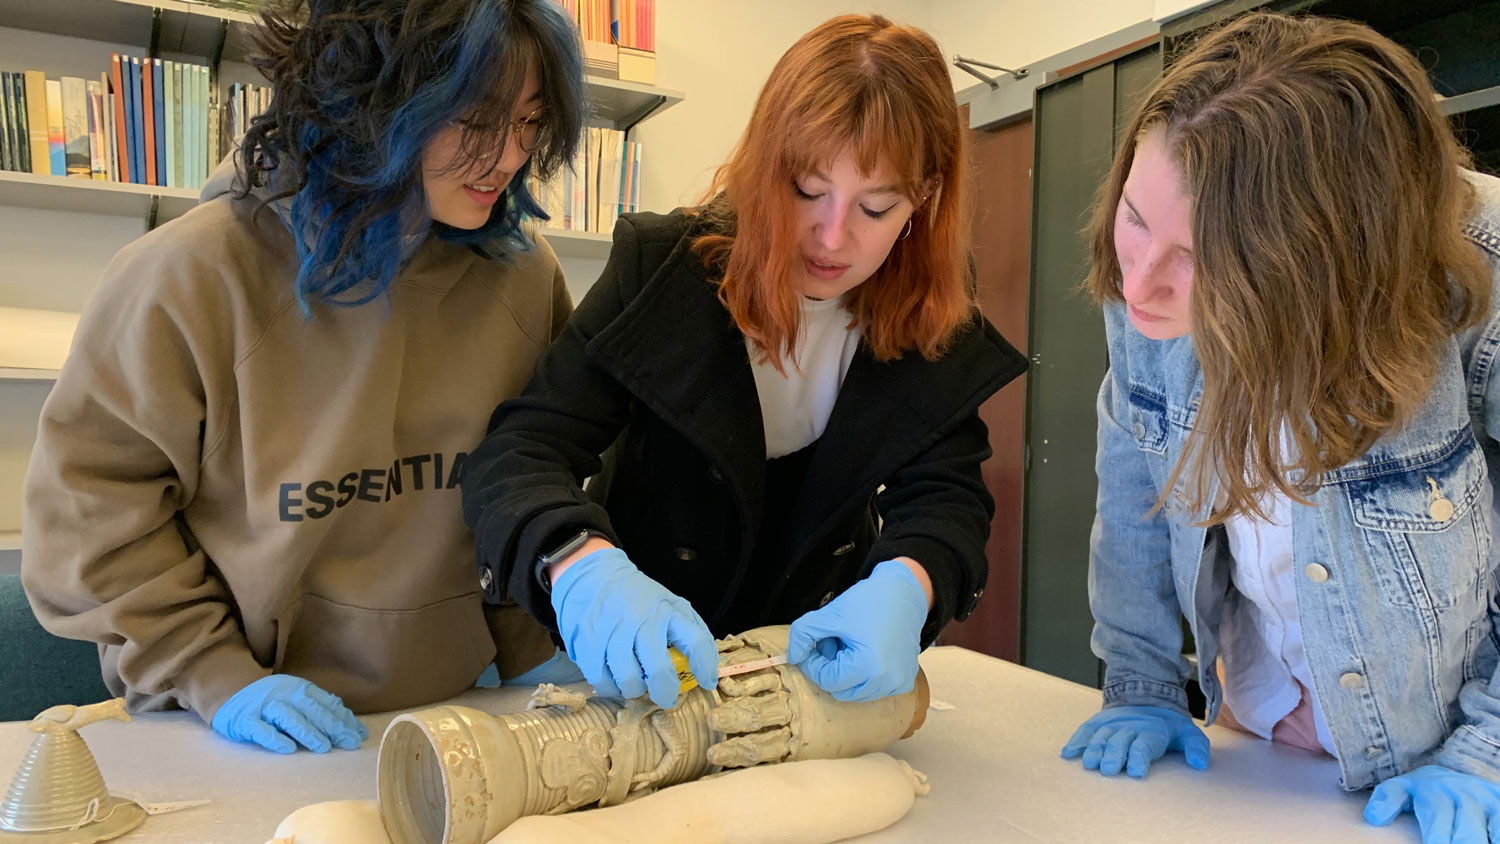
I am a graduate student at the Conservation Center at the Institute of Fine Arts at New York University, and I’m spending the majority of my summer here at the Penn Museum as part of my training to become a professional conservator. In late June, I took a break from the Artifact Lab and traveled to Villa La Pietra in Florence along with fellow classmate Andy Wolf to work on a conservation project.

Villa La Pietra houses an expansive and diverse collection that came into the ownership of New York University from the Acton family in 1994. The Actons were art collectors from England and the US who lived in Florence from the early 1900s onward. Every year, NYU students from a variety of programs travel to Florence to work on educational projects at the estate.

The main building at Villa La Pietra, where the collections and the conservation studio are housed.

For the span of a week, Andy and I worked under the supervision of Pamela Hatchfield (Robert P. and Carol T. Henderson Head of Objects Conservation at the Museum of Fine Arts in Boston) to perform a complex treatment on a 17th century majolica pharmacy jar. The jar had fallen off a high bookshelf during an earthquake in 2013 and broken into 40 major pieces and innumerable tiny flakes and chips. Conservators often need to differentiate between different types of physical changes that may occur during an object’s lifetime and may choose not to intervene if an object is stable. In this case, because the damage caused by the earthquake was very recent and extensive, we decided to proceed with reconstructing the jar and minimizing the damage as much as possible.

The main fragments of the pharmacy jar.
The many fragments and chips associated with the jar.

After documenting the damage and finding the locations of each major fragment, it was time to assemble. Andy and I realized that because of the geometries of the fragments, we would have to build most of the jar in one session so the adhesive would remain tacky enough to make necessary adjustments. So, after some deep breathing exercises and words of encouragement from our supervisor, we began the assembly process.

The first pieces assembled (left) with the remaining fragments ready to go (right).

Typically, conservators like to reassemble broken ceramics from the bottom up. That was not possible in this case because half of the jar’s foot had been completely shattered in the earthquake damage. Instead, Andy and I decided to assemble the piece upside down starting from the rim.

The assembly of the main body of the vessel took about 3.5 hours from start to finish. Andy and I worked closely together during the entire process, using pieces of black electrical tape to secure the pieces in place while they dried. We were fortunate that the outer surface was stable enough that the tape could be used safely.

The pot nearly assembled. The stretchy black electrical tape assures that the joins stay tight while the adhesive dries and can be safely removed after drying is complete.

After the main part of the assembly, it was time to work on the shattered foot. This was the most challenging part of the entire treatment. After many hours of searching through a sea of tiny fragments, I was able to reconstruct the profile of the missing outer edge of the foot from sixteen individual pieces. 

About one half of the outer edge of the foot was shattered during the earthquake (in this image, the jar is oriented upside down).
The reconstructed outer profile of the missing part of the foot, which was previously in sixteen tiny pieces.

Andy and I worked together to take a mold of the intact side of the foot to use as a guide for matching the curve of the shattered side. Then, we put the missing outer profile in place, using a stable fill material to bridge the gap between the outer edge and the interior of the break line.

The reconstructed profile of the foot in place. The white material is a reversible facing we applied to protect the delicate fragments during assembly.

There’s only so much that can be accomplished in a week, and by the end of our trip Andy and I had just begun filling the remaining losses. The pharmacy jar will be waiting for another team of students next summer, who will take it to completion by disguising the cracks and losses associated with the earthquake damage.

The reassembled pharmacy jar at the end of our trip.

Somehow, on top of our work with the pharmacy jar, we managed to visit six museums and churches! And, of course, we ate plenty of delicious pizza, pasta, and gelato. I’m so grateful for the opportunity to work at the Villa this summer, and I’m excited to return in future years.

From left to right: Pamela Hatchfield, Adrienne Gendron, and Andy Wolf with the reassembled pharmacy jar.

Consolidating and reconstructing glass objects

* A new post from former Artifact Lab graduate intern Laura Galicier, contributing from a distance in Paris!

Reconstruction of a fish-shaped vessel from ancient Afghanistan (picture from a video of the British Museum, that can be viewed at https://www.britishmuseum.org/channel/exhibitions/2011/afghanistan/video_glass_blowing.aspx

Reconstruction of a fish-shaped vessel from ancient Afghanistan
– picture from a video on the British Museum website, that can be viewed by  following this link

Two glass objects from Cyprus were previously introduced to you. After an initial examination, several treatment steps were decided.

First, the surface showed evidence of delamination and was slightly flaking. We chose to consolidate the surface because if this destructive process went on it could lead to the complete loss of the object. An acrylic resin (Paraloid B72, that you’re now pretty familiar with) in acetone was chosen to do this light stabilization.

Then, we tried to see if the pieces from each object could be built up. We found that while the jug (n.63-1-196) would be able to reconstructed, the fragments of the bowl (n.63-200) didn’t fit together.

On the right: the glass jug    On the left: the glass bowl

The glass jug                                                                         The glass bowl

So the building work for the jug began! We had to find where every fragment was supposed to go. If you read our blogpost about the Egyptian Demotic jar, you’ll realize that building up a glass object is very different. Of course, the size of these glass fragments is considerably smaller than the jar fragments. Besides, the edges of a ceramic are irregular, which can help with reassembly, whereas the edges of glass are smooth.

Glass fragments glued together

Glass fragments glued together

In terms of thickness, a glass object can be very irregular, especially after deterioration, such as delamination of the surface. Generally, you hope that two fragments of similar thickness belong to the same area of the object, but with glass, delamination makes it possible for two fragments of very different thickness to fit together. Moreover, compared to ceramic, glass fragments have a very different way to adjust to each other.

Despite these differences, the methodology to reconstruct glass and ceramic has some similarities: it is necessary to map out the joins so as to know precisely where each fragment goes.

After a bit of work the fragments were put in the order to be joined.

The fragments arranged in the right order

The fragments arranged in the right order

Then, the fragments were temporarily reconstructed using scotch tape. Taping the joins clarifies where each fragment goes and exactly in which order to build them up. This order isn’t always the most obvious but if it isn’t respected, a fragment could prevent another one to fit.

The fragments were built together with scotch tape.

The fragments were built together with scotch tape.

Then, the scotch tape was removed and the fragments were glued with an adhesive (Paraloid B72). Three groups of fragments were reconstructed: fragments of the top, fragments of the bottom and a few fragments that should be placed in-between. The in-between fragments couldn’t be glued to the top or to the bottom because there’s a wide gap between them and the other fragments. This is why it was necessary to make fills so as to support these before going any further.

The three groups of fragments reconstructed and glued together.

The three groups of fragments reconstructed and glued together.

The fills will be explained in a post to come!