Caring For Culture: Introducing Teens to Museum Conservation

By Lu Denegre

All photos by Emily Hirshorn

On June 4th, 2022, with the help of funding from the Museum Council of Greater Philadelphia, the Conservation and Learning Programs departments hosted “Caring for Culture”, a hands-on introduction to conservation for teens. We had a great time and got some good feedback, and look forward to welcoming another group of teens this year on June 3rd 2023!

(If you’re a teen in the Philly area, you can register here for this year’s workshop)

Last year, 24 students arrived at the museum for a day of activities. The workshop began with introductions and a presentation by Senior Project Conservator Molly Gleeson about the basics of museum conservation. What kind of work does it involve? Why do we do it and what can damage cultural heritage collections?  

Molly Gleeson addresses Caring For Culture Participants in Widener Auditorium, and a diagram of the Agents of Deterioration (from A Guide to Risk Management of Cultural Heritage (p. 27), ICCROM, 2016).

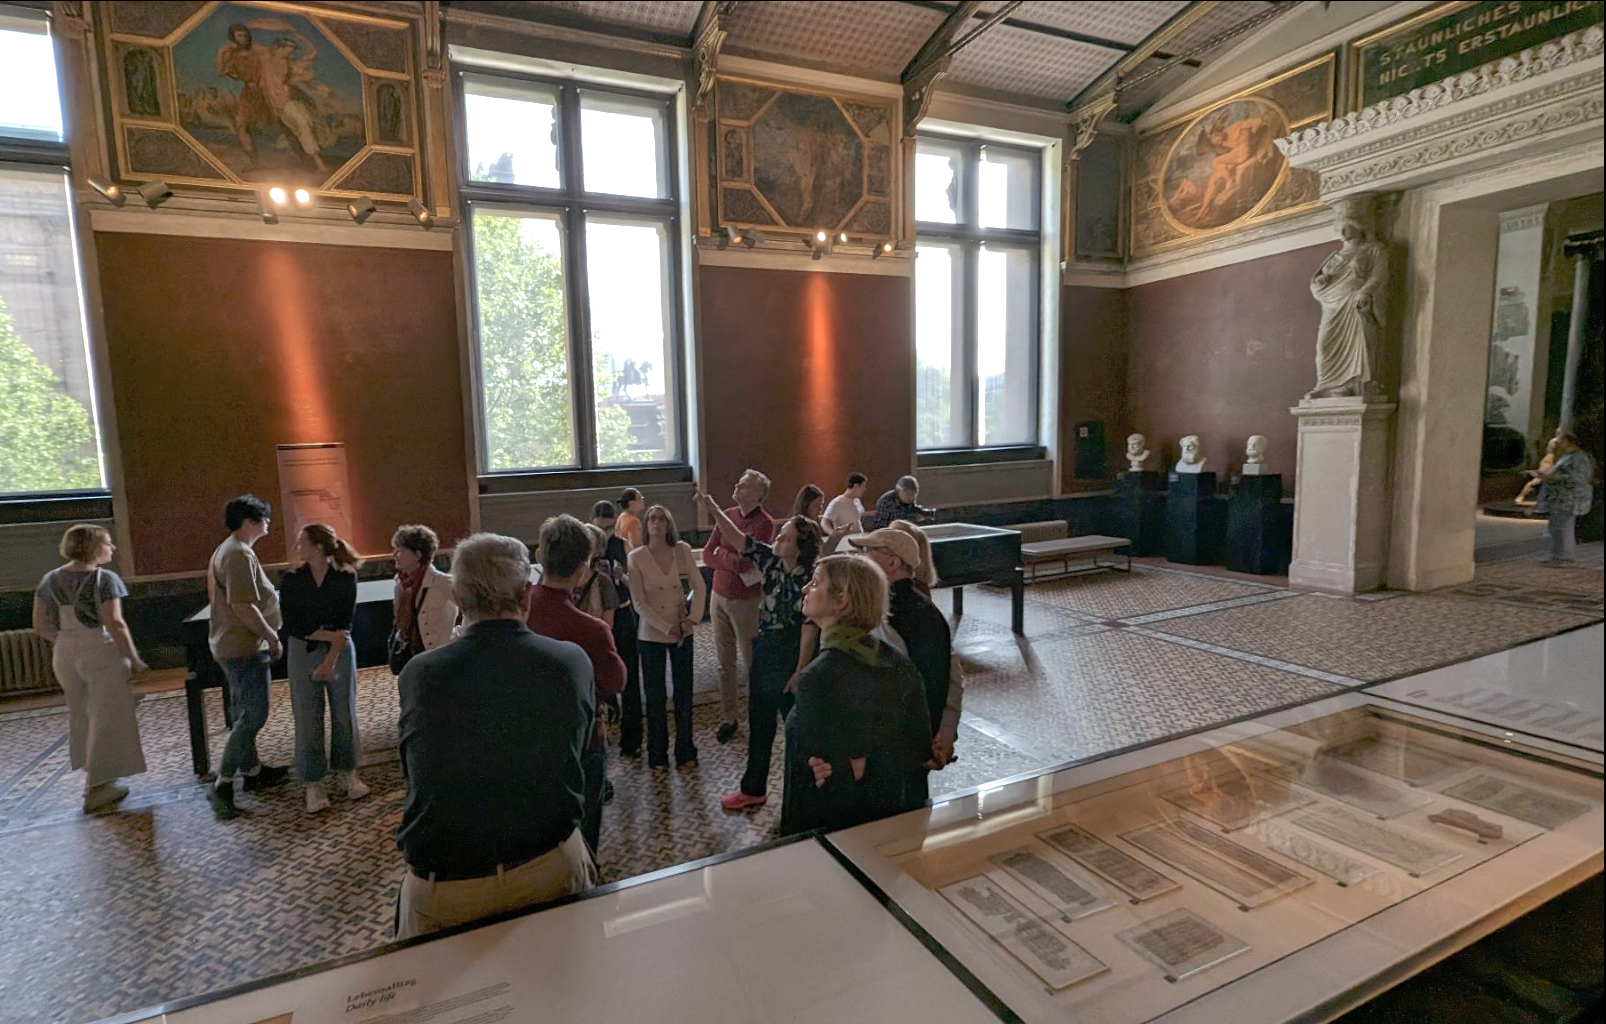
Next, participants were led in smaller groups on a tour of the Museum’s conservation lab spaces by Head Conservator Lynn Grant. They got to see the X-Ray room, the photo studio, prep room, and main lab. Lynn and Graduate Intern Nylah Byrd spoke about the different treatments a large wall painting, a cartonnage mask, and a stone sculpture have undergone. These objects will be included in the upcoming reinstallation of the Ancient Egypt and Nubia Galleries and have collectively required different types of imaging, storage mounts, cleaning, and structural and aesthetic fills. 

Lynn Grant leads a tour of the conservation lab
Nylah Byrd talks about the treatment of a cartonnage mask

For rest of the morning, the groups were led into the galleries by a member of the conservation department to do some documentation of their own. Each participant chose an object in the galleries to condition report and diagram. Condition reporting is one of the first things you learn as a conservator and is the first important step in assessing an object’s needs before starting treatment. This activity offered opportunities to look for real life examples of condition issues, agents of deterioration, preventative conservation steps, and mountmaking.

Participants observing a strategy for a large fill on an object in the Middle East Gallery
Completing condition report worksheets for an object chosen in the galleries

After a sunny lunch in the Warden Garden, participants came back in for some hands-on activities. Groups rotated between three stations: cleaning, close looking, and ceramic reassembly. These stations introduced some of the beginning skills needed by a conservator in training. 

At the cleaning station, teens learned to roll their own cotton swabs to gently remove grime from the surface of a dirty tile. They also applied warm agar gel to learn how we loosen up and remove grime without using too much water on more sensitive objects or more stubborn dirt. 

A participant swab cleans a dirty tile

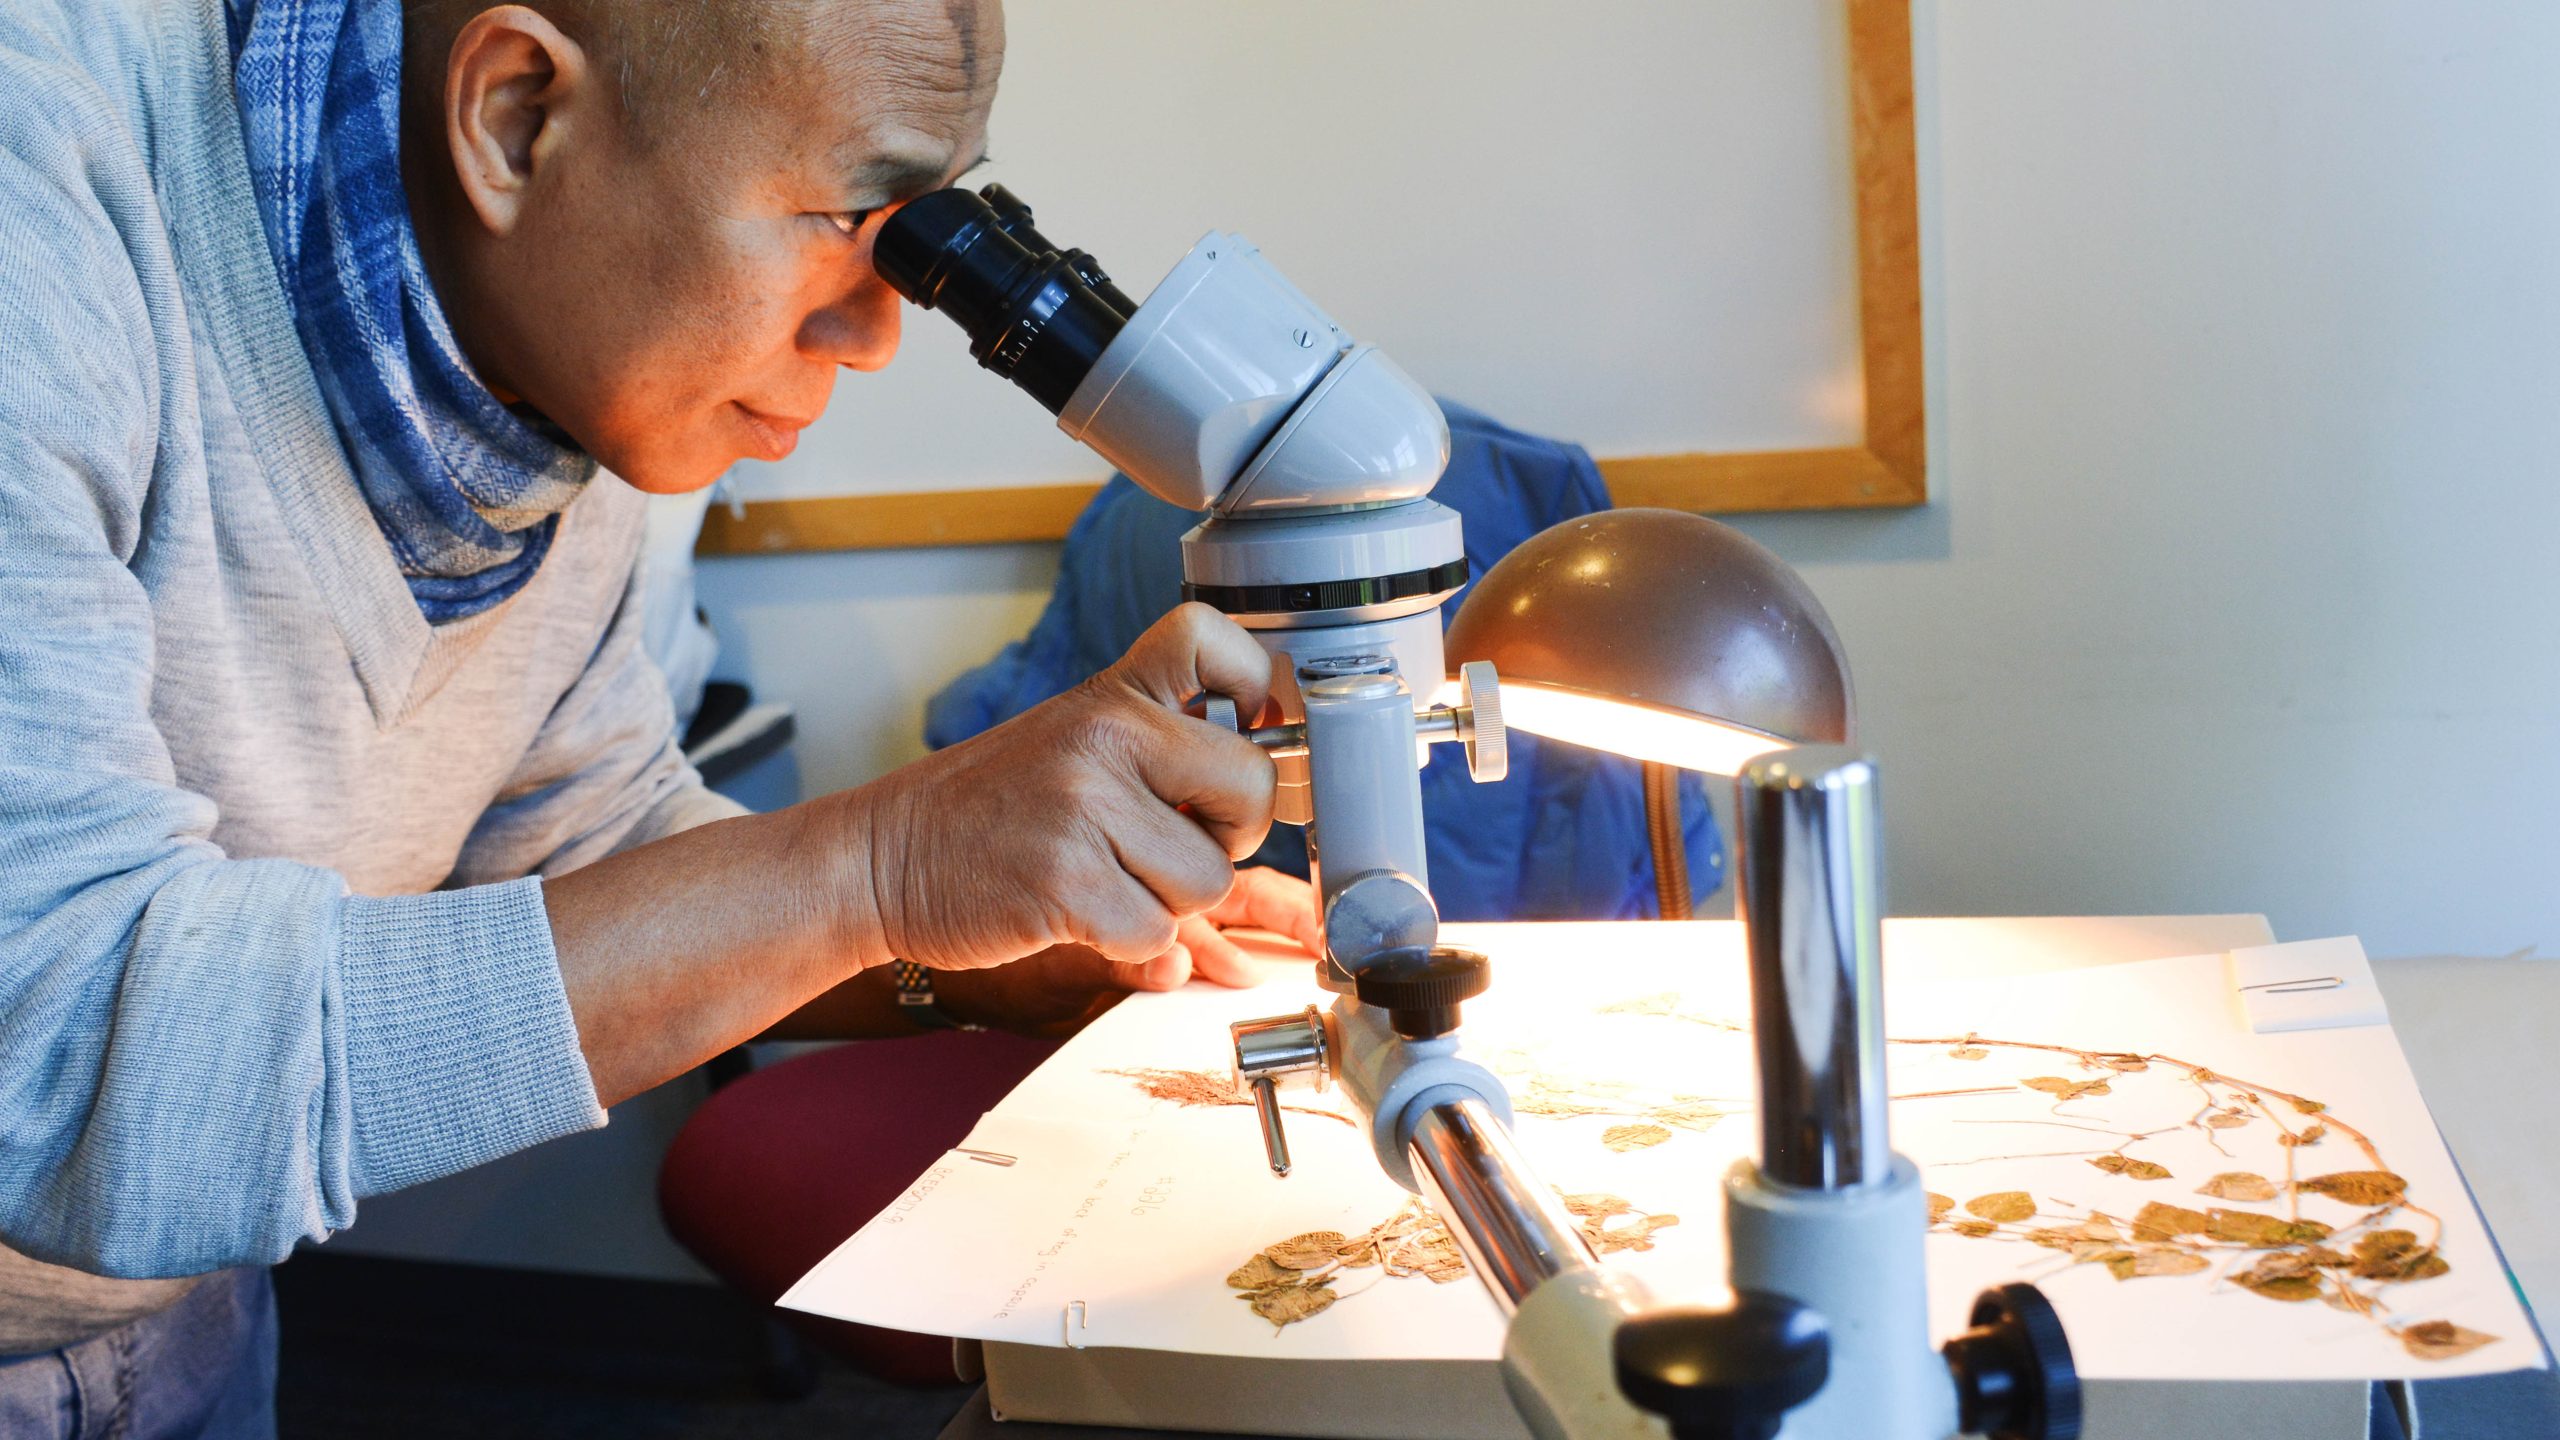
At the close looking station, teens used a Dino-lite digital microscope to get up close and personal with some study objects. A UV light setup showed that the way materials fluoresce differently under Ultra-Violet light can help identify unknown substances. 

Conservator Julia Commander guides participants through using a Dino-lite microscope

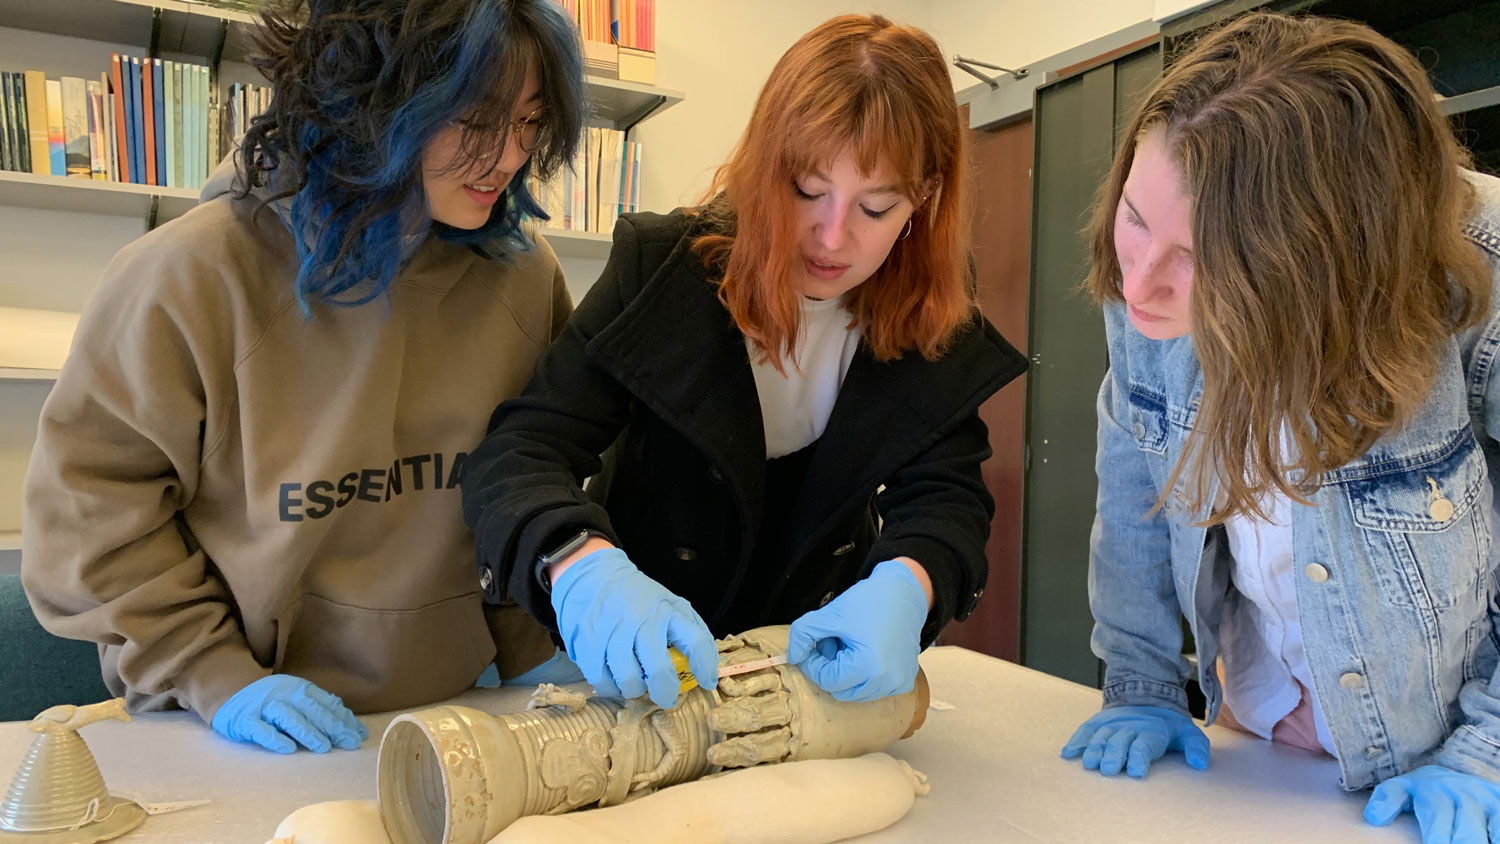
At the ceramic reassembly station, teams worked to puzzle out the correct location of sherds and reconstruct a ceramic object. Small sandboxes, blue tape, and clamps to hold everything in place are essential tools for gluing a ceramic back together. 

If students tried their hand at each table and still had time to spare, there were also individual activities on color matching and inpainting prepared for some down time. 

We were happy to see such enthusiastic attendance of this program last year and hope we get to meet some more future conservators at the workshop next month! If you or someone you know would like to participate, you can find more info and register here for this year’s workshop!

Cleaning Questions and Cross-Sections

Julia Commander is a third-year graduate student in the Winterthur/University of Delaware Program in Art Conservation. She is currently completing a curriculum internship at the Penn Museum.

The investigation of the painted Ptah-Sokar-Osiris figure continues. Previously, I mentioned that I would be taking cross-section samples to gain a better understanding of the paint layers. This type of sampling involves taking tiny (less than 1 mm) flakes of paint to capture the stratigraphy. Once I have a slice showing all of the layers, I can look at the edge under magnification to observe the structure from surface down to ground level.

In this case, I took four samples from representative areas on the figure in order to compare the layers. Before sampling, I looked at each area under magnification and made notes about surface characteristics and conditions. To sample, I continued working under magnification with a fresh scalpel blade.

L-55-29, cross-section sample areas. You can also see the darkened appearance of the front surface.

As you can probably imagine, handling a tiny little paint flake can be tricky. To make observation possible, conservators embed cross-section samples within a mounting material, typically a clear resin. Mini ice cube trays are perfect for making small blocks of resin for this purpose. After embedding the sample between two resin pours, one face of the cube is polished to a glossy finish. The polishing process helps to get a clean cut of the sample from an edge-on perspective.

Mounting cross-sections with a clear polyester resin, molded in a mini ice cube tray. The cubes are then polished with Micro-Mesh cushioned abrasive cloths.

You never know exactly what your cross-section will end up looking like until it’s under the microscope. Flakes can shift while the resin cures or be affected by polishing, so it’s an exciting moment to see the results. Sample X2, below, shows a clear view of the layer structure. Similar to the way conservators use ultraviolet (UV) light during object examinations, cross-sections are often viewed with various light sources to show different properties. Here, you can see the sample in visible light and UV light (365 nm).

Sample X2, 100X total magnification, in visible light (right) and ultraviolet light (left). Samples were viewed on a Zeiss Axio Scope.A1 polarized light microscope.

We can see a few interesting features here. The sample area appeared to have predominantly red paint, although it was heavily obscured by the surface darkening. The uppermost layer of dark material could be related to a discrete layer of soiling or coating, or we could be seeing black paint. Since the front surface of the figure is intricately painted, it’s difficult to completely rule out paint as a possibility. Aged coating materials often fluoresce in UV light, which can help to distinguish them from underlying paint layers. In this case, we can see small flecks of fluorescence (indicated by the red arrows) but not a distinct fluorescent layer. We can also observe faint fluorescence in the ground layer, which is consistent with the idea of an aged animal glue binder.

Another sample, X4, came from an area of plain red paint without any adjacent black designs. This area was also affected by the surface darkening issue, although to a less severe extent. Here, instead of a discrete layer of dark material, we can see small specks above the red paint layer (indicated by the red arrows). These dark specks are most likely related to soiling or discolored coating and unlikely to be original applied paint.

Sample X4, 200X total magnification, visible light (right) and ultraviolet light (left). Samples were viewed on a Zeiss Axio Scope.A1 polarized light microscope.

The cross-section samples offered some insights into the multi-layered nature of the delicately painted surface. As with most analytical techniques, results lead to more questions than clear-cut answers. Luckily, my colleagues here in the lab got together to talk about this complex condition issue and offer different perspectives and approaches. To clean or not to clean the darkened layer? Clarifying the surface details would be helpful for interpretation, but an even more gentle cleaning system will be needed to avoid damage to paint layers. The consensus: further testing needed!

Considering Cleaning

Julia Commander is a third-year graduate student in the Winterthur/University of Delaware Program in Art Conservation. She is currently completing a curriculum internship at the Penn Museum.

It’s time to check back in with the Ptah-Sokar-Osiris figure. In my last post, I mentioned a few of the condition concerns including a significant darkening over the front surface. The uneven surface poses interesting challenges for cleaning, and there are multiple approaches and methods to consider.

Before cleaning proceeds, it is important to understand both the nature of the surface discoloration and the properties of the paint layers. Egyptian objects are not always straightforward, and Ptah-Sokar-Osiris figures have a broad range of condition issues and treatment histories. Check out the British Museum’s online collection for a fascinating look at comparable figures. Discolored or yellowed varnishes have been observed on Egyptian painted surfaces, such as the shabti box described in a previous post. One way to assess surface discolorations is ultraviolet (UV) light illumination, a non-destructive lighting technique. In the UV portion of the energy spectrum, aged coating materials including varnishes and adhesives often fluoresce brightly. Areas that absorb more UV light appear darker in comparison. For this figure, areas of fluorescence do not appear to correspond to the pattern of discoloration, which is most noticeable on the platform under the feet.

L-55-29. In normal light (left), you can see the darkened surface of the front of the figure. In ultraviolet (UV) illumination (right), specific areas fluoresce. The pattern of UV fluorescence does not correspond to the discolored areas or suggest an overall coating.

Additionally, the surface darkening extends over large areas of damage and paint loss, suggesting that it occurred later in the object’s history. In an attempt to understand the darkened surfaces, I will take cross-section samples, which involve tiny (less than 1 mm) flakes of the paint layers. By looking at the edge of a paint flake under magnification, I can observe the stratigraphy from surface down to ground level. One way to visualize this technique is to think about slicing a cake to see the layers inside. To make handling tiny paint flakes easier, they can be mounted in resin for observation under magnification. Through normal light and UV light microscopy, the presence of discrete coating or soiling layers may be observed.

To characterize the behavior of the paint layers, solubility tests were conducted under magnification with small amounts of solvent on cotton swabs. For this painted figure, surfaces appeared to be water sensitive but relatively stable in other solvents. This finding is consistent with typical Egyptian paint binders such as gums or animal glues, which are both water sensitive. Once I know what affects the original surface, I will be able to think about designing a strategy to reduce darkening while avoiding disruption of the paint layers.

Dry surface cleaning is one of the first methods to test for a water sensitive surface. Cosmetic sponges and soot sponges lifted significant dirt and grime, although the appearance of the figure’s surface was not visibly improved. Water-based solutions and small amounts of solvent were tested in discrete locations to assess their efficacy. Water-based, or aqueous, cleaning solutions can be adjusted with buffers and chelators to more effectively lift dirt and break up staining. Chelators, such as citrate and EDTA (ethylenediaminetetraacetic acid) are complex ions that attach to metal ions, a key component of most types of dirt. A citrate solution at pH 8 was found to be very effective for lifting dirt and staining, but I wanted to minimize surface interaction with water. One method to manipulate these interactions is to work through silicone materials. Silicone gels, such as Velvesil Plus, can from stable emulsions that hold aqueous solutions. Silicone solvents, such as cyclomethicone D4, can saturate surfaces and act as a barrier layer to protect from water.

Testing dry surface cleaning with a cosmetic sponge on the figure’s base.

Testing aqueous cleaning solutions to reduce discoloration with a small cotton swab.

Could this be used as an overall cleaning solution? A larger test area suggested that the combination of materials, when applied carefully with brushes and worked over the surface, lifts dirt without visibly disturbing paint layers. However, the cleaning effect is slightly uneven, which raises concerns about whether this technique will significantly improve visibility and legibility of surfaces. Since this object is a long-term loan from the Philadelphia Museum of Art, continuing discussion with the PMA senior objects conservator, as well as Penn Museum curators, will help clarify these decisions.

In addition to aqueous cleaning methods, I researched the feasibility of laser cleaning. Conservators have successfully employed laser cleaning in many scenarios where discrete layers of soiling need to be removed from surfaces. For Egyptian artifacts, some of the primary challenges include fine control over complex surfaces and slight yellowing after cleaning. While the literature suggests that laser cleaning is unlikely to be the right solution in this scenario, we decided to experiment with a mock-up test panel to gain a sense of the technique’s future applications in the lab. This involved gathering typical Egyptian pigments, including the famous Egyptian blue and green, and mixing appropriate binders to mimic historic surfaces. The panel consists of an animal glue ground with gum arabic paint, coated with an additional layer of mastic varnish for half of the test areas. Mastic, a plant-based resin, is comparable to traditional Egyptian resins such as pistacia. After adding a little bit of “dirt,” a sticky mix of starch powder and pigments, I am ready to start exploring the efficacy of our laser cleaning system for painted surfaces.

Creating a mock-up panel to test laser cleaning on painted surfaces. Materials include Egyptian pigments mixed with gum arabic binder, an animal glue ground, and mastic varnish.

Selected resources:

Korenberg, C., M. Smirniou, K. Birkholzer. 2008. Investigating the use of the Nd:YAG laser to clean ancient Egyptian polychrome artifacts. Lasers in the Conservation of Artworks: 221-226. London: Taylor and Francis Group.

Larochette, Y. 2012. Wolber’s world: A review of a textile wet-cleaning workshop held in Oaxaca, Mexico. Western Association for Art Conservation (WAAC) Newsletter 34(1): 24-26.

Roundhill, L. S. 2004. Conservation treatment considerations for an Egyptian polychrome wood coffin. Objects Specialty Group Postprints 11: 89-102.

Multispectral imaging of Wilfred/a’s cartonnage

E12328B_4viewsWhat you see above are 4 different images of our mummy Wilfred/a’s cartonnage. Each image represents a different way of looking at the cartonnage, and assists us in better understanding this object. But what are we seeing in these images, and how did we produce them? (If you have been following this blog, or our museum blog, these types of images may be familiar to you, since we have used these techniques to look at other objects, including a painted wooden shabti box. But every object is different, and in this case, I’ve learned something new that I’ve never seen before, so read on to learn more!)

Let’s start with the image in the upper left – this is easy.

E12328B_visible01_compressed

Visible image. Captured with a Nikon D5200, modified by replacing the hot mirror filter with a glass custom full spectrum filter, with a B+W UV-IR-cut filter & incandescent photo light source.

This is a photograph taken in normal (visible) light with a digital camera. This image represents what you see when you look at the object here in the Artifact Lab. We see that the surface of the cartonnage has a design painted in many different colors, and that there are some residues on the painted surface in areas. There is a lot that we can learn about this object just by looking at it in visible light, but what we cannot do is confidently identify the pigments used. So in this case, multispectral imaging comes in very handy. Let’s take a look at the next image.

E12328B_IR01_compressed

Visible induced IR luminescence image. Captured with Nikon D5200 modified full spectrum camera, #87C filter, Crimescope 600nm light source.

This is an image of the exact same view of the object, but it was captured using our modified digital camera with a #87C IR filter, using our SPEX Mimi Crimescope with the 600nm filter as a light source. With this technique, we can clearly identify that Egyptian blue was used in the areas that appear bright white, because these areas are showing visible-induced IR luminescence (in other words, they emit infrared light when excited with visible light). No other pigment used by the ancient Egyptians has this property, so we can say with certainty that these areas are painted with Egyptian blue. To better visualize these areas (since the rest of the image is nearly black) we can use the image captured in visible light and the above image to create a false color image.

False color image of the cartonnage created in Photoshop, where the areas painted with Egyptian blue appear red.

False color image of the cartonnage created in Photoshop, where the areas painted with Egyptian blue appear red.

The false color image shows us the luminescent (Egyptian blue) areas in red. If you look closely, you’ll be able to see that the red areas are slightly shifted, due to the fact that we probably bumped the camera in between shots. But you get the idea.

Finally, I wanted to see what we could learn about the cartonnage by looking at it under other wavelengths of light with the Crimescope. I was expecting that we’d probably be able to better visualize the old adhesive used to join the cartonnage fragments in the past, and maybe better understand the residues on the surface. But when we looked at it with the 300-400nm filter (with a peak emission of 365nm), this is what we saw:

UV visible fluorescence image, captured with a Nikon D5200 modified full spectrum camera with B+W UV-IR-cut filter, using the Mini Crimescope 300-400nm filter.

UV visible fluorescence image. Captured with a Nikon D5200 modified full spectrum camera with B+W UV-IR-cut filter, using the Mini Crimescope 300-400nm filter.

In this image, the areas that stand out the most are the areas fluorescing a bright orange-pink color, which appear pink in visible light. I had never seen this before and wasn’t exactly sure what this meant, but after looking into it a bit, I believe that this fluorescence indicates that the pink areas were painted with madder, a dyestuff obtained from the roots of the madder plant. Madder has been identified as being used in ancient Egypt to create pink pigments for painting, and is known for having a characteristic pinkish-orange UV fluorescence, which is how I would characterize what we’re seeing in the above image. There are other ways we could try to confirm this, but this was an exciting, and unexpected observation!

* Special thanks to conservation intern Yan Ling and Conservator Tessa de Alarcon for their help with capturing and processing these images.

Investigating the shabti box coating

Last month, I wrote about a new challenge in the lab, otherwise known as this shabti box and its associated shabtis:

front compressedAt first the box came into the lab with 3 shabtis, and then we found that there were 3 more in storage that may belong with the box as well. 4 of the shabtis are very similar in appearance whereas the other 2 are slightly different, so they may actually not be associated after all. Can you spot the 2 different shabtis?

2 of these things are not like the others...

2 of these things are not like the others…

All of these objects are made of wood, gesso, and paint. And as you can see, all of them have an orange-yellow coating on their surfaces. In my last post I posed the questions “what is this coating?” “is it an original varnish or is it a later restoration?”. My initial guesses were that it is either an original pistacia resin varnish, a later cellulose nitrate (or other old restoration adhesive) coating, or a combination of the two.

Well, there are several things we can do to try to answer these questions and to narrow down the possibilities. One of the first things I did was to look at these objects very carefully using our binocular microscope. I could see that the coating was applied unevenly, especially on the box, and that it is actively cracking and flaking. Another thing that I noticed was that there are areas on the box where the paint is lost and where the coating extends over the loss onto the gesso below.

A detail shot of one side of the shabti box - the yellow arrows are indicating areas where the coating extends over an area of paint loss onto the gesso.

A detail shot of one side of the shabti box – the yellow arrows are indicating where the coating extends over areas of paint loss onto the gesso.

Usually, this would indicate that the coating was applied after the damage occurred (so sometime after excavation, either in the field or soon after coming to the museum). So this is one clue, but doesn’t really answer my questions.

Next, I examined the shabti figures under ultraviolet (UV) light. In conservation we routinely use UV examination to characterize materials and to distinguish old restoration materials from original materials – for instance, shellac, used historically to repair objects, exhibits a characteristic bright orange fluorescence under UV. (For an explanation of UV, along with some interesting images, check out this post we wrote on multispectral imaging.)

The coating on the box and the shabtis has a yellow-orange appearance under UV – but not the bright orange that we expect to see from shellac.

shabti UV

4 shabti figures under UV light

So UV examination was helpful (it eliminated shellac as a possibility) but didn’t answer my questions either.

Next, I did a microchemical spot test on a couple of the previously detached flakes of the coating. We’ve used spot-testing before in the lab – the last time I wrote about it was in reference to the mystery fibers on Tawahibre’s coffin. In this case, I carried out a spot test for nitrates using diphenylamine (according to instructions in Material Characterization Tests for Objects of Art and Archaeology). Using this test, a sample containing nitrates will turn blue once a solution of diphenylamine/sulfuric acid is added. Below you can see the result of the test on one of the coating flakes from the shabti box (left) and the test on a control sample of cellulose nitrate adhesive (right).

Left: coating sample from the box after spot test (negative result) Right: control cellulose nitrate adhesive after spot test (positive result)

Left: coating sample from the box after spot test (negative result) Right: cellulose nitrate control after spot test (positive result)

Based on these results, it seems that the coating does not contain cellulose nitrate. This does not mean that the coating does not contain another recently-added adhesive. We have a few other ways of narrowing down the possibilities even further, and I will write about our continued work on this in my next post.