Caring For Culture: Introducing Teens to Museum Conservation

By Lu Denegre

All photos by Emily Hirshorn

On June 4th, 2022, with the help of funding from the Museum Council of Greater Philadelphia, the Conservation and Learning Programs departments hosted “Caring for Culture”, a hands-on introduction to conservation for teens. We had a great time and got some good feedback, and look forward to welcoming another group of teens this year on June 3rd 2023!

(If you’re a teen in the Philly area, you can register here for this year’s workshop)

Last year, 24 students arrived at the museum for a day of activities. The workshop began with introductions and a presentation by Senior Project Conservator Molly Gleeson about the basics of museum conservation. What kind of work does it involve? Why do we do it and what can damage cultural heritage collections?  

Molly Gleeson addresses Caring For Culture Participants in Widener Auditorium, and a diagram of the Agents of Deterioration (from A Guide to Risk Management of Cultural Heritage (p. 27), ICCROM, 2016).

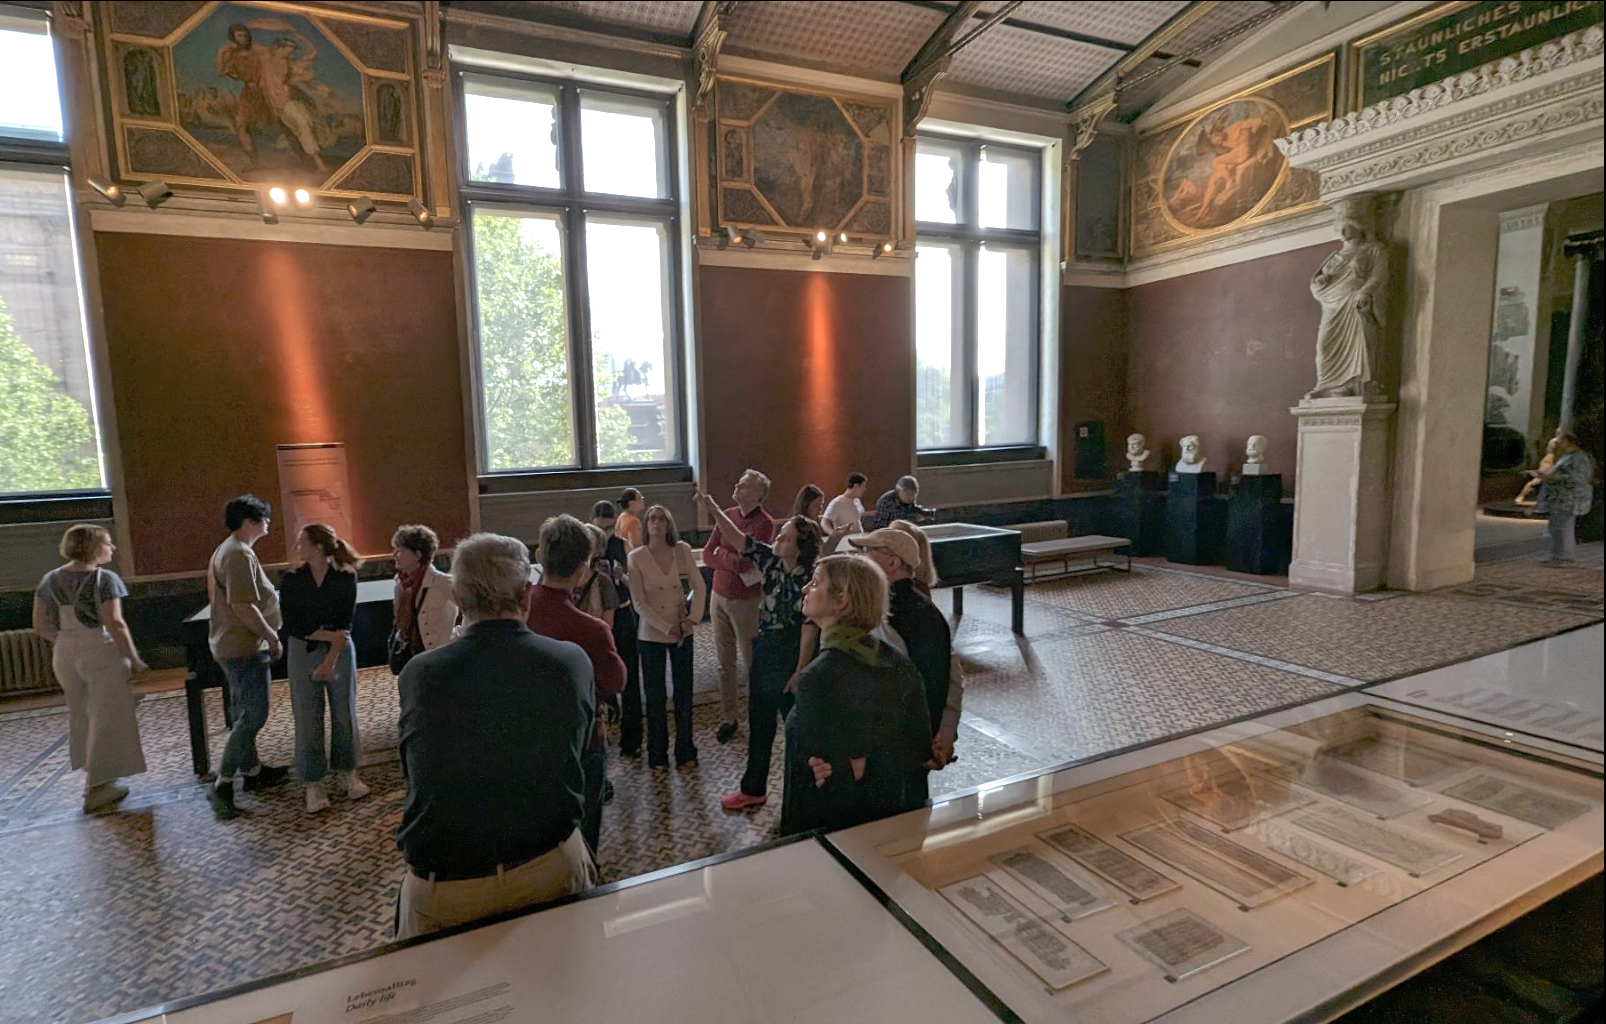
Next, participants were led in smaller groups on a tour of the Museum’s conservation lab spaces by Head Conservator Lynn Grant. They got to see the X-Ray room, the photo studio, prep room, and main lab. Lynn and Graduate Intern Nylah Byrd spoke about the different treatments a large wall painting, a cartonnage mask, and a stone sculpture have undergone. These objects will be included in the upcoming reinstallation of the Ancient Egypt and Nubia Galleries and have collectively required different types of imaging, storage mounts, cleaning, and structural and aesthetic fills. 

Lynn Grant leads a tour of the conservation lab
Nylah Byrd talks about the treatment of a cartonnage mask

For rest of the morning, the groups were led into the galleries by a member of the conservation department to do some documentation of their own. Each participant chose an object in the galleries to condition report and diagram. Condition reporting is one of the first things you learn as a conservator and is the first important step in assessing an object’s needs before starting treatment. This activity offered opportunities to look for real life examples of condition issues, agents of deterioration, preventative conservation steps, and mountmaking.

Participants observing a strategy for a large fill on an object in the Middle East Gallery
Completing condition report worksheets for an object chosen in the galleries

After a sunny lunch in the Warden Garden, participants came back in for some hands-on activities. Groups rotated between three stations: cleaning, close looking, and ceramic reassembly. These stations introduced some of the beginning skills needed by a conservator in training. 

At the cleaning station, teens learned to roll their own cotton swabs to gently remove grime from the surface of a dirty tile. They also applied warm agar gel to learn how we loosen up and remove grime without using too much water on more sensitive objects or more stubborn dirt. 

A participant swab cleans a dirty tile

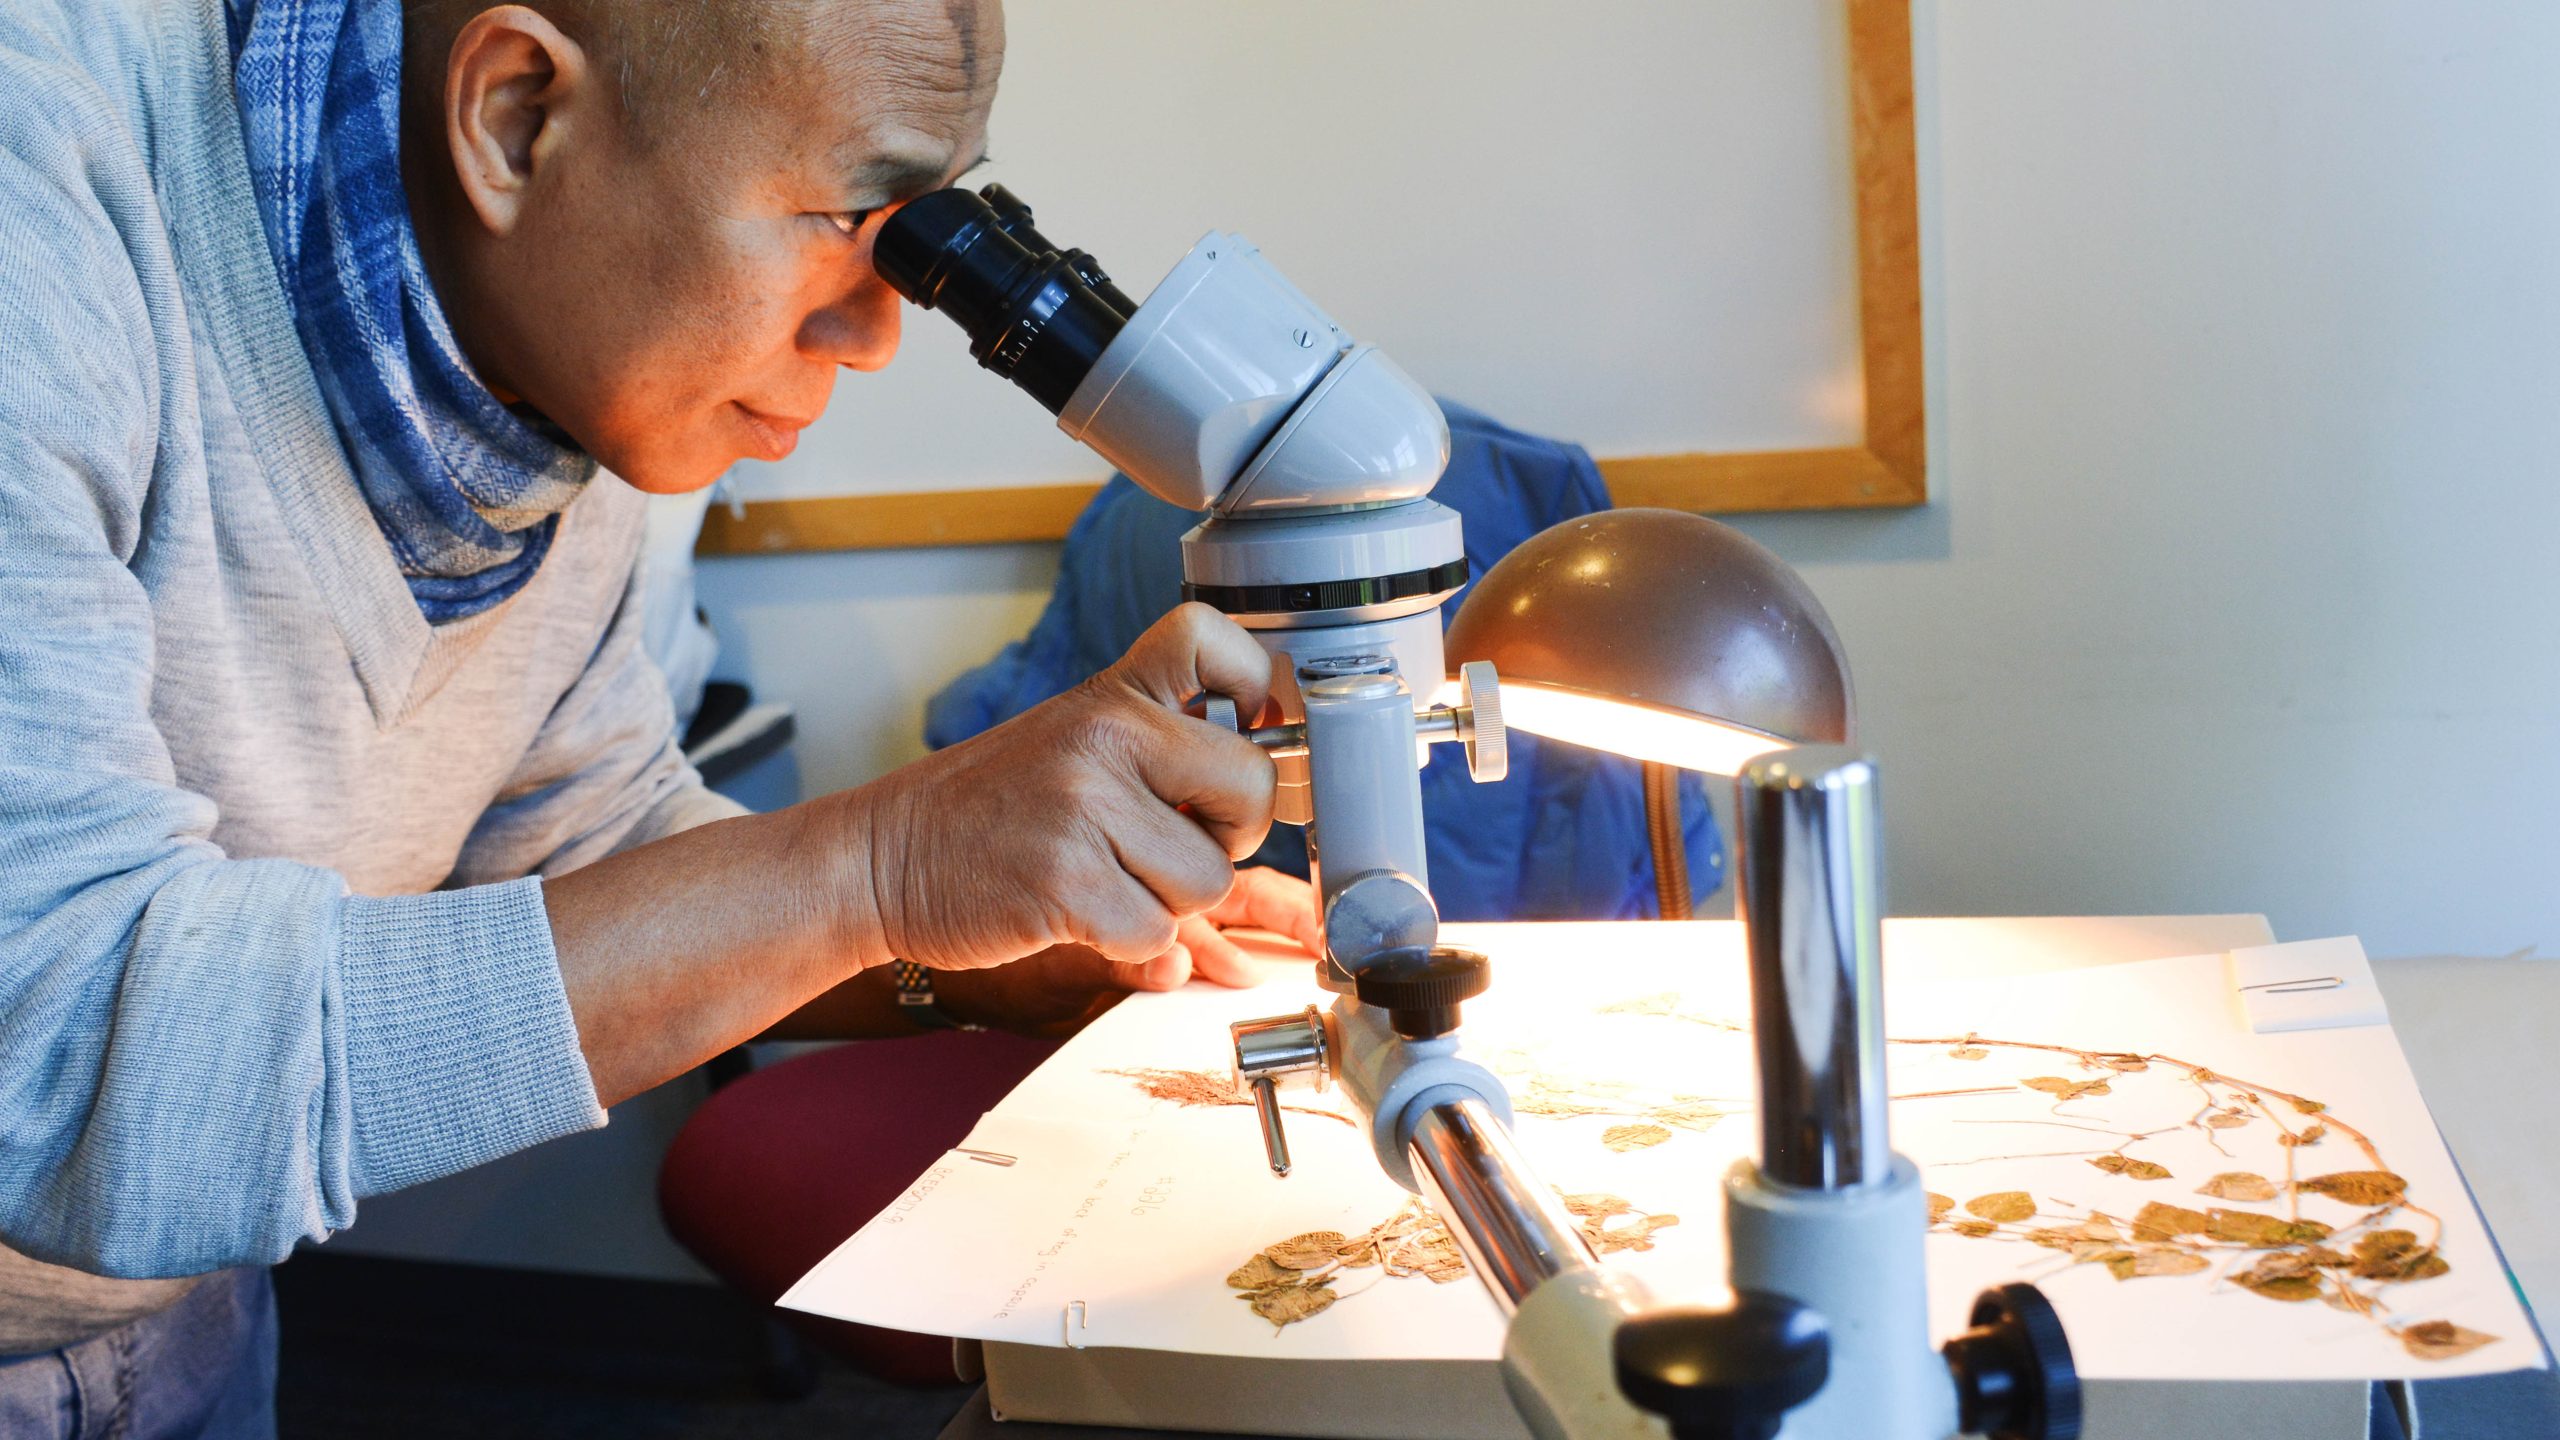
At the close looking station, teens used a Dino-lite digital microscope to get up close and personal with some study objects. A UV light setup showed that the way materials fluoresce differently under Ultra-Violet light can help identify unknown substances. 

Conservator Julia Commander guides participants through using a Dino-lite microscope

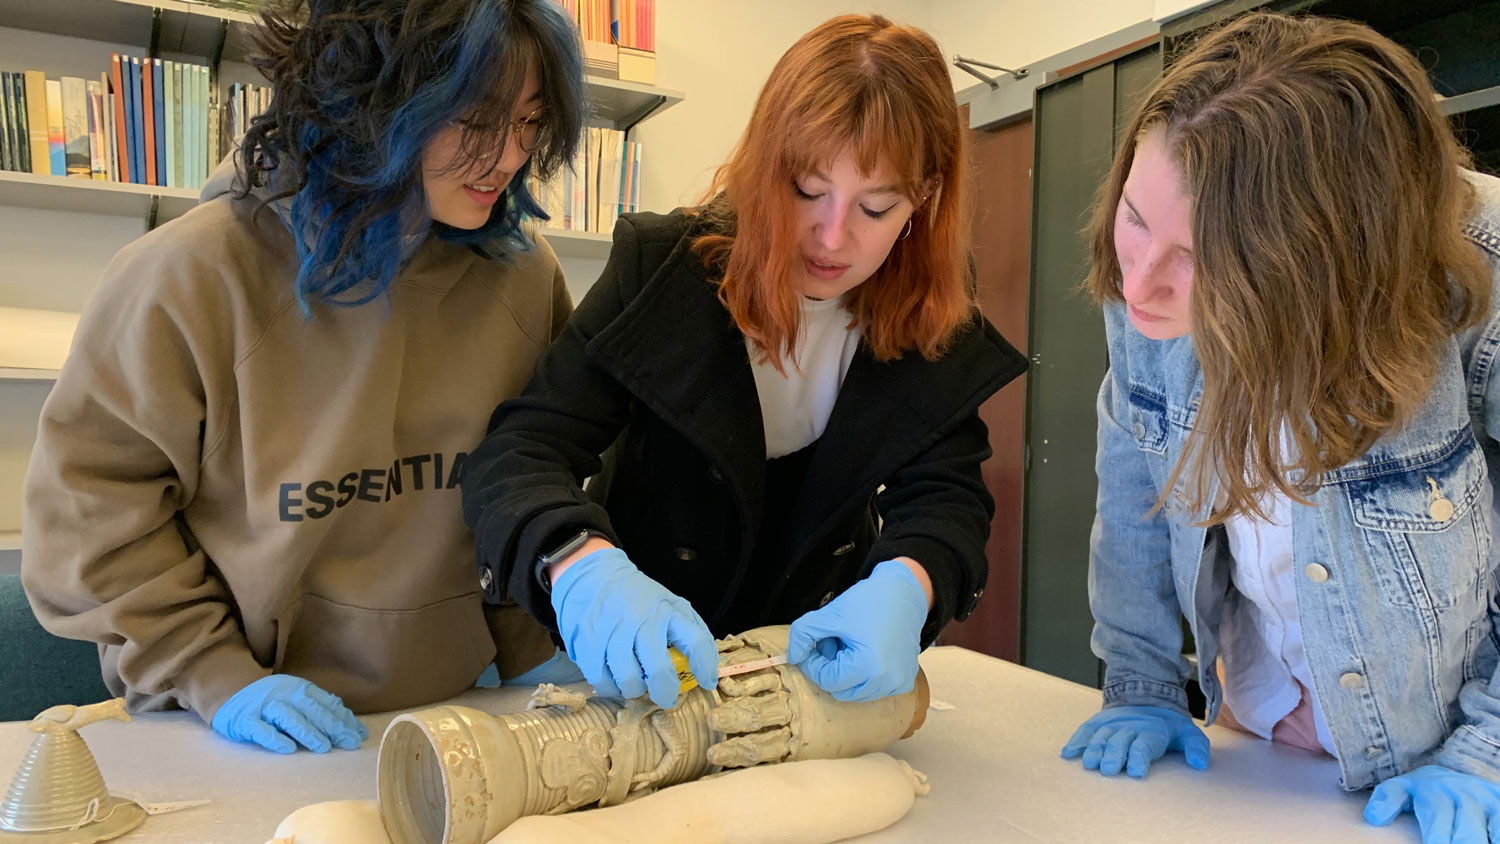
At the ceramic reassembly station, teams worked to puzzle out the correct location of sherds and reconstruct a ceramic object. Small sandboxes, blue tape, and clamps to hold everything in place are essential tools for gluing a ceramic back together. 

If students tried their hand at each table and still had time to spare, there were also individual activities on color matching and inpainting prepared for some down time. 

We were happy to see such enthusiastic attendance of this program last year and hope we get to meet some more future conservators at the workshop next month! If you or someone you know would like to participate, you can find more info and register here for this year’s workshop!

What’s all that 3D data for?

By Tessa de Alarcon

We’ve had a few posts (this one by Chelsea Kim and this one by Christy Ching) on creating 3D models using photogrammetry, and I thought I’d give some examples of what we are doing with that data once it’s collected. For some objects we are creating ortho-mosaics and these 2D images are going into reports as after treatment images as well as going into the catalogue model as record photography that also shows up in the online collection database. This wooden coffin 2017-20-1.3 is an example of this type of imaging.

2017-20-1.3 after treatment photos created using ortho mosaics generated from a 3D model created using photogrammetry.

For other objects we are also producing ortho-mosaics, but they are before treatment images. For example with E641 a wall painting that was previously on display.

E641 when it was on display

The wall painting is currently in two sections and each one has been imaged separately. These before treatment images have been used to create condition maps.

Before treatment ortho mosaics of E641 created with photogrammetry

The maps go into our reports and help provide visual documentation to support our written reports. For large objects, these kinds of condition maps are often easier to understand than written descriptions and can provide more precise information on the location of specific condition issues. Here you can see the condition map for E641. The map is not yet complete, I am still working on documenting one of the sections but I have combined the two maps into one image so you can see what that process looks like.

E641 condition map. The map for the section on the left is complete while the mapping on the section on the right is still in progress

The models can also be used to show surface distortion, so here in this screen shot of the 3D model of E641 you can see planar distortions in the wall painting where the fragments are not aligned. There may be a variety of causes leading to this distortion including poor alignment during the previous reconstruction or they may be the result of lifting/separation of the original material from its current modern backing.

Detail of E641. One the left is a mesh without the color added to the 3D mesh-model and on the right is the same area with the color and surface texture added to the model. The image on the left you can easily see the fragments and how they are misaligned in some areas.

I am currently working on learning how to create a 2D false color image where the colors reflect depth, so that we can have these planar distortions documented in 2D as well as being able to see them in the model.

So all together, this data is being used to document both the final condition of objects after treatment, as well as to document them before treatment. The models are also useful tools to assess complex condition issues and are valuable for evaluating next steps. For example, our current plan is to remove the wall painting from it’s current modern backing and put it on a new one. Our hope is to correct some of these planar distortions as a part of that process, and this model as well as one we make after treatment will be useful for evaluating the efficacy of the treatment and provide a base line for assessing its condition in the future.

Outside of the box: freeing a wall painting fragment from its frame

Exciting day in the Artifact Lab! We finally freed this wall painting fragment from its old frame-a frame that it has been in since before coming into our collection in 1925.

Wall painting fragment from Deir el-Medina, before treatment

You can read a bit more about this object in a previous post by following this link.

For the last several weeks I have been preparing for this task – I have spent a lot of time examining the painting, documenting its condition, and analyzing the materials used in its construction. I have carried out some cleaning tests and consolidated much of the painted surface. I also dug out a lot of the cracked and loose plaster surrounding the painting, so that I could fully understand how the painting was set into the frame.

A detail of the bottom of the wall painting with most of the surrounding (modern) plaster removed

All of this was necessary in order to carry out the somewhat daunting task of removing the painting from a frame that has done a great job of protecting it for close to 100 years. It had decidedly reached its useful lifespan though, which is why it needed to be removed. Removing the frame was also going to be the only way for me to evaluate the stability of the wall painting and its more recently applied (modern) plaster backing, and also offered the opportunity to do a more thorough examination of the mud plaster substrate.

When I decided that I was ready to try to remove the frame, I still wanted some moral support (and an extra set of hands and eyes), so I asked my co-worker, Penn Museum conservator Nina Owczarek, to come up and help me. And boy, was Nina more than ready for this-apparently she couldn’t wait to do a little destruction.

“This is why I am a conservator” Nina said as she pried off one of the frame elements with a twinkle in her eye.

After weeks of careful preparation-any guesses as to how long it took us to get the frame apart? Armed with just a screwdriver and a metal spatula, we managed to get it off with relative ease in less than 15 minutes. That frame was ready to come apart, and we didn’t need to use a saw to do it (thank goodness) which is what I had been expecting.

Here is the final result:

The wall painting lying next to its frame-bits of the paper and modern plaster from the side of the frame have fallen off to one side

And here are a couple views from the side, showing the thickness of the original mud plaster, and the plaster backing underneath, set onto a piece of plywood.

Two views of the wall painting, with bits of plaster and paper still partially adhered to one side

In the end, even though it got my heart pumping a little bit, it wasn’t really that nerve-racking after all – all of that preparation paid off! And Nina and I deemed it totally high-five worthy. I’m looking forward to working on this tomorrow, and to moving forward with this treatment.


pXRF In the Artifact Lab

Our Conservation Department is fortunate to have a portable x-ray fluorescence analyzer (pXRF), and today we started putting it to use in the Artifact Lab!

Conservator Nina Owczarek uses the pXRF to analyze pigments on a wall painting fragment

What can we do with a pXRF, you might ask? Well, Nina Owczarek provides a good overview about the use of this instrument in a previous post and also in a presentation which you can watch by following this link.

I’ve used a pXRF before, but it’s been awhile, so today Nina came up and gave us all a refresher. Essentially, x-ray fluorescence is a non-destructive analytical method that uses x-rays to identify elements present in objects or samples. This technique is particularly useful for characterizing pigments and metal alloy components, and that is what we’re using it for in the Artifact Lab.

A view of Nina and I discussing the pXRF from outside the lab

After examining a few artifacts visually, we had some questions about materials and wanted to do some further investigation with the pXRF. For instance, we are interested in these metal ribbons on the Ahanakht coffin boards (see Lynn Grant’s previous post about the boards).

The pXRF positioned in contact with the metal ribbons on one of the smaller coffin boards

After examination of these ribbons under the microscope, it was still difficult to determine what type of metal they are made of. With the pXRF, after a 180-second scan and using special software, a spectrum was produced that showed a large peak for copper and very small peaks for tin, iron, arsenic and lead. We haven’t been able to analyze the data much yet, but this does tell us that these are indeed made of copper.

We will follow this post soon with more information and interpretation of our results.

Wall painting fragment from Deir el-Medina

Let’s take a closer look at another object undergoing conservation treatment In the Artifact Lab.

Wall painting fragment from Deir el-Medina, Egypt

This is a wall painting fragment from a tomb wall in Deir el-Medina, located near the Valley of the Kings and Valley of the Queens. It dates to 1150 BCE. The painting substrate is a mud plaster mixed with straw, and the surface is painted to depict the standing figure of a diety in profile. At some point in the past, this fragment was set into a wood frame and encased in plaster.

The first step in the conservation process is to document the condition of the wall painting. Using Photoshop and a tablet computer, a condition map was created to highlight areas of loss, major breaks, and loose elements.

A basemap showing condition issues including major breaks and loose pieces (see key on right).

After recording its condition, I then started investigating the materials and methods used to mount and frame it. The wall painting fragment appears to be backed and surrounded with Plaster of Paris and set into a wood frame with beautiful dovetail joints.

Detail showing corner of frame with dovetail joints

At first, we thought that one option might be to leave it as is, but it was immediately evident that the plaster surrounding the painting was cracked and loose in areas. After prying some of the loose plaster away, I found that luckily, the plaster seen around the outside of the painting is only a thin skim coat layer, and that paper was used as a barrier layer in places between the painting and the plaster. I was hoping that it would be newspaper, providing clues as to when and where the framing occurred, but unfortunately, so far all I’ve found is plain paper.

Detail photographs showing bottom of painting with plaster skim coat partially removed (left) and fragments of paper and plaster removed from frame (right)

I did find one clue, however, hidden on the inside of the frame-a sticker reading “DOUANE  PARIS  CENTRAL”. There is a portion of an identical sticker on the back of the frame, but it is much harder to read. A Google search of these words led me to conclude that this might be a customs sticker. Why there would be a customs sticker on the inside of the frame is unclear, but from this evidence, as well as the fact that we know that this painting was purchased from Joseph Brummer, a dealer who ran galleries in Paris and New York, we can assume that this painting was mounted and framed before it was purchased by the museum in 1925.

We will continue examining and carrying out research on the wall painting fragment to understand its current condition problems, and also how we will approach stabilizing it for future display. We will provide updates as we work on this object!

– by Molly