Sometimes getting started on a conservation treatment requires getting out of the lab for a bit, so this week, my colleague Julie Lawson and I took a field trip down to Baltimore to visit the Johns Hopkins Archaeological Museum and chat mummy treatments with their Curator/Conservator, Sanchita Balachandran. Sanchita and I connected at the American Institute for Conservation (AIC) annual meeting back in June – I had read about a treatment that she carried out on a human mummy at the museum, and when we realized that we both had animal mummies in our labs as well, we decided we’d get together for a brainstorming session to discuss treatment approaches, materials, and storage options for these fragile objects.
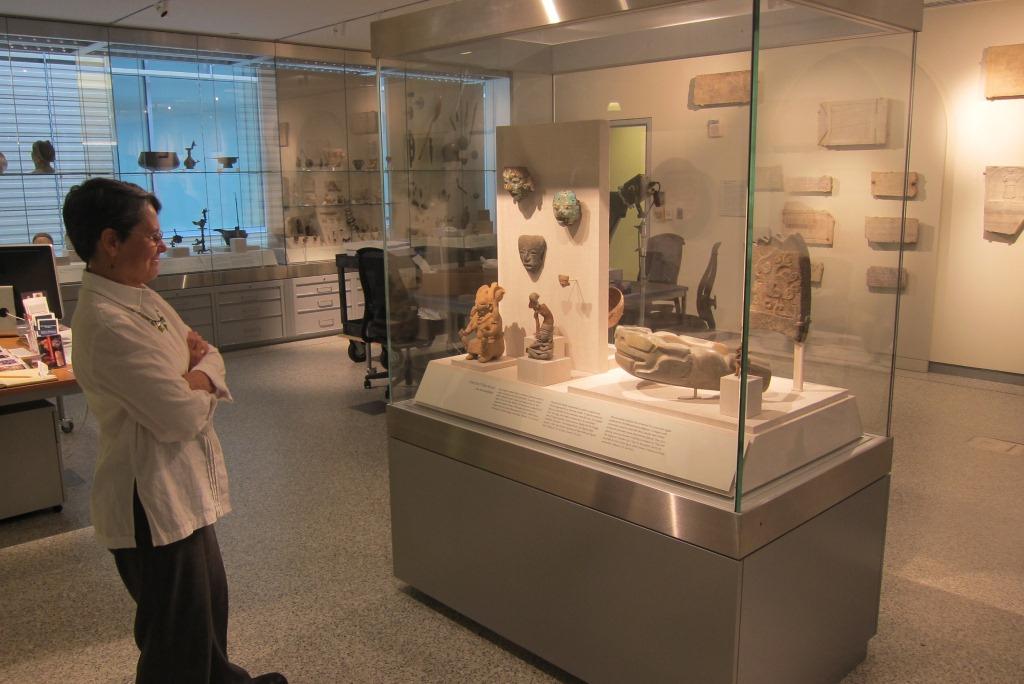
Julie Lawson admires artifacts in one of the cases in the Johns Hopkins Archaeological Museum
The Johns Hopkins Archaeological Museum is nestled in the center of the Johns Hopkins Homewood Campus in Baltimore, in a beautifully-renovated building, surrounded by classrooms and light-filled student study spaces. The museum was established in 1882 and since its founding, has been dedicated to inspiring and teaching students at the university.
One of the main features of the museum is the display of archaeological objects from ancient Greece, Rome, Egypt, the Near East, and the ancient Americas, displayed in glass case walls, allowing students, faculty, and visitors to view these pieces and peer into the museum itself.
 The museum also displays pieces on loan, including an ancient Egyptian mummy from Goucher College.
 This was the mummy that I had read about and was curious to learn more about from Sanchita. The Goucher mummy is an adult female mummy from the Ptolemaic Period (305-30 BCE), and I knew some details of the treatment from Sanchita’s article in the Journal of the American Institute for Conservation (JAIC), but this was a great opportunity for me to see this mummy up-close and to ask Sanchita more about how she approached this treatment and the specific materials and techniques she used. Since we are in the middle of working on the treatment of our mummy PUM I here in the Artifact Lab, this conversation was very timely.

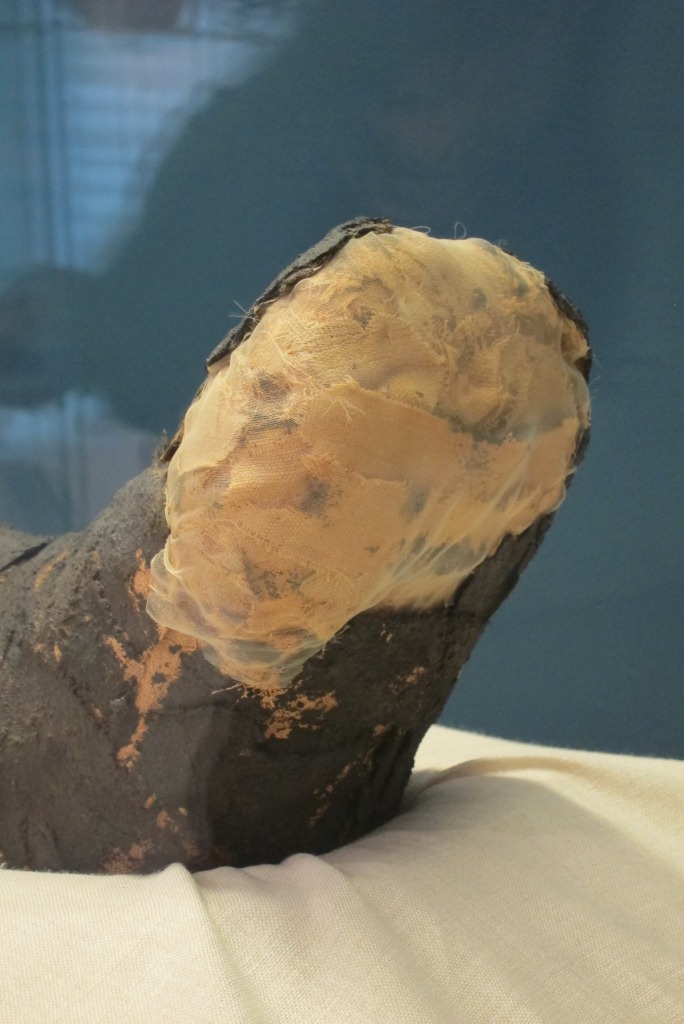
Detail of the Stabiltex encapsulating the feet of the Goucher mummy
The Goucher mummy has a fascinating history that I won’t get into here, but you can learn more about her in the “Object Stories” section of the museum’s website by following this link. One of the things I was curious to discuss more with Sanchita was her use of Stabiltex, a sheer polyester fabric, to protect fragile areas of the mummy’s wrappings, and the design and construction of the support the mummy is currently resting on in the exhibit. As I said, we’re working on encapsulating PUM I’s outer linen wrappings in a similar way, but using a different type of sheer netting fabric. After discussing techniques with Sanchita and seeing how successful her treatment of the Goucher mummy was, I returned to the Artifact Lab feeling good about our approach to PUM I’s treatment!
Sanchita also pulled out several animal mummies that she is currently working on, including these cuties:

Cat (above) and dog (below) mummies
We discussed the challenges of dealing with such fragile linen wrappings and our experiences with and use of different adhesives, as well as techniques for encapsulating fragile areas. Sanchita also showed us their handling and storage mounts, which go a long way in protecting these artifacts.

Sanchita lifts an ibis mummy from its storage box using a handling tray
After discussing mummies at length, Sanchita took us back into their storage area, where we had the opportunity to see additional Egyptian artifacts, including several painted wood artifacts with a variety of condition problems. As readers to this blog may know, we have our own fair share of challenging painted wooden artifacts, including Tawahibre’s coffin, so I was eager to see how Sanchita was approaching the treatment of these pieces as well.

Sanchita and Julie in storage
All in all, it was a fun and productive day! These types of professional exchanges are incredibly valuable, and I’m not only inspired to tackle some treatments and try new things back in the lab, but to make more time in the future to visit other colleagues and collections. A huge thanks to Sanchita for hosting us and for sharing so much about her work at Johns Hopkins.


 (they really make it look like a breeze, don’t they?)